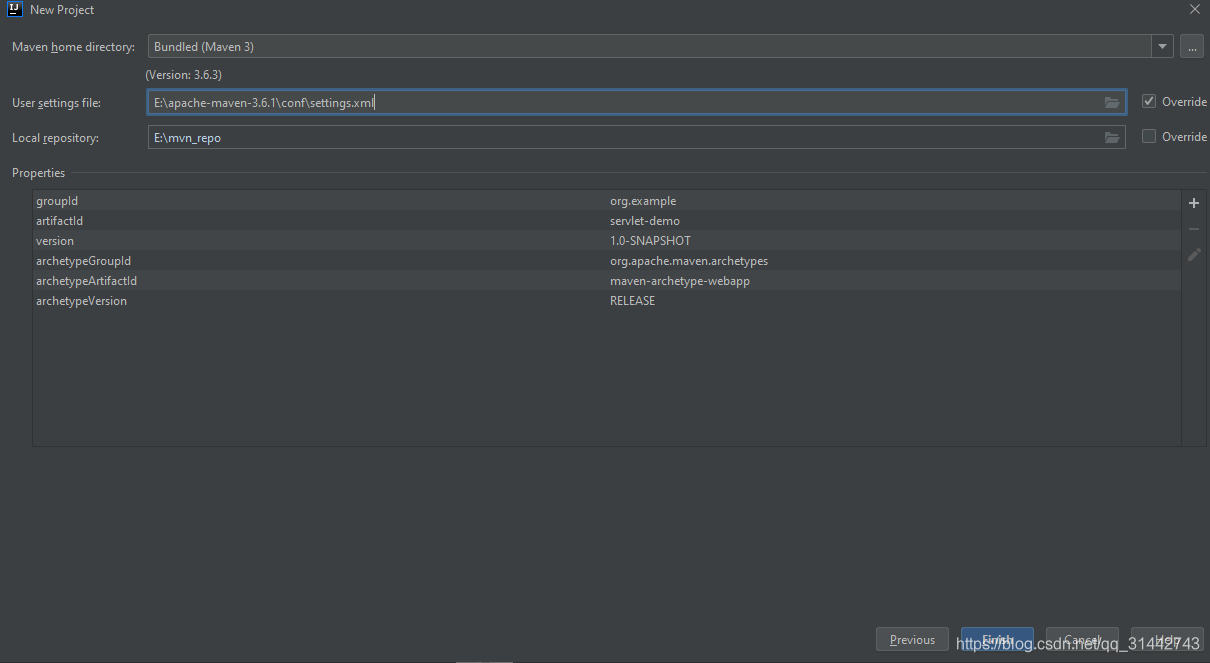
STEP1:
选择创建Maven项目,勾选Create from archetype中的org.apache.maven.archetype:maven archetype-webapp

选择maven settings.xml文件的位置
构建好的项目结构如下图所示:
STEP2
在pom.xml文件中添加tomcatc插件
        <plugin>
          <groupId>org.apache.tomcat.maven</groupId>
          <artifactId>tomcat7-maven-plugin</artifactId>
          <version>2.1</version>
          <configuration>
            <port>8080</port>
            <path>/</path>
            <uriEncoding>UTF-8</uriEncoding>
            <server>tomcat7</server>
          </configuration>
        </plugin>
除此以外,添加上servlet的jar包
    <dependency>
      <groupId>javax.servlet</groupId>
      <artifactId>servlet-api</artifactId>
      <version>2.5</version>
      <scope>provided</scope>
    </dependency>
    <dependency>
    <groupId>javax.servlet.jsp</groupId>
    <artifactId>jsp-api</artifactId>
    <version>2.1</version>
    <scope>provided</scope>
    </dependency>
配置tomcat命令
STEP3
添加hello.java文件
package com.zx;

import java.io.*;
import javax.servlet.*;
import javax.servlet.http.*;


public class hello extends HttpServlet {

    private String message;

    public void init() throws ServletException
    {

        message = "Hello my first servlet";
    }

    public void doGet(HttpServletRequest request,
                      HttpServletResponse response)
            throws ServletException, IOException
    {

        response.setContentType("text/html");


        PrintWriter out = response.getWriter();
        out.println("<h1>" + message + "</h1>");
    }

    public void destroy()
    {

    }
}

进而在web.xml 文件中添加servlet映射
  <servlet>
    <servlet-name>hello</servlet-name>
    <servlet-class>com.zx.hello</servlet-class>
  </servlet>

  <servlet-mapping>
    <servlet-name>hello</servlet-name>
    <url-pattern>/hi</url-pattern>
  </servlet-mapping>
使用maven 进行构建
运行tomcat

在浏览器中
来源:oschina
链接:https://my.oschina.net/u/4339343/blog/4471079