准备工作:
1.去APICloud官网下载打包工具https://www.apicloud.com/devtools
我使用的是第三款(Eclipse APICloud Plugins(Studio 1))
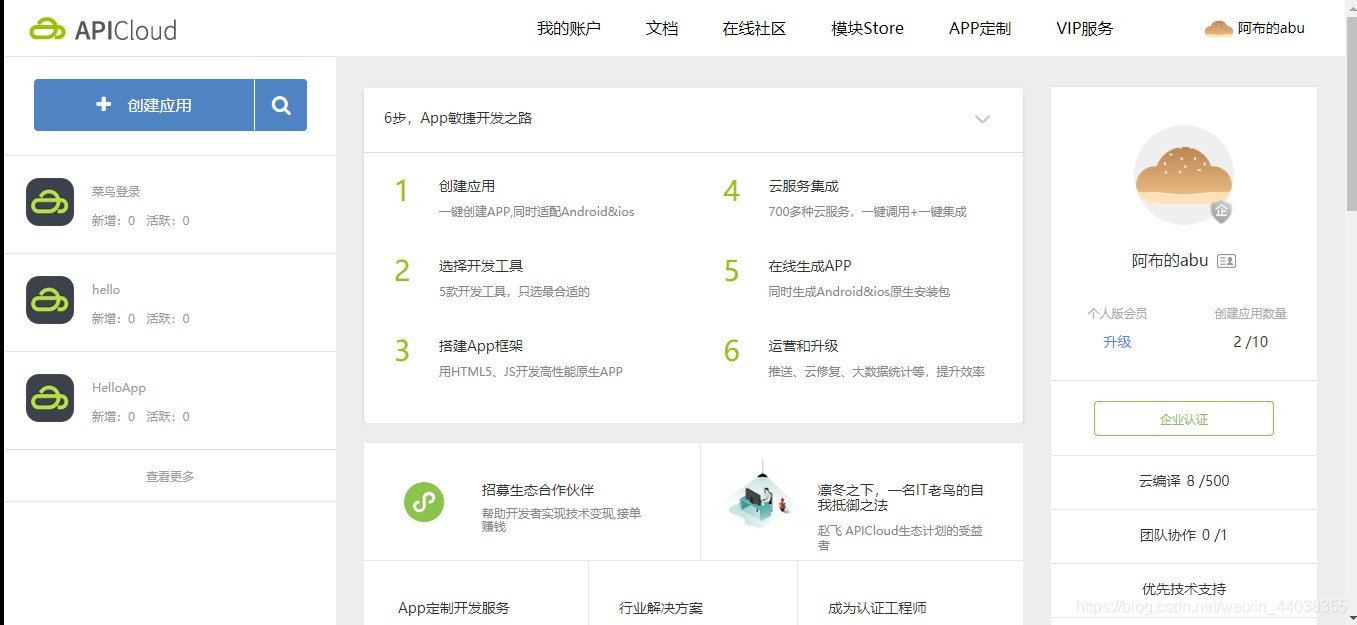
2.APICloud的账号肯定要自己注册一个啦
登录后进入开发控制台
3.然后创建一个app应用
4.登录你下载的Eclipse APICloud Plugins(Studio 1),需要输入你的账号和密码,用来同步提交你的代码
5.进入后的界面
6.将自己创建的app(我的是 菜鸟登陆)引入到本地
7.然后点击 我的app项目
8.打开外部资源位置
9.外部资源位置
10.vue生成dist文件之前还需如下操作
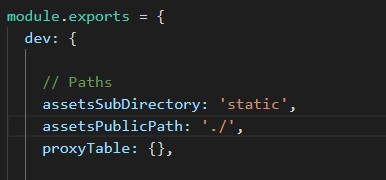
vue项目中需要做如下配置,config/index.js中需要把build的assetsPublicPath属性由原来的 / 改成 ./
index.html添加一些代码用于处理物理返回键:
下面的代码添加在index.html中,<body> <div id="app"></div> <!-- built files will be auto injected -->的下面
<!--引用apicloud的脚本-->
<script src="script/api.js"></script>
<script>
 //这里处理物理返回键,避免打包后点击一次直接退出应用
 window.apiready = function () {
   var timer = 0
   api.addEventListener({
     name: 'keyback'
   }, function (ret, err) {
     var currentTime = +new Date()
     api.historyBack(function (ret, err) {
       if (!ret.status) {
         if ((currentTime - timer) > 2000) {
           timer = currentTime
           api.toast({
             msg: '再按一次返回键退出app',
             duration: 2000,
             location: 'bottom'
           })
         } else {
           api.closeWidget({
             id: 'A6089289836112', //这里改成自己的应用ID
             retData: {name: 'closeWidget'},
             silent: true
           })
         }
       }
     })
   })
 }
</script>
这样打包以后代码还存在index.html里,引用脚本的路径也是apicloud目录下的。
11.这个时候再打包vue项目,生成dist文件。之后把dist目录下的文件复制过去覆盖原文件就行了。如此一来原文件只是多了一个static文件(里面装的是vue中打包的css和js文件)
12.用svn提交修改过的代码
13.新添加的文件需要svn–add一下,再提交
14.同步完成之后,进入打包环节
使用Eclipse APICloud Plugins(Studio 1)进行apk打包
1.进入开发工具,将index.html文件中所以的 /static 修改为 static
2.生成本地安装包
3.选择打包格式
4.成功打包界面
5.×掉即可,之后会弹出apk的文件夹
6.将apk发送至你的手机,安装后显示
7.完成app的打包
来源:CSDN
作者:阿布的小布
链接:https://blog.csdn.net/weixin_44038355/article/details/86539054