因为之前写代码一直使用vitual studio开发,所以在调试javascript的时候也一直使用vitual studio进行调试,不得不说,vitual studio调试javascript确实很方便,之前一直不理解为什么网上说的其他调试js的工具中没有提到vitual studio。 后来慢慢想明白了,vitual studio太笨重了。最近在学习使用vscode,也把学习的心得记录下来,加深理解,刚开始学习,很多理解错误的地方,大家多多指正。
step1:
打开vscode,添加js和html文件,并将其保存到你指定的工作目录下。
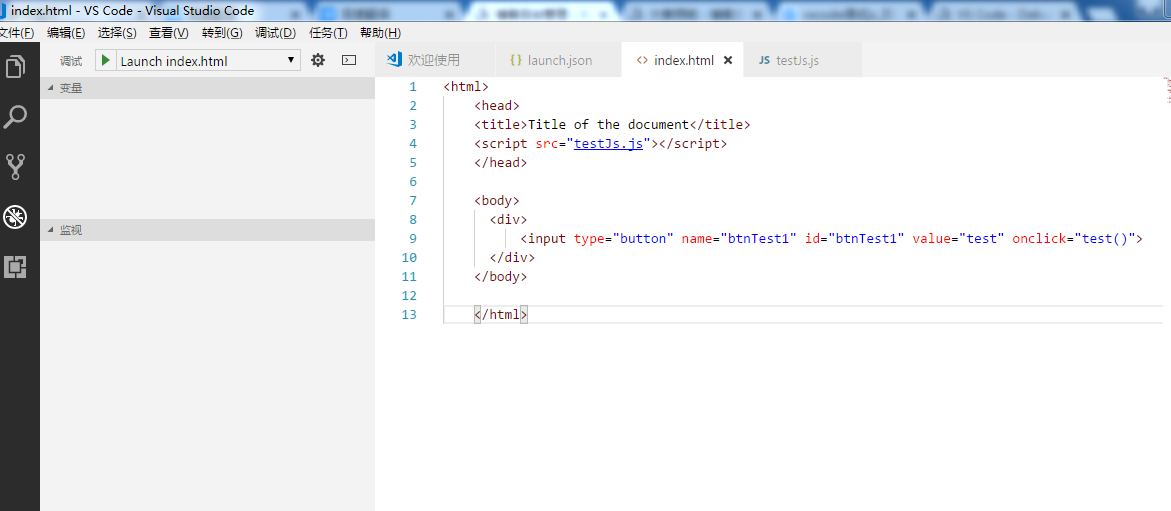
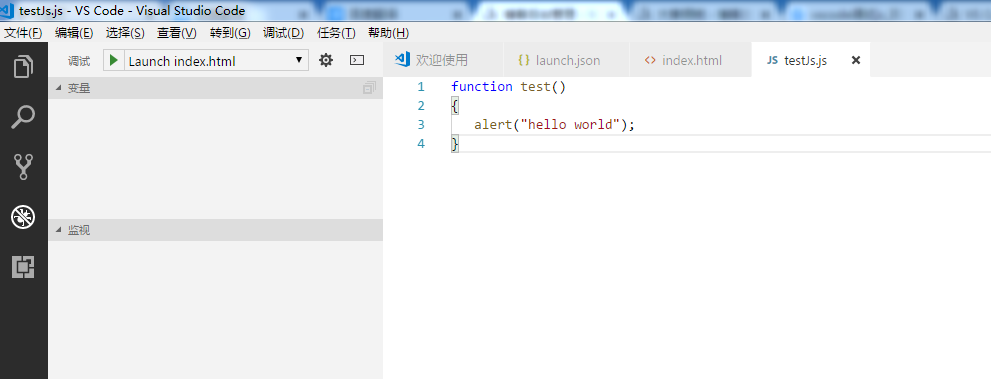
step2:
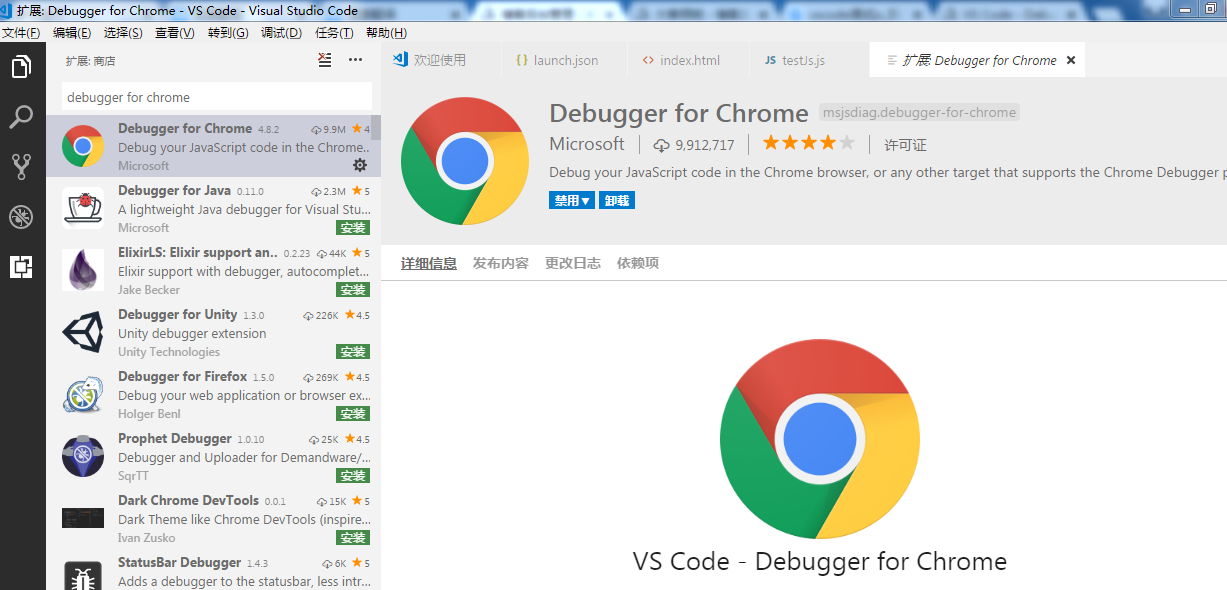
按下 ctrl+shift+x 打开左侧的扩展,也可以手动点击打开,安装debugger for chrome,如下图:
step3:
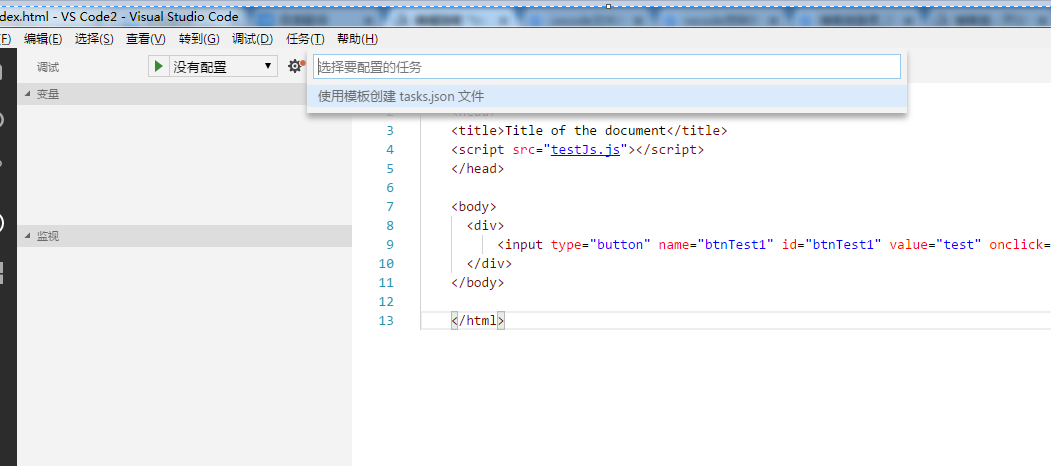
安装完成之后,点击 ctrl+shift+p, 输入>task, 选择 配置任务
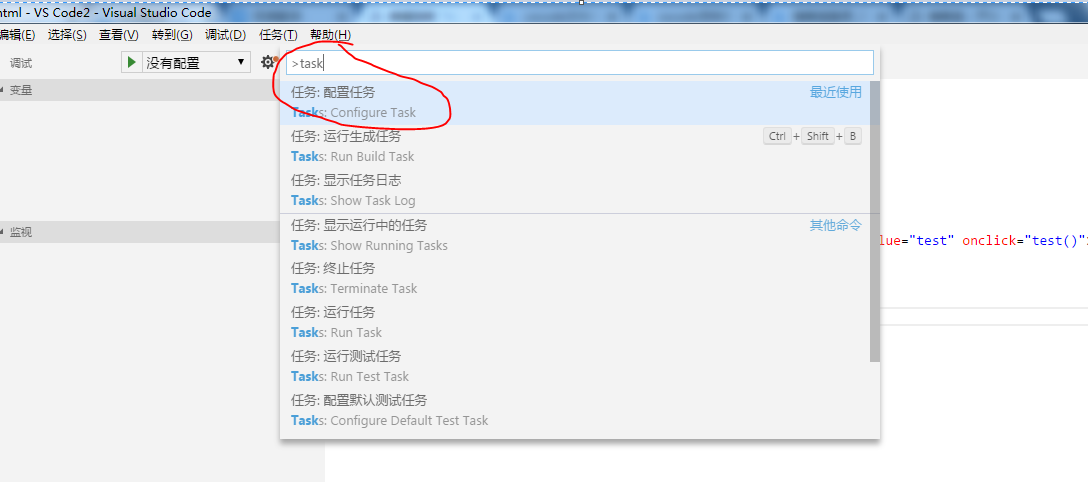
之后选择 “使用模板创建task.json”
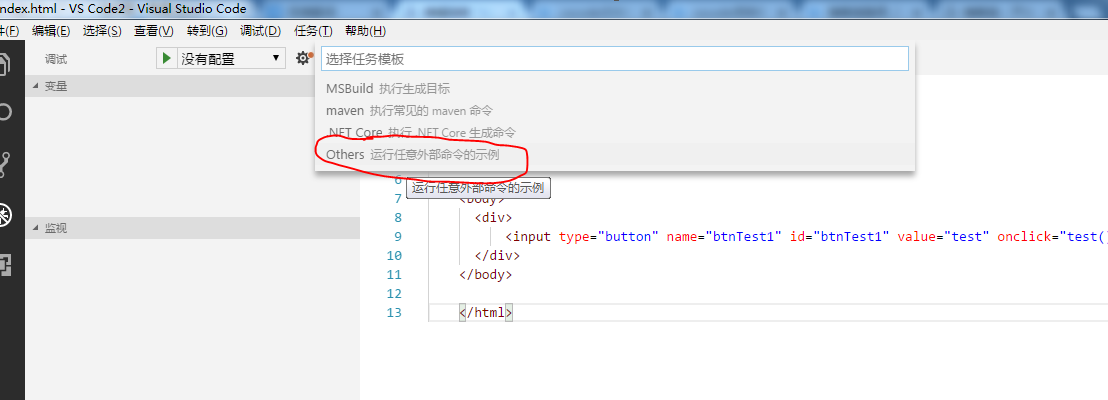
再之后选择:others
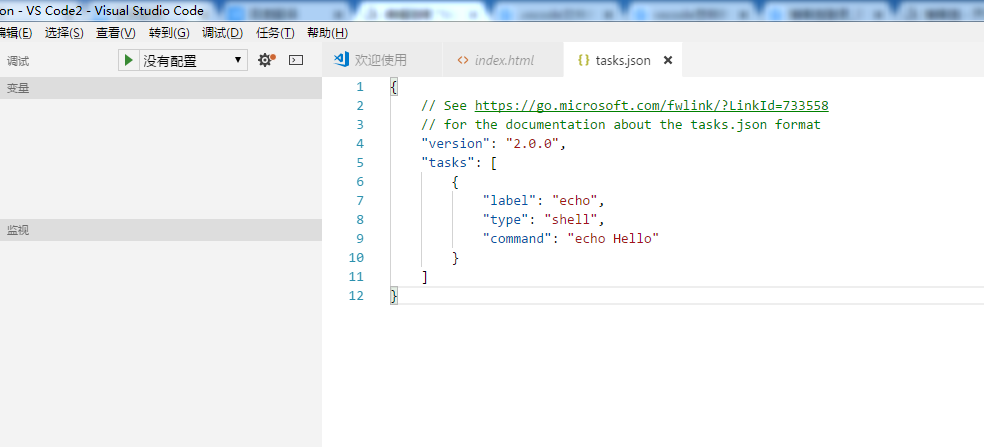
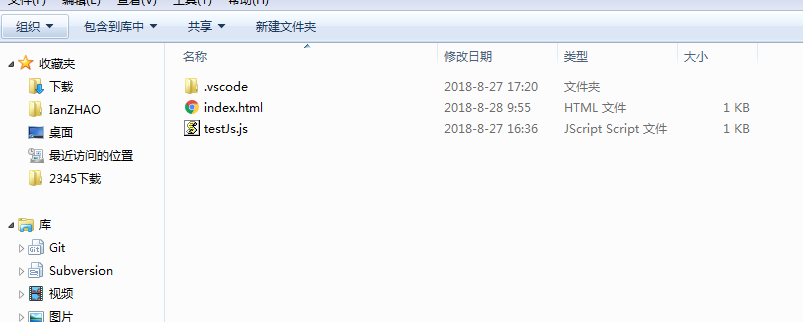
操作完成之后,工作目录下出现了.vscode这个文件夹。此时文件夹下只有一个task.json文件,其实我也不知道这个task.json是干什么用的。
接下来我们点击左侧的调试,发现还是没有配置:
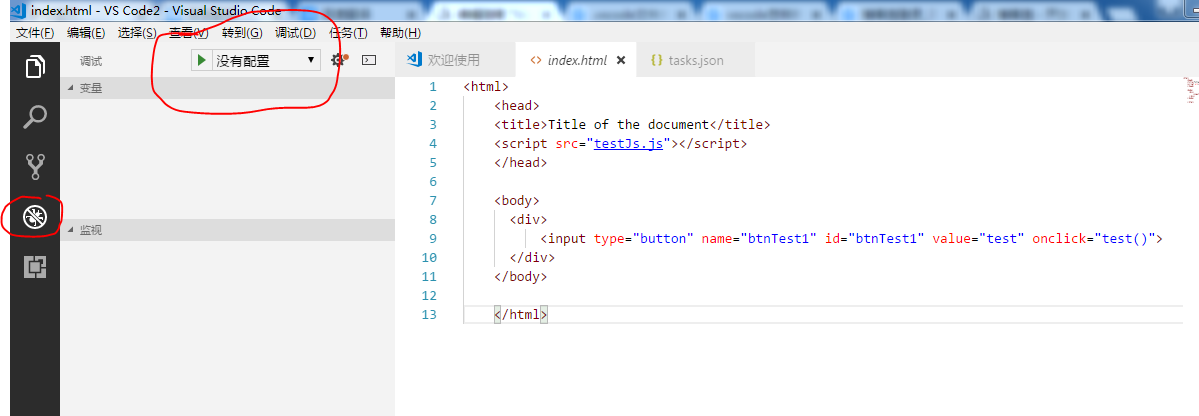
这是因为我们的.vscode下还缺少launch.json这个文件,此文件中有各种调试的配置
这个launch.json其实在安装了debugger for chrome之后就应该已经存在了,但是我的不知道为什么没有,此处我也不是很清楚,但是这个文件的
内容在网上都可以找到, launch.json的内容如下: 注意红色粗体标注的部分
{
// 使用 IntelliSense 了解相关属性。
// 悬停以查看现有属性的描述。
// 欲了解更多信息,请访问: https://go.microsoft.com/fwlink/?linkid=830387
"version": "0.2.0",
"configurations": [
{
"name": "Launch localhost",
"type": "chrome",
"request": "launch",
"url": "http://localhost/mypage.html",
"webRoot": "${workspaceFolder}/wwwroot"
},
{
"name": "Launch index.html", //调试选项的名称,我们在vscode的调试选项中选择这个 名字,用户可以自行修改,
"type": "chrome", // 系统设定,用户不能随意修改
"request": "launch", // 系统设定,用户不能随意修改
"file": "${workspaceFolder}/index.html" // 此配置中workspaceFolder为当前调试js的index.html所在的目录,index.html自己可以随意更改,其他的配置暂时不需要管
},
{
"name": ".NET Core Launch (console)",
"type": "coreclr",
"request": "launch",
"preLaunchTask": "build",
"program": "${workspaceFolder}/bin/Debug/<insert-target-framework-here>/<insert-project-name-here>.dll",
"args": [],
"cwd": "${workspaceFolder}",
"console": "internalConsole",
"stopAtEntry": false,
"internalConsoleOptions": "openOnSessionStart"
},
{
"name": ".NET Core Launch (web)",
"type": "coreclr",
"request": "launch",
"preLaunchTask": "build",
"program": "${workspaceFolder}/bin/Debug/<insert-target-framework-here>/<insert-project-name-here>.dll",
"args": [],
"cwd": "${workspaceFolder}",
"stopAtEntry": false,
"internalConsoleOptions": "openOnSessionStart",
"launchBrowser": {
"enabled": true,
"args": "${auto-detect-url}",
"windows": {
"command": "cmd.exe",
"args": "/C start ${auto-detect-url}"
},
"osx": {
"command": "open"
},
"linux": {
"command": "xdg-open"
}
},
"env": {
"ASPNETCORE_ENVIRONMENT": "Development"
},
"sourceFileMap": {
"/Views": "${workspaceFolder}/Views"
}
},
{
"name": ".NET Core Attach",
"type": "coreclr",
"request": "attach",
"processId": "${command:pickProcess}"
}
]
}
在js文件中设置断点,调试选项中选择 Launch index.html
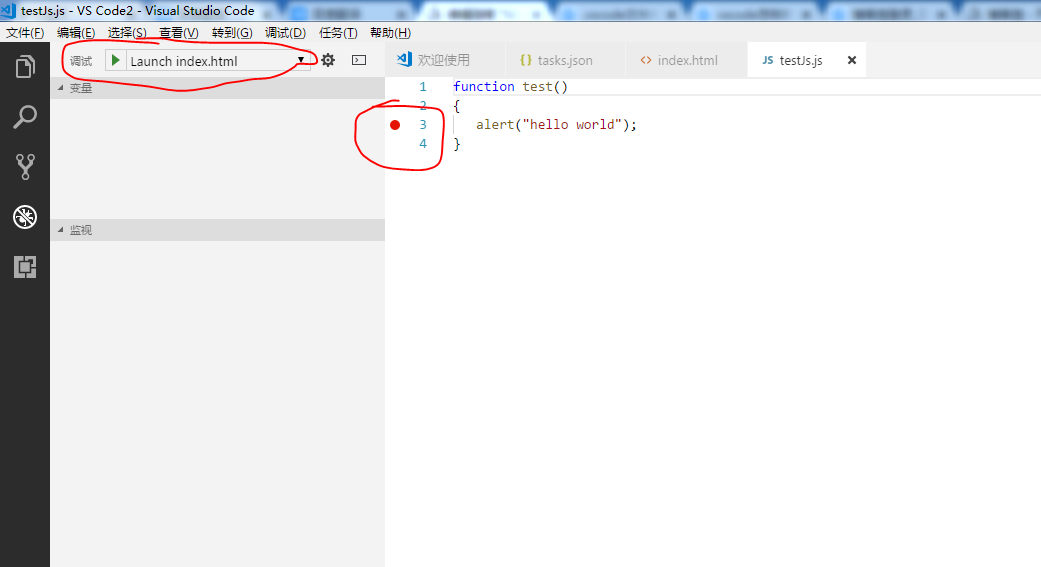
点击 调试 按钮,如图所示,完成
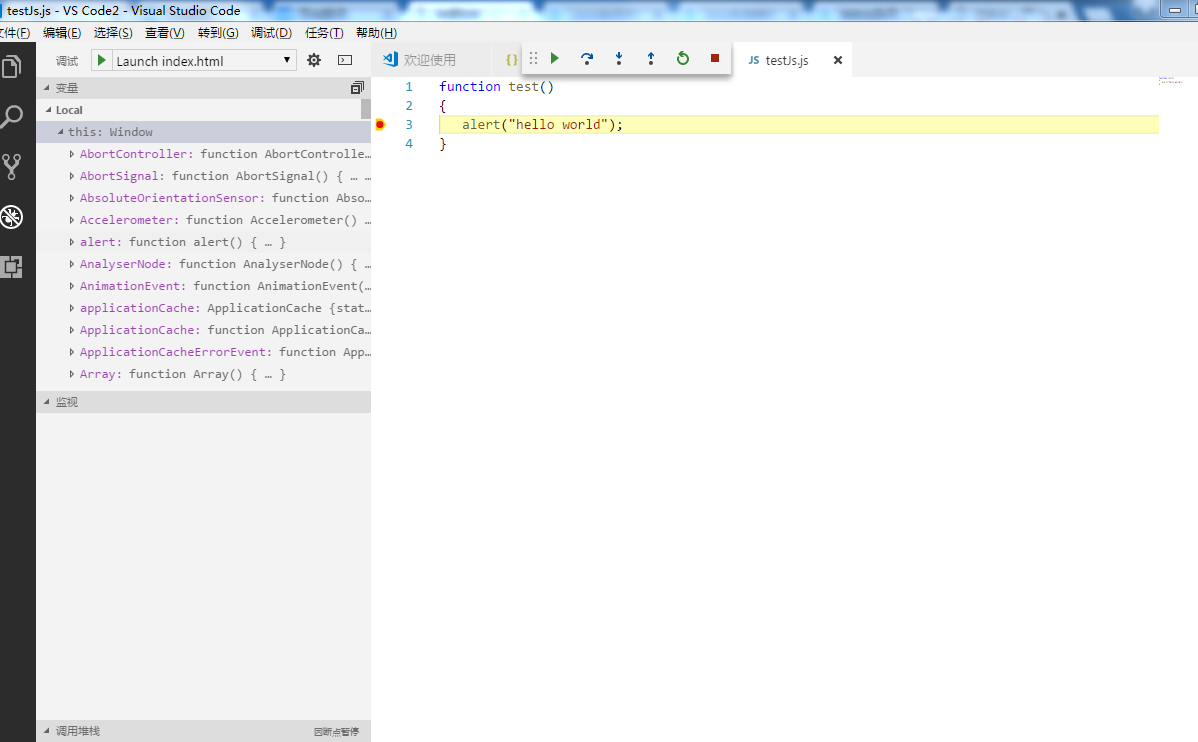
从网上的资料来看,调试远比我记录的要灵活方便,因为第一次接触,所以目前就只会这点东西,得出的结论是,调试的配置都在 launch.json中,但是不知道task.json有什么用。 接下来继续学习研究。
来源:oschina
链接:https://my.oschina.net/u/4324813/blog/3848649