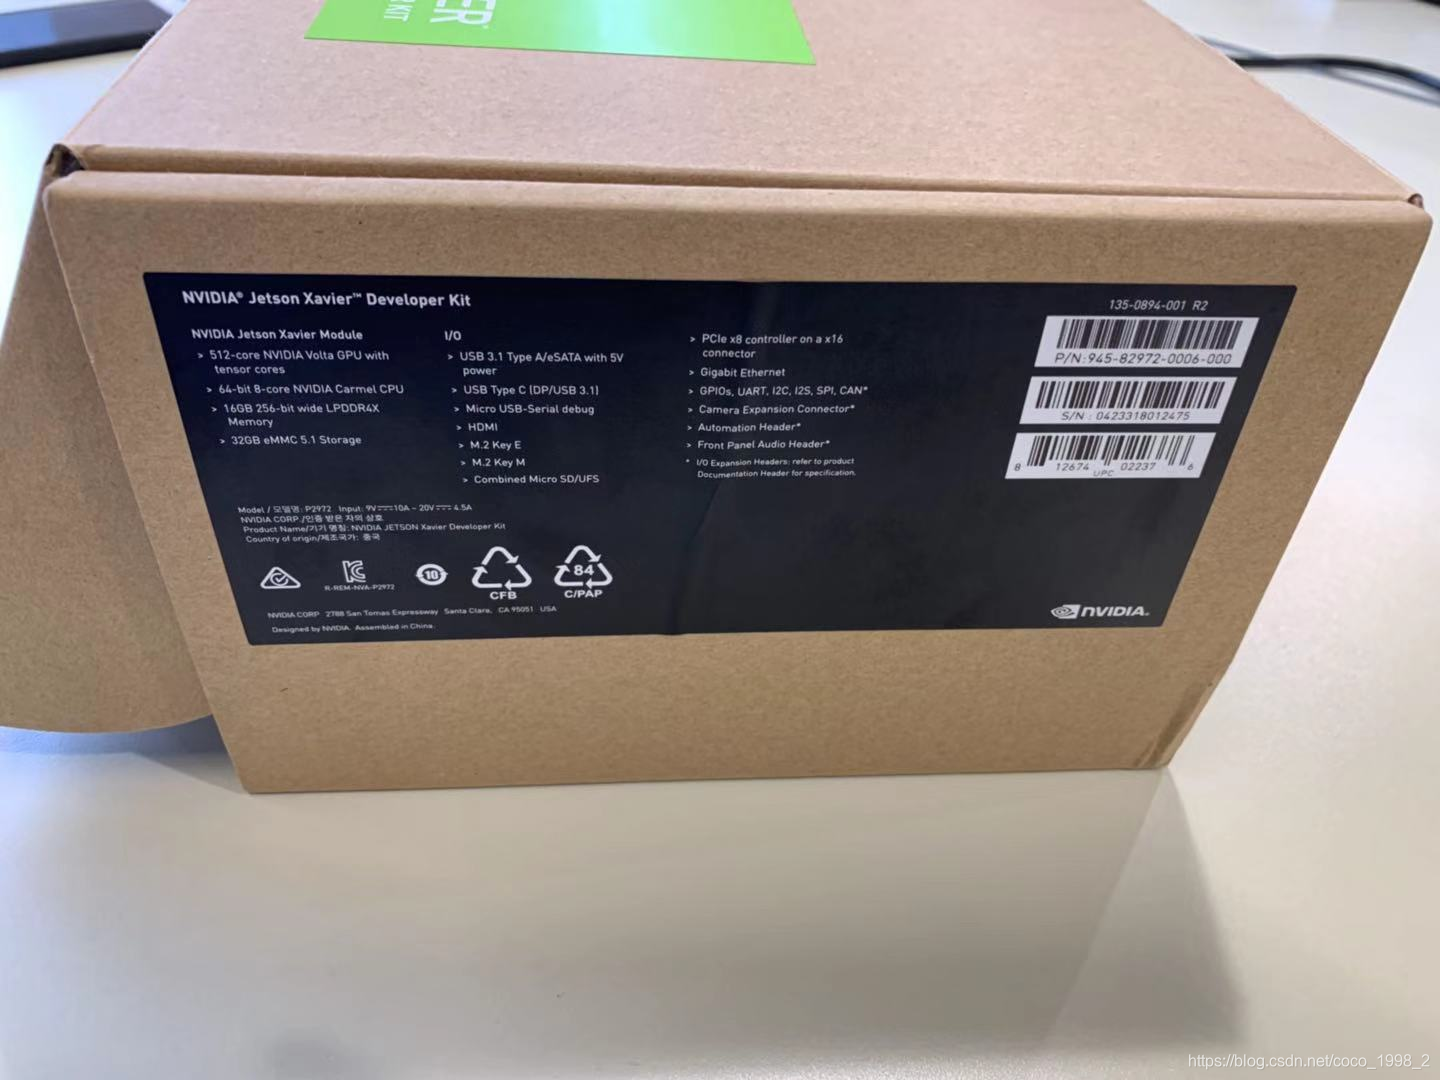
从lab储物柜拿东西的时候,偶然发现柜子里的 NVIDIA Jetson AGX Xavier 开发套件。记录下开机使用过程,先上几张图片:


1.简介
NVIDIA Jetson AGX Xavier Developer Kit, 这款10W-30W的计算机模组能够提供每秒高达32万亿的运算,可广泛应用于深度学习和计算机视觉任务。
该开发套件由 NVIDIA JetPack 和 DeepStream SDK 以及 CUDA®,cuDNN和TensorRT软件库提供支持,提供了立即开始使用所需的所有工具。而且由于它采用了全新的 NVIDIA Xavier 处理器,因此其性能比前代产品 NVIDIA Jetson TX2 提升了20倍以上,能效提高了10倍。
Jetson AGX Xavier的主要功能:
● NVIDIA Carmel ARM v8.2 64位八核处理器
● 带64 Tensor Core的512GB NVIDIA Volta显卡,
● 双NVIDIA深度学习加速器引擎
● NVIDIA视觉加速器引擎
● 高清视频编解码器
● 128Gbps专用摄像头摄取
● 16通道PCIe Gen4扩展
● 256位内存接口,带宽为137 GB / s
● 16GB的256位LPDDR4x RAM
● 32GB的eMMC 5.1存储
2.Setup Xavier
文档:Jetson AGX Xavier Developer Kit User Guide, JetPack, 主要步骤总结如下:
- 准备一台 host Ubuntu台式机,用来连接Xavier
- 在host Ubuntu主机上 Install SDK manager(需要注册NVIDIA 账号下载与使用 SDK Manager )
NVIDIA SDK Manager(home page) SDK Manager User Guide(more detailed)
步骤在 Download 页面下方:

- 使用usb连接 Xavier 和 host Ubuntu computer (按照说明书,使用 front USB-C端口)
- 给 Xavier 连接网线、HDMI 线连接显示器、鼠标/键盘
- 给 Xavier 加电。需要将 Xavier 放到recovery模式
- 长按 recovery 按钮,不要松开 (有三个按钮,是中间的那个。按钮旁有‘force recovery’小字)
- 长按 power 按钮,不要松开 (靠近front的那个。按钮旁有‘power’小字)
- 松开两个按钮
- 运行 SDK manager installer。(OS flash后,到Xavier的屏幕上结束操作)
3.Xavier 几点说明
The environment is a customized Ubuntu. It has several power modes which have different computing capabilities with respective power ratings.
CUDA Toolkits and CuDNN are already installed with Jetpack. nvidia-smi does not work since it does not have the conventioned driver as many desktop do.
To use tensorflow, there is a virtual environment at ~/venv/tf-py36-gpu. You may want to do source ~/venv/tf-py36-gpu/bin/activate to enter the environment. Some essential packages are already installed, including numpy, tensorflow-gpu, jupyter, pillow, etc. Once the virtualenv is activated, you should be able to start a jupyter notebook. You will find there is a notebook under ~/msiot/Object-Detection-Demo. If everything works fine, the notebook should run with no problem.
Exit the environment by deactivate in terminal.
4.host Ubuntu 主机几点说明
Conda is installed on this ubuntu; thus, it is easier to manage python environments. Use conda env list to see available environments.
You can use tensorflow with gpu under tf-py36-gpu. Once you are in the environment, you should be able to check the gpu device with python ~/msiot/check_gpu.py. You should also be able to check the nvidia device with nvidia-smi outside the environment. Similar to the previous section, you should be able to run the notebook in ~/msiot/Object-Detection-Demo with no problem.
5.Caution!
When updating system packages with apt update && apt upgrade, take extra care with nvidia packages. DO NOT update nvidia drivers or cudnn packages unless you know what you are doing. If for some reason CUDA is not working properly, you should be able to fallback to the CUDA 10.0 by running the ~/msiot/install_cuda.sh script with super user priviledge.
来源:https://blog.csdn.net/coco_1998_2/article/details/99679434