一、创建第一个SpringBoot项目
1、双击IDEA图标,进入到如下界面,在该页面中,点击箭头所示的“Create New Project”选项;

2、idea开发工具为SpringBoot提供专门创建的方法,选中Spring Initializr然后点击【Next】

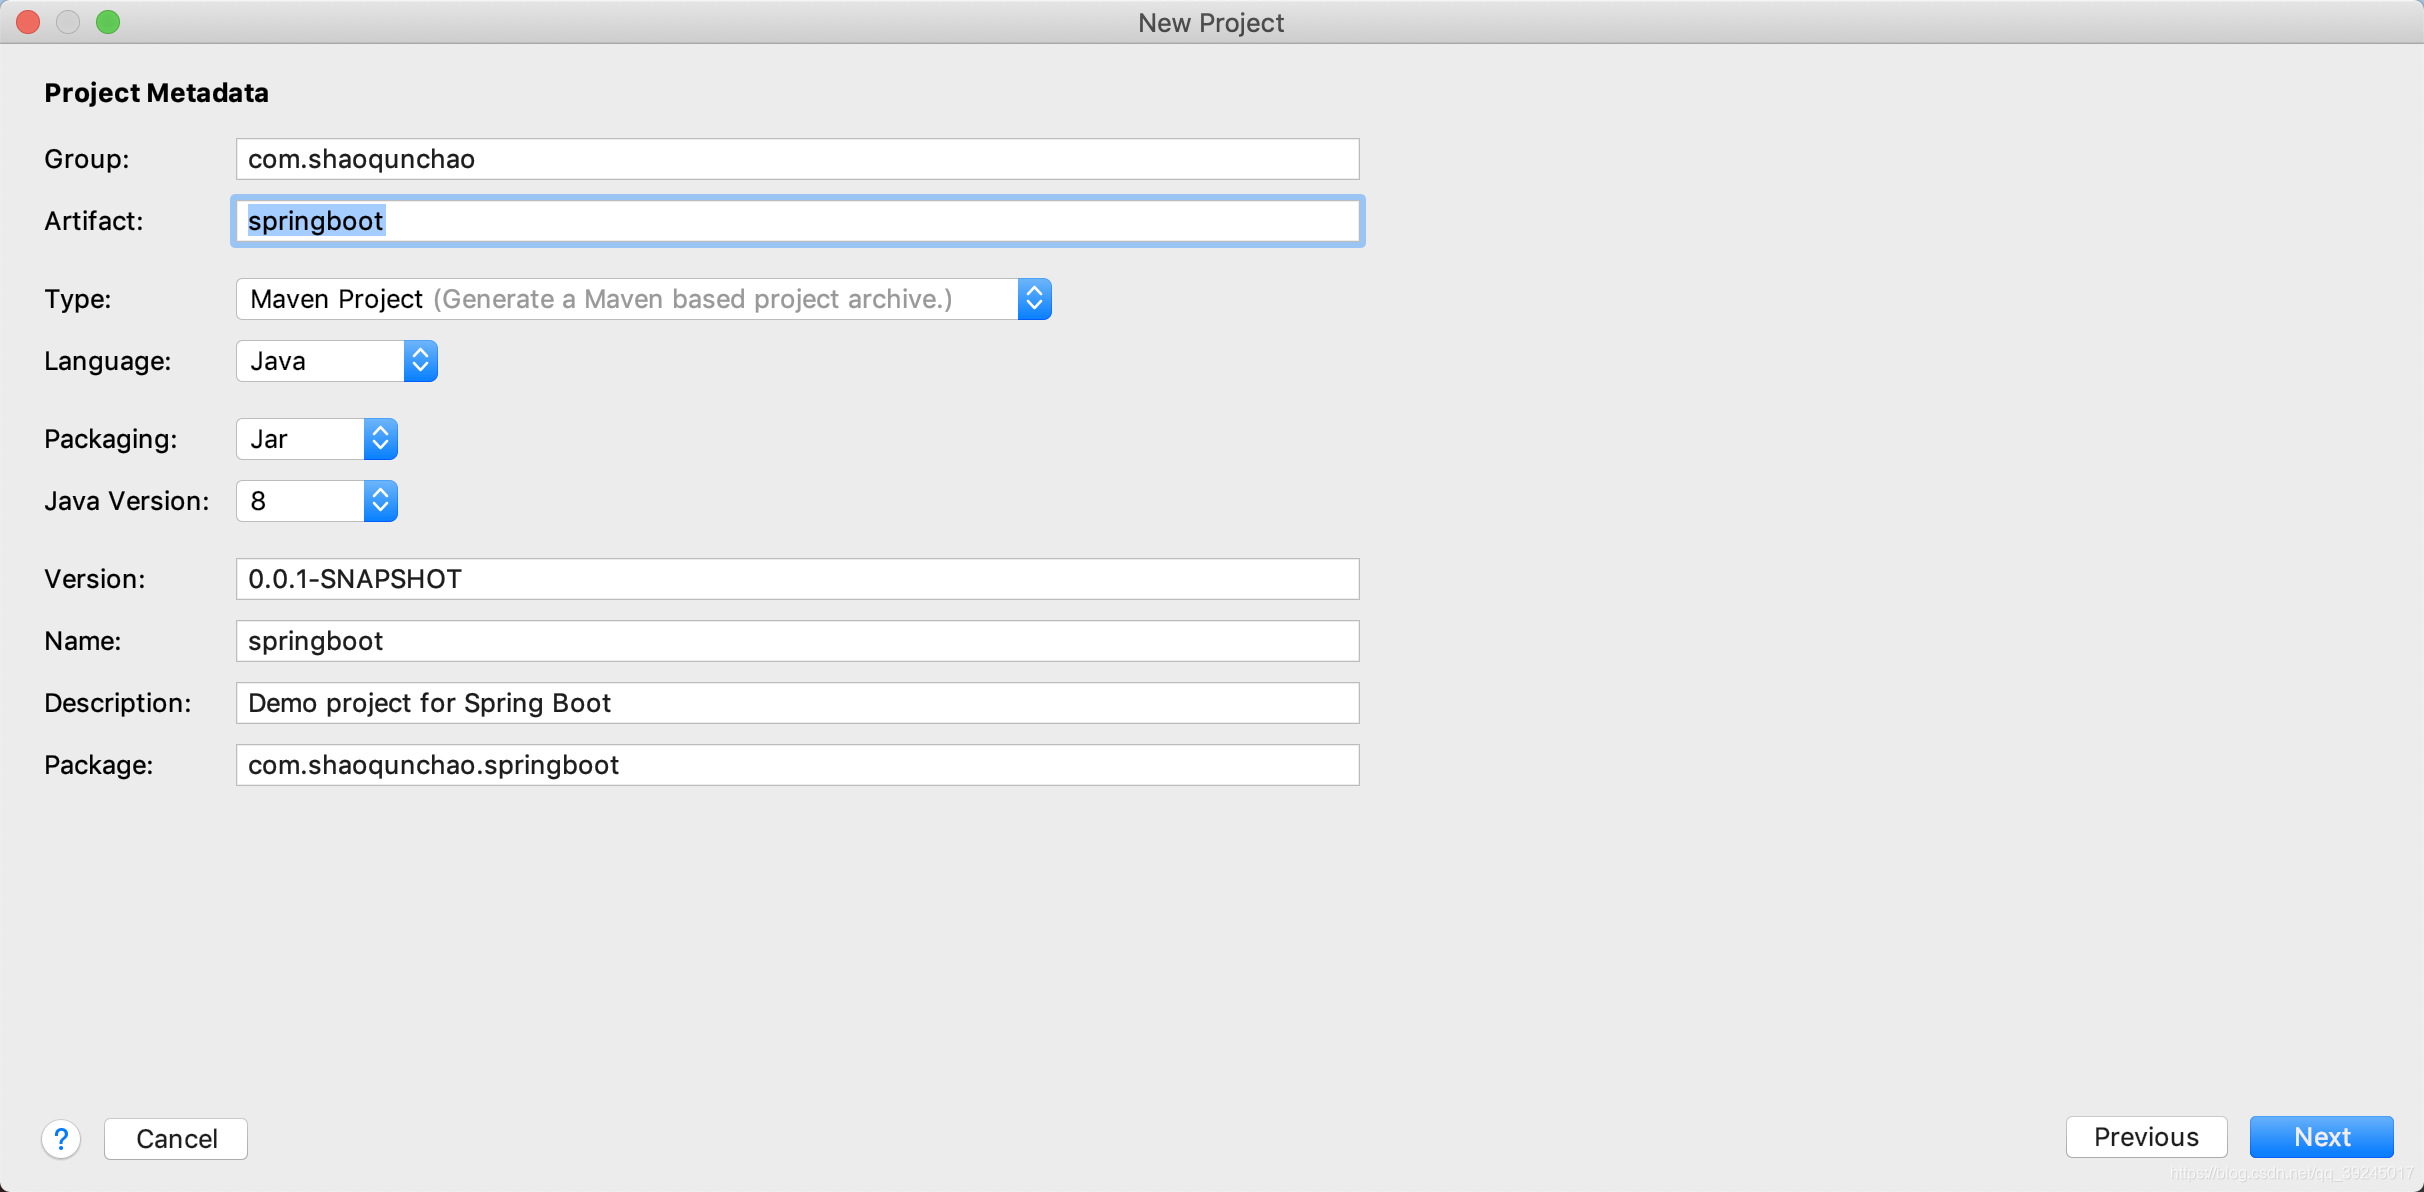
3、写maven的坐标,“groupId”,“artifactId”,“Type”,以及“version”,其中groupId是公司域名的反写,而artifactId是项目名或模块名,Type为maven项目,version就是该项目或模块所对应的版本号,填写完之后,点击【Next】

4、左侧是SpringBoot提供的一些插件,本次只是创建web项目所有勾选Spring Web就可以,可以选择对应的SpringBoot版本,然后点击【Next】

5、接着【Next】

6、到此springboot项目创建完成,下面是目录结构

7、新建一个名为HelloController的class,编写第一个请求hello,调整启动方法SpringbootApplication到根目录下,点击SpringbootApplication类的Run方法启动项目进行访问。
package com.shaoqunchao.controller;

import org.springframework.boot.autoconfigure.EnableAutoConfiguration;
import org.springframework.web.bind.annotation.RequestMapping;
import org.springframework.web.bind.annotation.RestController;

@RestController
public class HelloController {

    @RequestMapping("/hello")
    public String sayHello(){
        return "Hello Word!!";
    }
}
@RestController 等于 @Controller + @ResponseBody组成。
1)@Controller 将当前修饰的类注入SpringBoot IOC容器,使得从该类所在的项目跑起来的过程中,这个类就被实例化。当然也有语义化的作用,即代表该类是充当Controller的作用。
2)@ResponseBody 它的作用简短截说就是指该类中所有的API接口返回的数据,甭管你对应的方法返回Map或是其他Object,它会以Json字符串的形式返回给客户端,本人尝试了一下,如果返回的是String类型,则仍然是String。
@RequestMapping是一个用来处理请求地址映射的注解,可用于类或方法上。用于类上,表示类中的所有响应请求的方法都是以该地址作为父路径

SpringbootApplication类为项目启动类,由idea创建springboot项目时自动构建出来的。
package com.shaoqunchao;

import org.springframework.boot.SpringApplication;
import org.springframework.boot.autoconfigure.SpringBootApplication;

@SpringBootApplication
public class SpringbootApplication {

    public static void main(String[] args) {
        SpringApplication.run(SpringbootApplication.class, args);
    }

}
@SpringBootApplication该注解是@Configuration,@EnableAutoConfiguration,@ComponentScan的统一。
1)@Configuration:提到@Configuration就要提到他的搭档@Bean。使用这两个注解就可以创建一个简单的spring配置类,可以用来替代相应的xml配置文件。用@Configuration的注解类标识的这个类可以使用Spring IoC容器作为bean定义的来源。@Bean注解告诉Spring,一个带有@Bean的注解方法将返回一个对象,该对象应该被注册为在Spring应用程序上下文中的bean。
2)@EnableAutoConfiguration:能够自动配置spring的上下文,试图猜测和配置你想要的bean类,通常会自动根据你的类路径和你的bean定义自动配置。
3)@ComponentScan:会自动扫描指定包下的全部标有@Component的类,并注册成bean,当然包括@Component下的子注解@Service,@Repository,@Controller。

启动项目并访问


来源:oschina
链接:https://my.oschina.net/u/4407103/blog/4274540