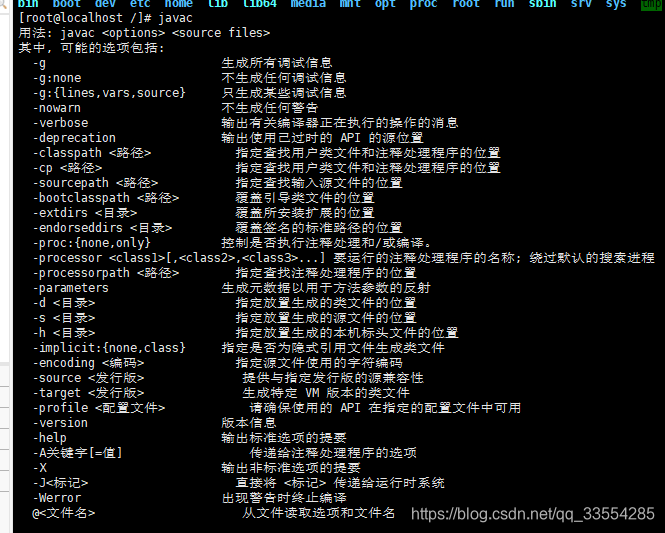
安装CentOS-8.1.1911-x86_64-dvd1.iso(见VirtualBox安装)
![]()
下载操作内核glibc库
![]()
下载jdk上传到linux
![]()
配置环境变量
export JAVA_HOME=/usr/local/software/jdk1.8.0_251

export CLASSPATH=${JAVA_HOME}/lib

export PATH=$PATH:${JAVA_HOME}/bin
如果出现
![]()
vi /etc/profile修改正确值
输入export PATH=/usr/bin:/usr/sbin:/bin:/sbin:/usr/X11R6/bin
并进行source /etc/profile 更新
环境变量配置成功

yum -y install gcc 安装c编译环境
任意目录新建build
tar -zxvf glibc-2.19.tar.gz -C ./build 解压到build文件夹下
操作系统加锁使用的pthread_mutex_lock()方法,我们再次方法中打印调用的线程Id,只要有线程调用os操作系统加锁都会被打印,找到对应的方法文件


添加打印语句
头部需要添加#include <stdio.h>
fprintf(stderr,"tid=%lu\n",pthread_self());编译文件到/usr/lib:
cd glibc-2.19/
mkdir out

cd out
../configure --prefix=/usr --disable-profile --enable-add-ons --with-headers=/usr/include --with-binutils=/user/bin
如果如下报错

首先下载binutils-2.32.tar.gz上传

tar -zxvf binutils-2.32.tar.gz
cd binutils-2.32/
./configure --prefix=/usr/local/software/binutils
make && make install
cd /usr/local/binutils/bin/
./ld –v
./as –v //查看版本
mv /usr/bin/ld /usr/bin/ld_back //备份
mv /usr/bin/as /usr/bin/as_back
ln -s /usr/local/binutils/bin/ld /usr/bin/ld //将安装的binutils映射到系统文件(创建软连接)
ln -s /usr/local/binutils/bin/as /usr/bin/as
在将版本低的插件的安装一遍
例如:python3 bison
yum install python3
yum install bison
直至运行成功

最后执行make && make install编译成功(最后显示离开目录xxx没有error)
执行java命令打印对应获取os锁线程id

存在线程竞争
public class Example4Start {
    Object o = new Object();
    static {
        System.loadLibrary( "DouFuThreadNative" );
    }
    public static void main(String[] args) {
        System.out.println("xxxxxxxxxxx子路老师xxxxxxxxxxxxxxxxx");
        Example4Start example4Start = new Example4Start();
        example4Start.start();
    }
    public void start(){
        Thread thread = new Thread(){
            public void run() {
                while (true){
                    try {
                        //Thread.sleep(500);
                        sync();
                    } catch (InterruptedException e) {

                    }
                }
            }
        };
        Thread thread2 = new Thread(){
            @Override
            public void run() {
                while (true){
                    try {
                        //Thread.sleep(500);
                        sync();
                    } catch (InterruptedException e) {
                        e.printStackTrace();
                    }
                }
            }
        };
        thread.setName("t1");
        thread2.setName("t2");
        thread.start();
        thread2.start();
    }
    //获取操作系统线程
    public native void tid();
    public  void sync() throws InterruptedException {
        synchronized(o) {
        //System.out.println(Thread.currentThread().getName());
            tid();
        }
        //  System.out.println(Thread.currentThread().getName() + "----xxxxttttxxx");
    }
}
将文件上传
javac Example4Start.java 编译成字节码文件
javah Example4Start 编译native获取os系统线程方法
创建对应获取os线程getThreadId.c文件
gcc -fPIC -I /usr/local/software/jdk1.8.0_251/include -I /usr/local/software/jdk1.8.0_251/include/linux -shared -o libDouFuThreadNative.so getThreadId.c -pthread 编译成一个动态链接库libDouFuThreadNative.so

执行java Example4Start 发现竞争会执行os系统的pthread_mutex_lock进行加锁


线程二不参加竞争
public class Example4Start {
    Object o = new Object();
    static {
        System.loadLibrary( "DouFuThreadNative" );
    }
    public static void main(String[] args) {
        System.out.println("xxxxxxxxxxx子路老师xxxxxxxxxxxxxxxxx");
        Example4Start example4Start = new Example4Start();
        example4Start.start();
    }
    public void start(){
        Thread thread = new Thread(){
            public void run() {
                while (true){
                    try {
                        //Thread.sleep(500);
                        sync();
                    } catch (InterruptedException e) {

                    }
                }
            }
        };
        Thread thread2 = new Thread(){
            @Override
            public void run() {
                while (true){
                    try {
                        //Thread.sleep(500);
                        sync();
                    } catch (InterruptedException e) {
                        e.printStackTrace();
                    }
                }
            }
        };
        thread.setName("t1");
        thread2.setName("t2");
        thread.start();
        // thread2.start();
    }
    //获取操作系统线程
    public native void tid();
    public  void sync() throws InterruptedException {
        synchronized(o) {
        //System.out.println(Thread.currentThread().getName());
            tid();
        }
        //  System.out.println(Thread.currentThread().getName() + "----xxxxttttxxx");
    }
}
重新编译后执行


发现除了第一次加锁,后面都没有获取操作线程锁
总结:jdk1.6后对锁进行优化,偏向锁(无线程竞争,不调用操作系统函数),重量锁(线程竞争,调用操作系统函数)
来源:oschina
链接:https://my.oschina.net/u/4357381/blog/4776047