1.首先我做的是单实例单节点跑的ES版本为7.7 不用单独安装x-pack
{
  "name" : "node-1",
  "cluster_name" : "myes",
  "cluster_uuid" : "OGiYluA_Sxynl2bXl1TcbQ",
  "version" : {
    "number" : "7.7.0",
    "build_flavor" : "default",
    "build_type" : "rpm",
    "build_hash" : "81a1e9eda8e6183f5237786246f6dced26a10eaf",
    "build_date" : "2020-05-12T02:01:37.602180Z",
    "build_snapshot" : false,
    "lucene_version" : "8.5.1",
    "minimum_wire_compatibility_version" : "6.8.0",
    "minimum_index_compatibility_version" : "6.0.0-beta1"
  },
  "tagline" : "You Know, for Search"
}
2、使用es内置工具创建密码
首先输出环境变量
export PATH=/usr/share/elasticsearch/bin/:$PATH3、首先你的es节点要是运行状态 然后运行elasticsearch-setup-passwords interactive 引导你设置各种组件的密码 这个密码要记着后面会用到
[root@iZwz9hvxttbua2na4zhmvqZ ~]# elasticsearch-setup-passwords interactive
Initiating the setup of passwords for reserved users elastic,apm_system,kibana,logstash_system,beats_system,remote_monitoring_user.
You will be prompted to enter passwords as the process progresses.
Please confirm that you would like to continue [y/N]y


Enter password for [elastic]:
Reenter password for [elastic]:
Enter password for [apm_system]:
Reenter password for [apm_system]:
Enter password for [kibana]:
Reenter password for [kibana]:
Enter password for [logstash_system]:
Reenter password for [logstash_system]:
Enter password for [beats_system]:
Reenter password for [beats_system]:
Enter password for [remote_monitoring_user]:
Reenter password for [remote_monitoring_user]:
Changed password for user [apm_system]
Changed password for user [kibana]
Changed password for user [logstash_system]
Changed password for user [beats_system]
Changed password for user [remote_monitoring_user]
Changed password for user [elastic]
4、修改ES配置
[root@iZwz9hvxttbua2na4zhmvqZ ~]# cat /etc/elasticsearch/elasticsearch.yml |grep -v "^#"
cluster.name: myes
node.name: node-1
path.data: /var/lib/elasticsearch
path.logs: /var/log/elasticsearch
network.host: 0.0.0.0
xpack.security.enabled: true   #其实就添加了这一项
discovery.type: single-node
5、重启es节点访问9200就需要密码啦如下图

6、kinaba开启访问密码
[root@iZwz9hvxttbua2na4zhmvqZ ~]# cat /etc/kibana/kibana.yml |grep -v "^#" |grep -v "^$"
server.host: "0.0.0.0"
elasticsearch.hosts: ["http://localhost:9200"]
elasticsearch.username: "kibana"
elasticsearch.password: "*******"  #这里是设置的kibana密码
i18n.locale: "zh-CN"
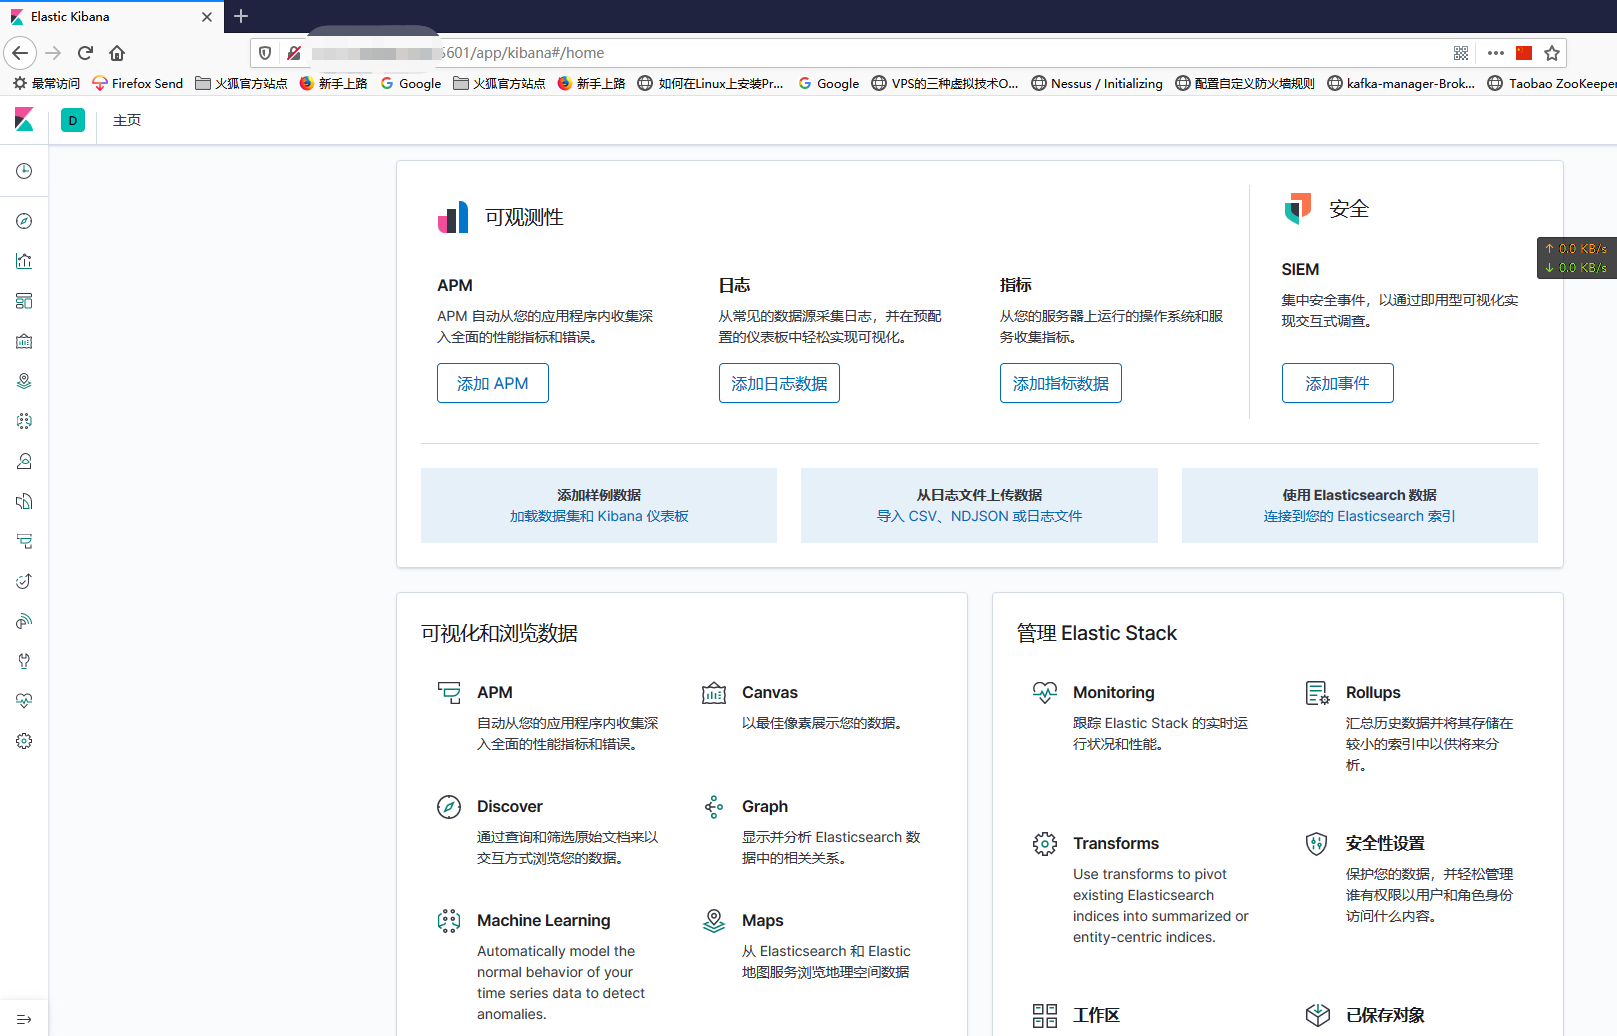
重启后访问

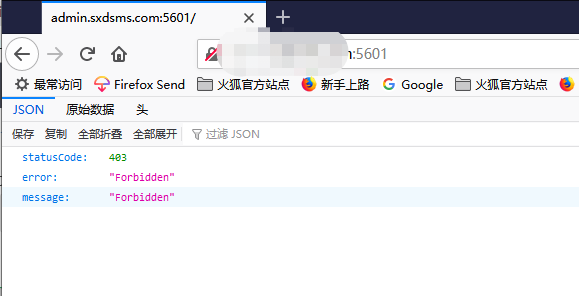
报错403注意这里我用的kibana用户访问的 google 查找后说要用elastic这个用户

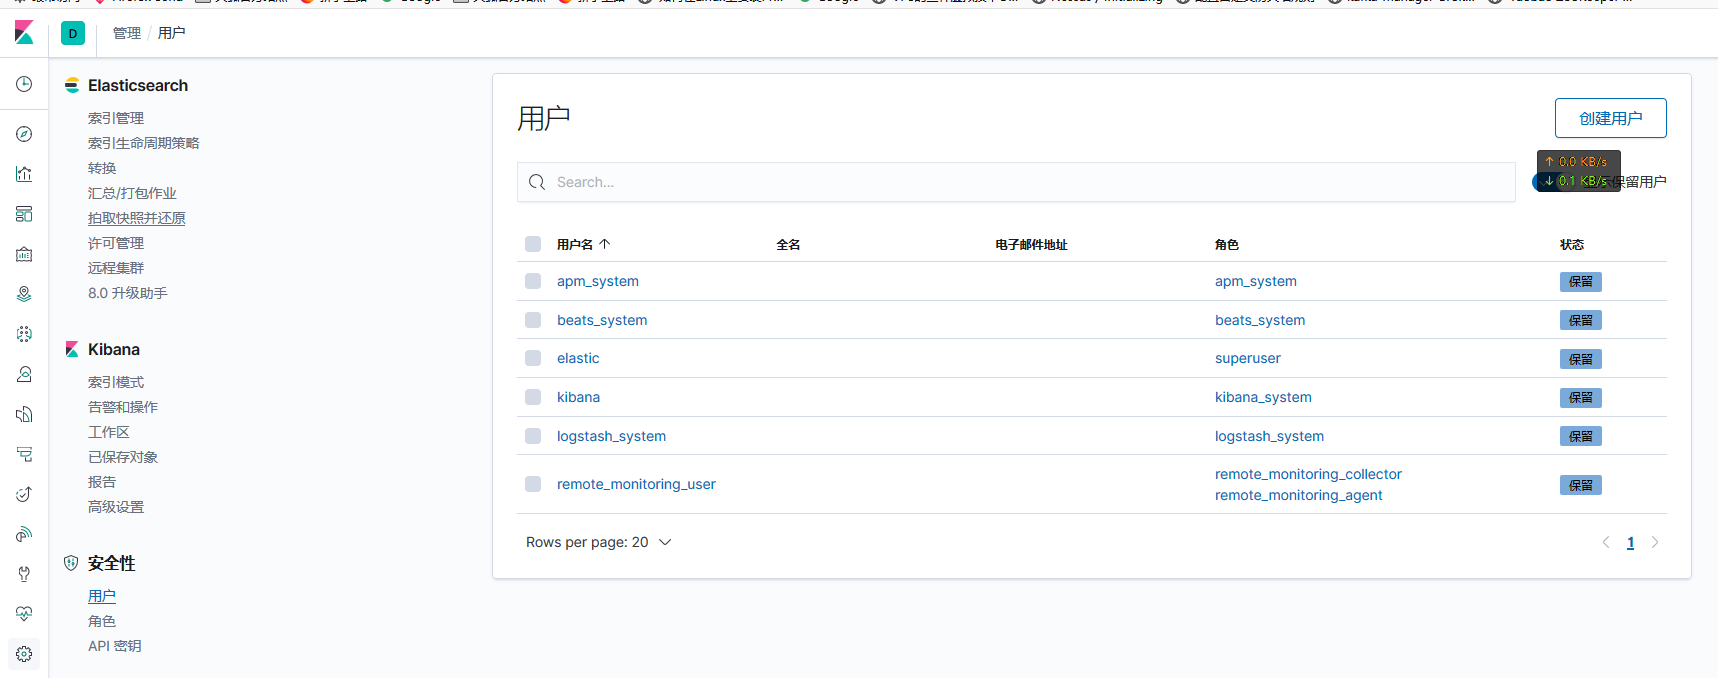
在kibana里查看用户
也可以创建用户

完成
来源:oschina
链接:https://my.oschina.net/kcw/blog/4282269