在VS Code中调试Jest单元测试
添加调试任务
- 打开 vscode launch.json 文件,在 configurations 内加入下面代码
"configurations": [
    {
        "name": "Jest Debug AllFile",
        "type": "node",
        "request": "launch",
        "protocol": "inspector",
        "program": "${workspaceRoot}/node_modules/jest/bin/jest",
        "stopOnEntry": false,
        "args": ["--runInBand", "--env=jsdom"],
        "runtimeArgs": [
            "--inspect-brk"
        ],
        "cwd": "${workspaceRoot}",
        "sourceMaps": true,
        "console": "integratedTerminal"
    },
    {
        "name": "Jest Debug File",
        "type": "node",
        "request": "launch",
        "protocol": "inspector",
        "program": "${workspaceRoot}/node_modules/jest/bin/jest",
        "stopOnEntry": false,
        "args": ["--runInBand", "--env=jsdom", "${fileBasename}"],
        "runtimeArgs": [
            "--inspect-brk"
        ],
        "cwd": "${workspaceRoot}",
        "sourceMaps": true,
        "console": "integratedTerminal"
    },
 ]
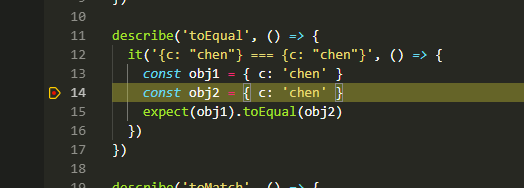
设置断点开始调试
-
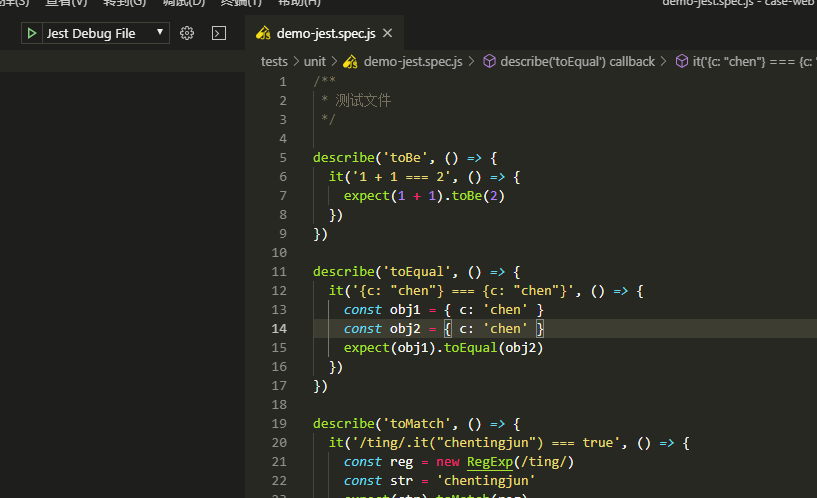
打开 vscode 的断点调试工具
-
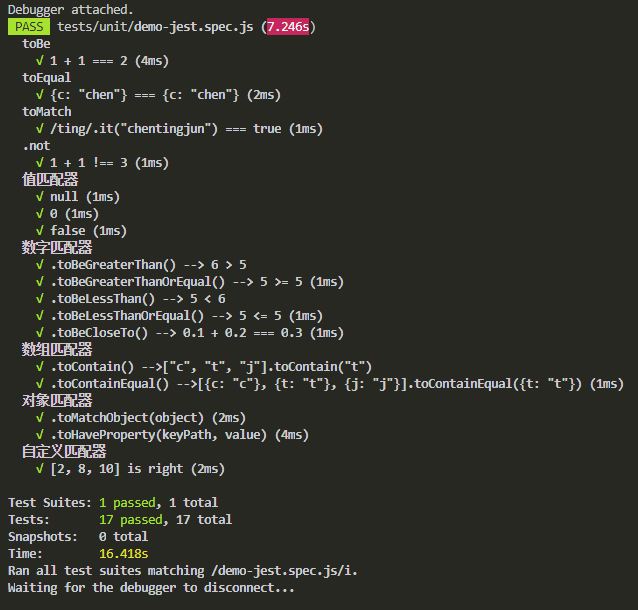
对单文件调试
在对应的测试文件下,执行 Jest Debug File -
对所有文件调试
在任意位置执行,执行 Jest Debug AllFile

-
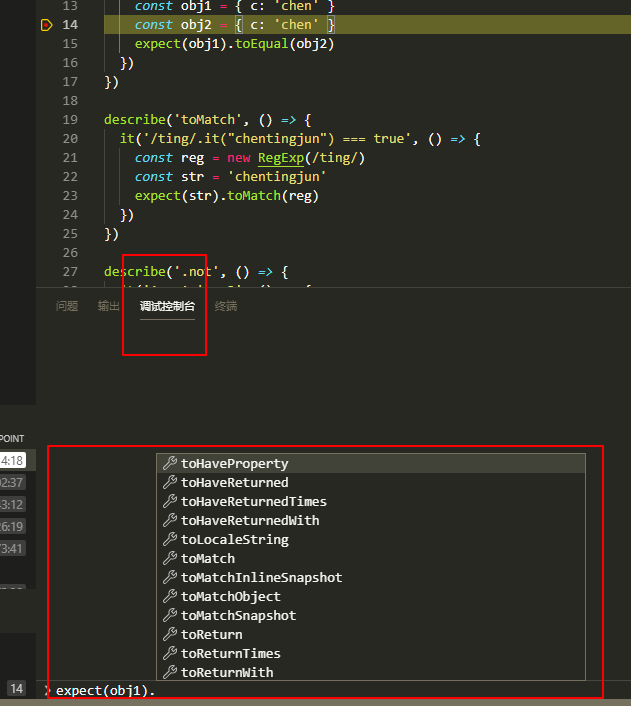
断点调试

在调试控制台,可以查看测试代码,以及提示
在VS Code中调试Jest单元测试
来源:oschina
链接:https://my.oschina.net/u/4289498/blog/3358878


