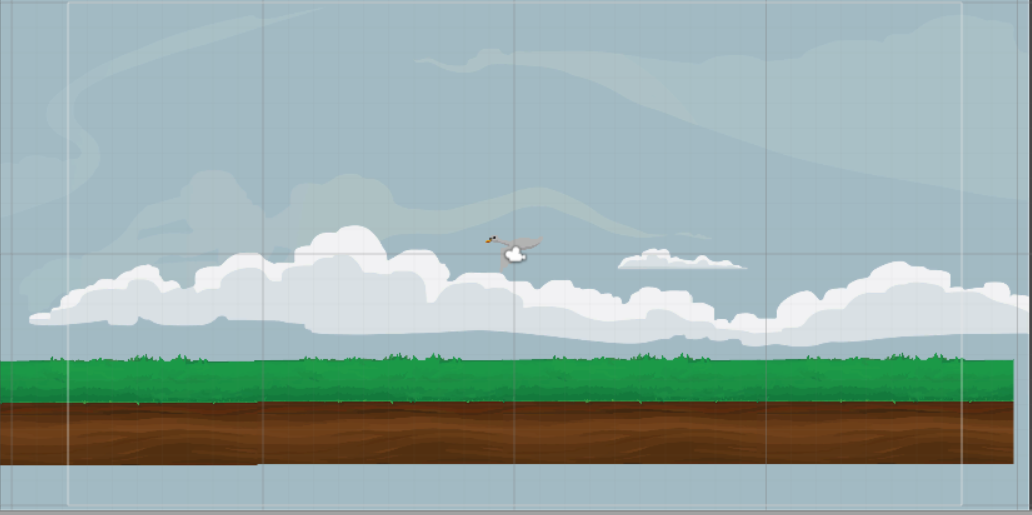
一、创建背景
- 创建新场景,建好基本文件夹,调整camera确保是正交投影模式,size调到10,导入相关素材。
- 在Sorting Layers中加两个工作层Background和Foreground(SortingLayer层级越靠前优先级越高,OrderLayer数字越大优先级越高)。
- 创建BG的sprite,将素材里面的天空背景放进sprite,Sorting Layer设置为Background。
- 将素材中的草地拖入场景,Sorting Layer设置为Background,OrderLayer设置为1,让它在天空背景的前面。
- 调整位置与天空BG和草地拖入一个命名为Background的Empty项目中一起管理,Empty位置为(0,0,0)。

创建天鹅飞过动画
- 找到素材里天鹅飞过的动画将SpriteMode属性设置为Multiultiple,打开Sprite Editor点击Slice菜单中的Slice按钮,就将这个动画的每一帧切割出来了。

- 创建天鹅飞过的动画的sprite,调整位置到(0,0,0),命名Swan,将素材swan_Sheet_0放进sprite,Sorting Layer设置为Background,OrderLayer设置为1。
- 点击window菜单Animation,打开对话框,创建一个Swan的动画,设置sample为10,点击Add Property——Sprite Renderer——sprite,添加动画关键帧,将天鹅飞的动画拖到起始位置。
- 写天鹅飞过的脚本
-
public class SwanMove : MonoBehaviour {
    private float speed = 0.06f;//天鹅飞行的速度
	// Use this for initialization
	void Start () {
        this.transform.position = new Vector3(16, 3, 0);//天鹅的初始位置
	}

	// Update is called once per frame
	void Update () {
        transform.position += new Vector3(-speed, 0, 0);//移动
        if (this.transform.position.x < -16)
        {
            this.transform.position = new Vector3(16, 3, 0);//移动范围
        }
	}
}
将脚本绑到天鹅上
帽子和球
-
帽子分为上下两部分,将上下两部分拖至场景中,放到Foreground层里。
-
帽子接球的时候,球会遮住上部分,且被下部分遮住,形成球掉进帽子的景象,所以上部分OrderLayer设置为0,下部分设置为2,调整帽子的大小和位置(可以将两部分放入一个Empty或者一部分放到另一部分里,方便操作)。
-
把球拖入场景中,放入Foreground层里,OrderLayer设置为1,调整大小和位置,添加Rigidbody2D和Circle Collider2D,将球做成预制件,删掉场景里的球。
二、游戏操作
- 创建帽子移动的脚本
public class HatMove : MonoBehaviour {
    private float speed = 0.2f;//帽子移动速度
	// Use this for initialization
	void Start () {

	}

	// Update is called once per frame
	void Update () {
        float h = Input.GetAxis("Horizontal")*speed;//横向移动
        Vector3 direction = new Vector3(h, 0, 0);//移动方向
        this.GetComponent<Transform>().Translate(direction);
	}
}
将脚本赋到帽子上
- 写帽子和球碰撞的脚本,碰撞后球消失的脚本
    void OnTriggerEnter2D(Collider2D coll)
    {
        Destroy(coll.gameObject);
    }
}
-
创建一个Empty作为球的载体
- 写控制球出现的脚本
public class GameController : MonoBehaviour {
    public GameObject ball;//存放预制件
    private float time = 2f;//产生球的间隔时间
    private GameObject newball;//产生的球

	// Use this for initialization
	void Start () {
        Vector3 screenPos = new Vector3(Screen.width, 0, 0);
        Vector3 moveWidth = Camera.main.ScreenToWorldPoint(screenPos);//将screenposition转换为世界坐标
	}

    void FixedUpdate()
    {
        time -= Time.deltaTime;
        if (time < 0)
        {
            time = Random.Range(0.5f, 2f);//产生球的间隔时间为0.5到2秒不等
            float posX = Random.Range(-10, 10);//产生位置的x轴范围
            float posY = Random.Range(4, 9);//产生位置的y轴范围
            Vector3 spawnPos = new Vector3(posX, posY, 0);//产生位置
            newball= (GameObject)Instantiate(ball, spawnPos, Quaternion.identity);//产生球
            Destroy(newball,2);//两秒钟后摧毁
        }
    }
	// Update is called once per frame
	void Update () {

	}
}
- 外部参数Ball选择素材里球的预制件
- 此时球只会在2秒后消失,要制作球碰到帽子后消失
- 新创建一个Empty,命名为Ground,添加Box Collider 2D,修改Ground的长度宽度使其包住地面,
- 帽子添加Rigidbody2D,GravityScale设为0,不受重力影响,添加Edge Collider2D,修改大小至能包括整个帽子,选中Is Trigger
- 添加帽子的脚本
    void OnTriggerEnter2D(Collider2D coll)
    {
        Destroy(coll.gameObject);
    }
将脚本加到Hat上面
三、游戏记录
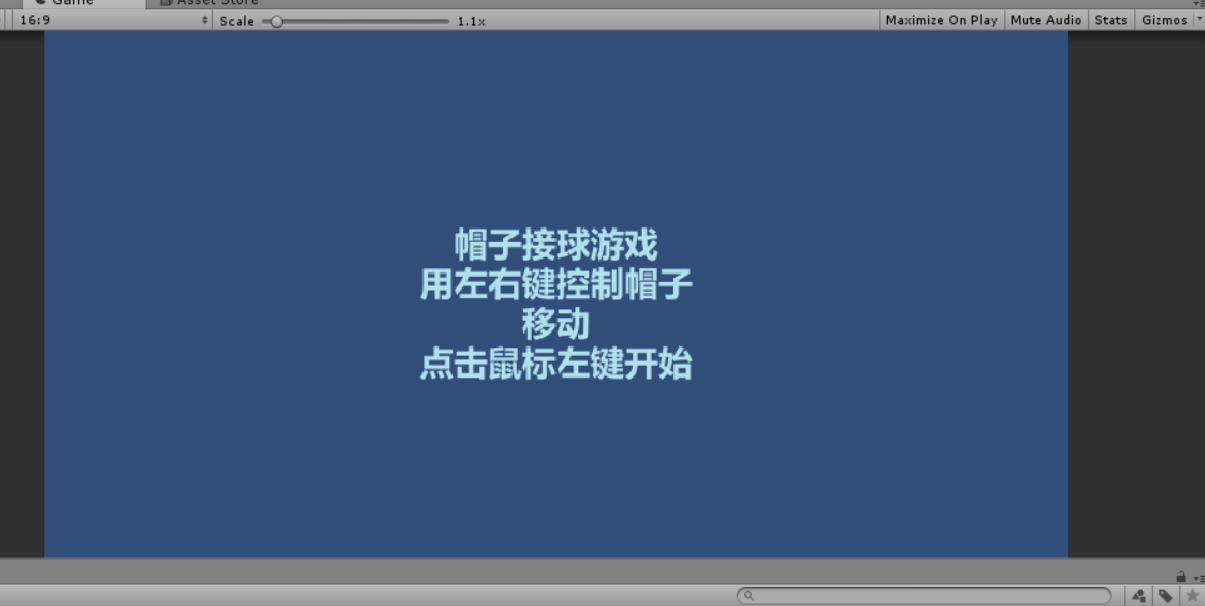
保存上面制作的场景,新建一个场景,作为游戏开始和游戏死亡后重新开始的界面。然后新建一个Text,调整位置,调整输入框的大小、字体样式输入内容
帽子接球游戏
用左右键控制帽子移动
点击鼠标左键开始游戏

保存该场景,将此场景(File-Build Setting)作为场景0,将之前的场景添加为场景1
添加该场景出现的脚本
using System.Collections;
using System.Collections.Generic;
using UnityEngine;
using UnityEngine.SceneManagement;

public class GameUI : MonoBehaviour
{
    // Use this for initialization
    void Start()
    {

    }
    // Update is called once per frame
    void Update()
    {
        if (Input.GetMouseButtonDown(0))
        {
            SceneManager.LoadScene(1);//
        }
    }
}
来源:oschina
链接:https://my.oschina.net/u/4462559/blog/3285869