1.Java程序引入相关依赖,后面用于调用智能合约中的函数
        <!-- https://mvnrepository.com/artifact/org.web3j/core -->
        <dependency>
            <groupId>org.web3j</groupId>
            <artifactId>core</artifactId>
            <version>4.5.15</version>
        </dependency>

        <!-- https://mvnrepository.com/artifact/com.squareup.okhttp3/okhttp -->
        <dependency>
            <groupId>com.squareup.okhttp3</groupId>
            <artifactId>okhttp</artifactId>
            <version>4.4.0</version>
        </dependency>

        <!-- https://mvnrepository.com/artifact/com.squareup.okhttp3/okhttp-ws -->
        <dependency>
            <groupId>com.squareup.okhttp3</groupId>
            <artifactId>okhttp-ws</artifactId>
            <version>3.4.2</version>
</dependency>2.将合约使用remix进行编译

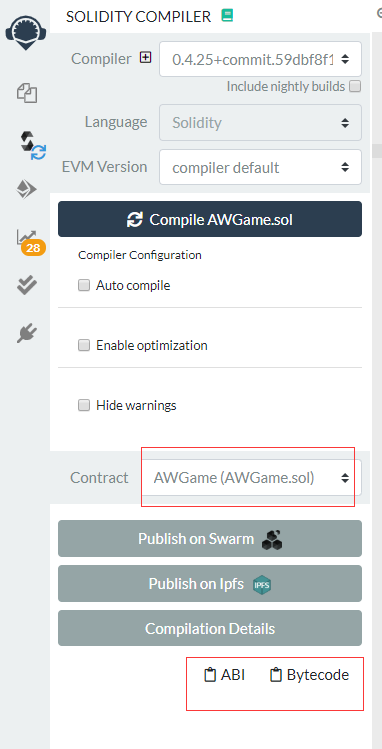
编译后,复制abi、Bytecode,放入指定位置,生成abi和bin文件

    @Test
    void generateABIAndBIN() {
        String abi = "";
        String bin = "";
        String abiFileName = "AWMain.abi";
        String binFileName = "AWMain.bin";
        File abiFile = new File("E:\\solidity\\xx\\xx\\"+ abiFileName);
        File binFile = new File("E:\\solidity\\xx\\xx\\"+ binFileName);
        if (!abiFile.getParentFile().exists()) {
            boolean result = abiFile.getParentFile().mkdirs();
            if (!result) {
                System.out.println("创建失败");
            }
        }
        BufferedOutputStream abiBos = null;
        BufferedOutputStream binBos = null;
        try {
            FileOutputStream abiFos = new FileOutputStream(abiFile);
            FileOutputStream binFos = new FileOutputStream(binFile);
            abiBos = new BufferedOutputStream(abiFos);
            binBos = new BufferedOutputStream(binFos);
            abiBos.write(abi.getBytes());
            abiBos.flush();
            binBos.write(bin.getBytes());
            binBos.flush();
        }catch (Exception e) {
            throw new RuntimeException("写入过程出现错误");
        }finally {
            if(abiBos != null) {
                try {
                    abiBos.close();
                } catch (IOException e) {
                    e.printStackTrace();
                }
            }
            if(binBos != null) {
                try {
                    binBos.close();
                } catch (IOException e) {
                    e.printStackTrace();
                }
            }
        }


}3.安装web3j

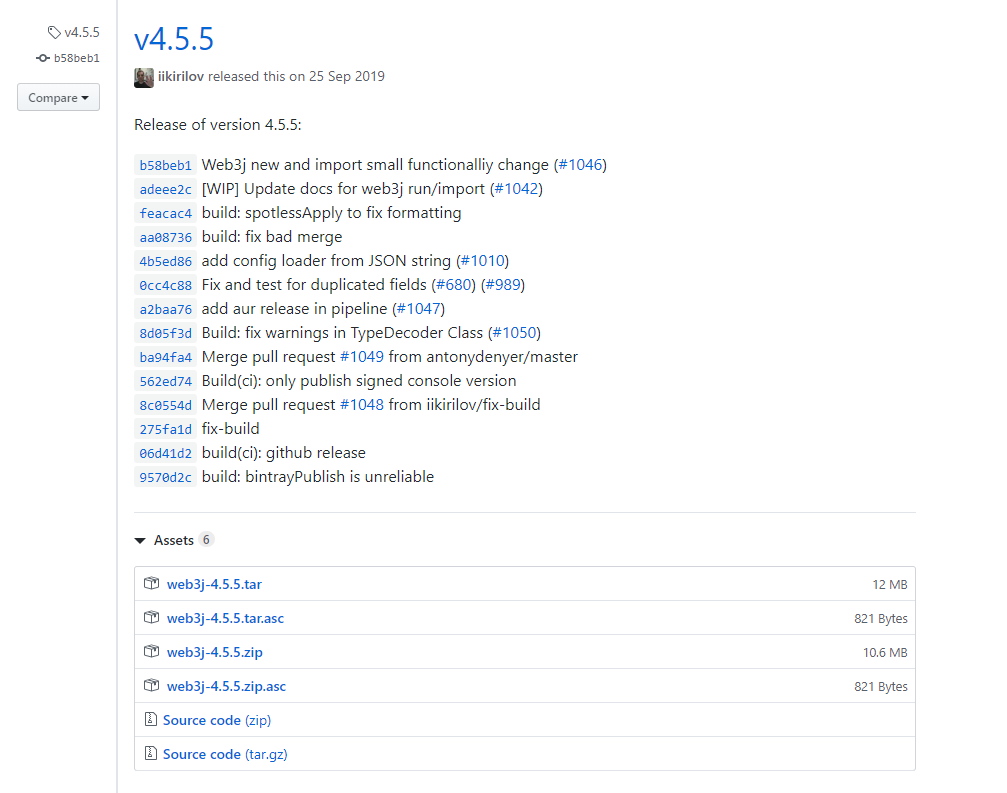
win 下载 web3j-4.5.5.zip,解压后配置环境变量
![]()
4.使用web3j生成Java代码
# 命令行输入
web3j solidity generate -b E:\solidity//AW//USDT//USDT.bin -a E:\solidity//AW//USDT//USDT.abi -o E:\project//IDEA_Project//learn_demo//web3j_demo//src//main//java -p com.rhynie.web3j_demo.contract.aw


-b 后面跟生成的bin文件 -a 后面跟生成的abi文件 -o后面放生成的java代码的存放位置 -p后面跟包名
5.java代码调用只能合约代码
    @Test
    void deployContract() throws Exception {
        Web3j web3 = Web3j.build(new HttpService("https://ropsten.infura.io/v3/xxxx"));
        String ownAddress = "0x119Eb8E686423E56b7cfc6F211C8CD4a9F71E3Cc";
//        Credentials c = WalletUtils.loadCredentials("密码","keystore文件地址");
        Credentials credentials = Credentials.create("私钥");
        AWToken awToken = AWToken.deploy(web3, credentials, web3.ethGasPrice().send().getGasPrice(), Contract.GAS_LIMIT).send();
        System.out.println(awToken.getContractAddress());

         // 调用合约的函数
         awToken.transfer("0x0", value);
    }
来源:oschina
链接:https://my.oschina.net/u/4188716/blog/3209457
