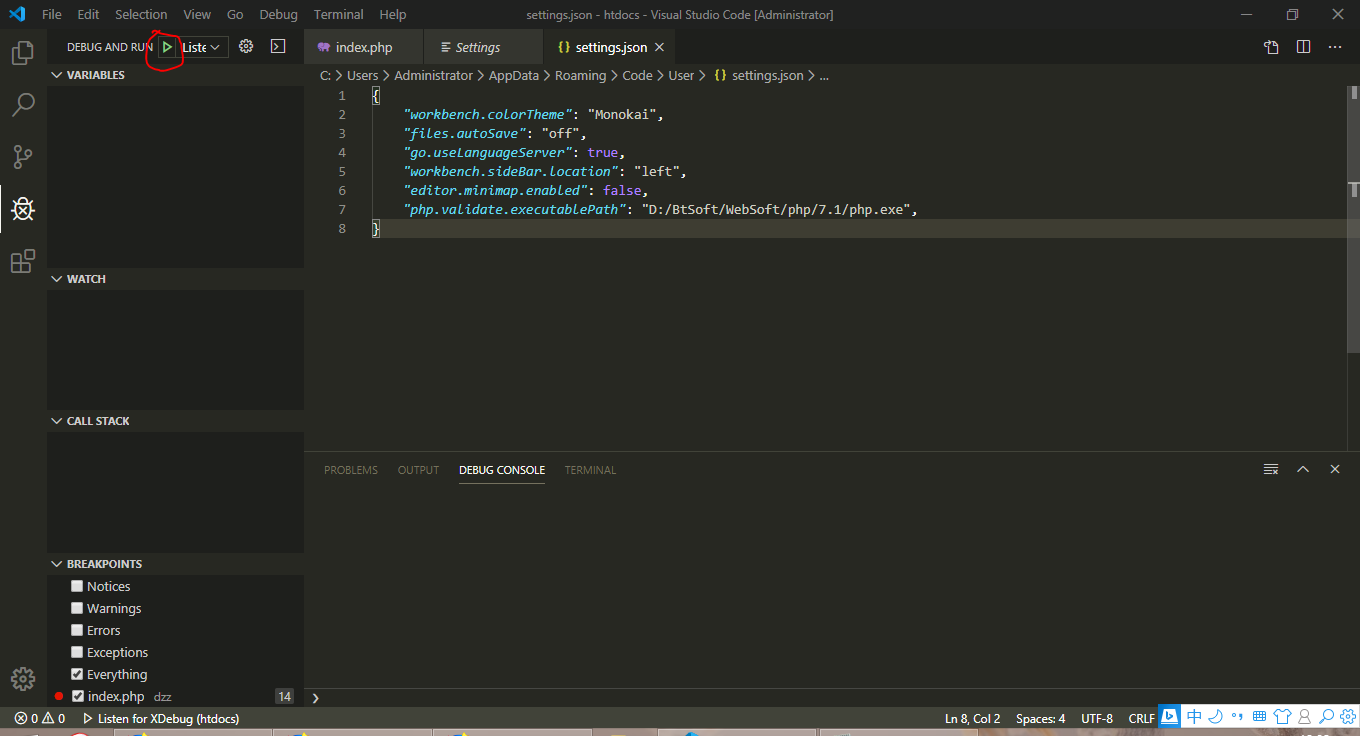
1、vsc插件
- 安装PHP Debug

-
插件PHP Extension Pack
2.vs code设置
...
...
"php.validate.executablePath": "D:/BtSoft/WebSoft/php/7.1/php.exe",
}}
3.配置xdebug
创建一个test.php,创建一条语句phpinfo(),然后将得到的信息粘贴到XDebug官网 XDebug installation wizard这个页面中。这个页面会分析好你的PHP环境
下载XDebug.dll
复制到{phproot}/ext/
在{phproot}/php.ini中
[XDebug]
zend_extension = "D:\BtSoft\WebSoft\php\7.1\ext\php_xdebug-2.9.1-7.1-vc14-nts.dll"
xdebug.auto_trace=on
xdebug.collect_params=on
xdebug.collect_return=on
xdebug.remote_enable = on
xdebug.remote_handler = dbgp
xdebug.remote_host = localhost
# 设置端口号,默认是9000,此处因为本地环境端口冲突故设置为9001(在vscode配置中需要用到)
xdebug.remote_port = 9001
xdebug.remote_autostart=on
# 这是用于phpstorm中xdebug调试的配置,在vscode中没有用到
xdebug.idekey = phpstorm
重启apache
4、必须先打开您的php项目目录,然后才能设置debug
点击齿轮,选择php--》选择listen for xdebug
.vscode\launch.json
端口设置为9001

5、F5点启动调试。 浏览器访问可调试网页
来源:oschina
链接:https://my.oschina.net/u/4142662/blog/3163778
