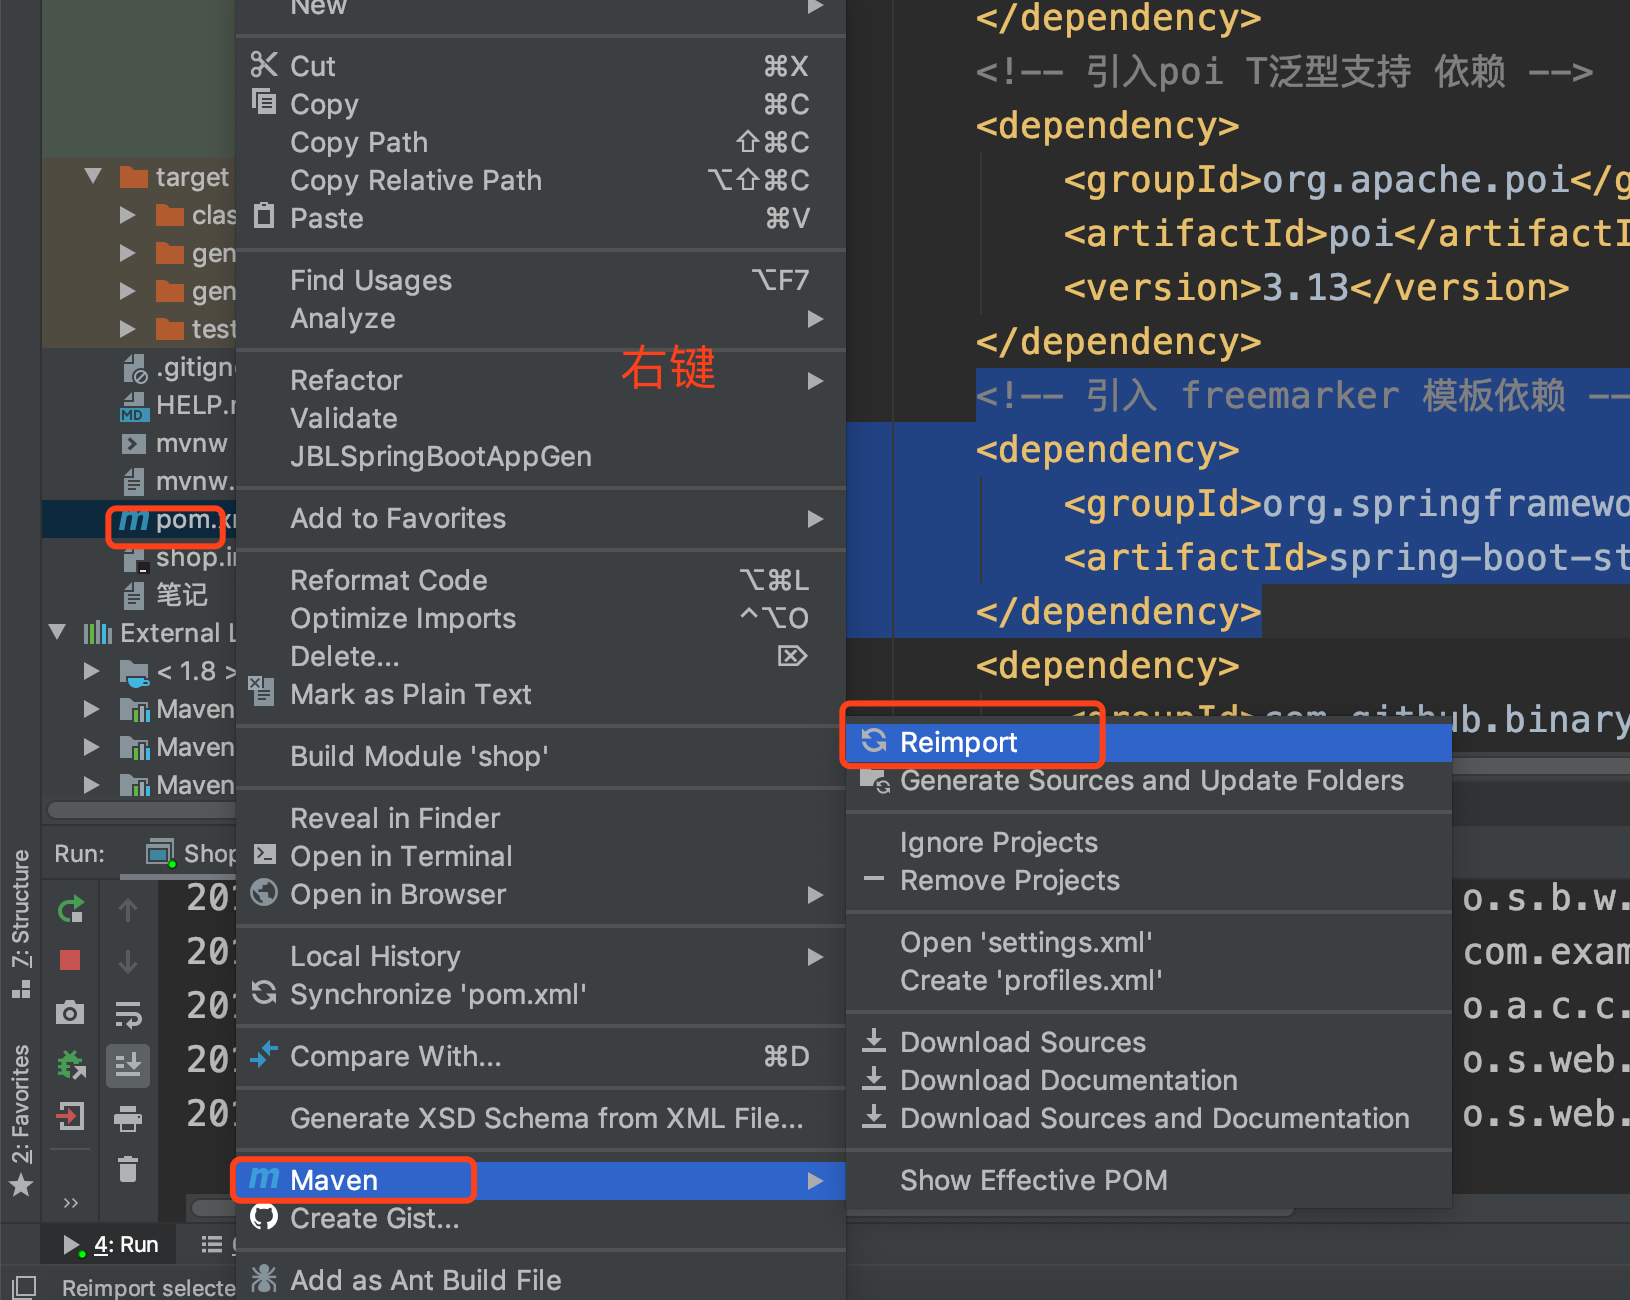
1、pom.xml 加入maven 依赖
<!-- 引入 freemarker 模板依赖 --><dependency> <groupId>org.springframework.boot</groupId> <artifactId>spring-boot-starter-freemarker</artifactId></dependency>
2、执行更新

3、在application.yml 中添加 feemarker 配置
spring: freemarker: allow-request-override: false cache: true check-template-location: true charset: UTF-8 suffix: .html templateEncoding: UTF-8 templateLoaderPath: classpath:/templates/ content-type: text/html expose-request-attributes: false expose-session-attributes: false expose-spring-macro-helpers: false4、控制器代码
@GetMapping(value = "/my")
    public ModelAndView my(ModelMap modelMap){
        ModelAndView mv = new ModelAndView("pay");
        modelMap.addAttribute("name","pengxingjiang");
        mv.addObject("address","四川-宜宾");
        HashMap<String,String> userInfo = new HashMap<>();
        userInfo.put("name","111");
        userInfo.put("tel","18888888888");
        mv.addObject("userInfo",userInfo);
        return mv;
}
5、视图文件代码
<!DOCTYPE html>
<html lang="en">
<head>
    <meta charset="UTF-8">
    <title>Title</title>
</head>
<body>
    ${name}
    ${address}
========
  ${userInfo.name}
  ${userInfo.tel}
</body>
</html>
来源:https://www.cnblogs.com/pxjbk/p/12010408.html