需要注意的是:安装 Tomcat 之前需要把 jdk 安装好。
一、下载安装包
- 安装可以在官网自行下载,下载 tar.gz 包便可。
二、解压缩:
tar -zxvf apache-tomcat-9.0.27.tar.gz
- 如果需要权限,执行以下命令
sudo chmod 777 apache-tomcat-9.0.27.tar.gz
:
三、配置环境变量
(1) 打开环境变量配置文件
sudo vim /etc/profile
(2) 在最下方添加如下命令:
export CATALINA_HOME=/usr/local/tomcat9/apache-tomcat-9.0.27
(3) 保存退出,通过vim的 ":wq"命令保存退出。如果还处于编辑状态,需要按下 Esc 键,在输入命令。 (4) 使命令生效:
source /etc/profile
(5) 配置 UTF-8 字符集(防止乱码问题) A. 进入 tomcat 安装 conf 文件夹,编辑server.xml 文件
cd /usr/local/tomcat9/apache-tomcat-9.0.27/conf
B. 编辑 server.xml 文件
vim server.xml
C. 找到配置 8080 默认端口的位置,在 xml 节点末尾添加 URIEncoding="UTF-8",如下:
         Java AJP  Connector: /docs/config/ajp.html
         APR (HTTP/AJP) Connector: /docs/apr.html
         Define a non-SSL/TLS HTTP/1.1 Connector on port 8080
    -->
    <Connector port="8080" protocol="HTTP/1.1"
               connectionTimeout="20000"
               redirectPort="8443"
                URIEncodeing="UTF-8"/>
    <!-- A "Connector" using the shared thread pool-->
    <!--
    <Connector executor="tomcatThreadPool"
               port="8080" protocol="HTTP/1.1"
               connectionTimeout="20000"
               redirectPort="8443" />
    -->
    <!-- Define an SSL/TLS HTTP/1.1 Connector on port 8443
         This connector uses the NIO implementation. The default
         SSLImplementation will depend on the presence of the APR/native
         library and the useOpenSSL attribute of the
         AprLifecycleListener.
         Either JSSE or OpenSSL style configuration may be used regardless of
         the SSLImplementation selected. JSSE style configuration is used below.
    -->
D. 保存退出,通过vim的 ":wq"命令保存退出。如果还处于编辑状态,需要按下 Esc 键,在输入命令。
四、验证 Tomcat 服务器
(1) 进入tomcat 的目录,找到 \bin,执行里面的 ./startup.sh

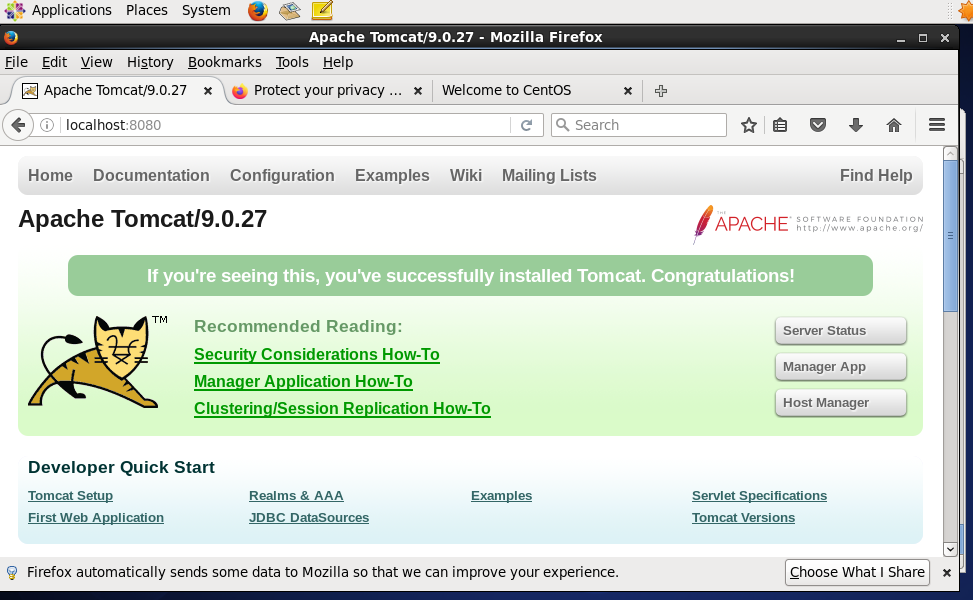
(2) 看到 Tomcat started,说明启动成功。打开浏览器输入 127.0.0.1:8080 or localhost:8080,看到下面界面,Tomcat 就已经安装成功了。
人若无名,专心练剑! 喜欢的朋友可以留下你的赞!
