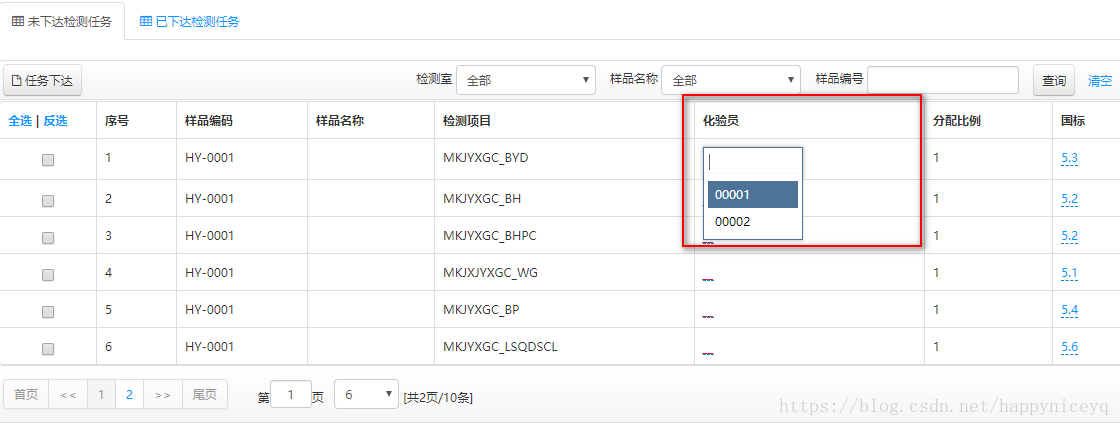
项目背景

步骤
1、jsp中添加引用
- <link type="text/css" href="${ctx}/static/comp/jquery-ui-bootstrap/css/bootstrap-editable.css" rel="stylesheet">
- <script src="${ctx}/static/comp/jquery-ui-bootstrap/js/bootstrap-editable.js" type="text/javascript"></script>
2、在jsp中编写代码
- <c:forEach items="${page.result}" var="m" varStatus="status">
- <tr>
- <td columnName="operator">
- <a href="#" class="employee" value=""data-pk="operator"
- data-type="select2">${m.employeeNo}
- </a>
- </td>
- </tr>
- </c:forEach>
- /**
- * table行内编辑事件,化验员单元格编辑事件
- */
- $('.employee').editable({ //employee标签
- type: "select2", //编辑框的类型--多选框
- disabled: false, //是否禁用编辑
- emptytext: "__", //空值的默认文本
- mode: "inline", //编辑框的模式:支持popup和inline两种模式,默认是popup
- showbuttons:false,
- validate: function (value) { //字段验证
- if (!$.trim(value)) {
- return '不能为空';
- }
- },
- select2: {
- multiple: true,//多选
- placeholder: '请选择化验员',
- width: '100px',
- },
- source: //下拉框数据源--后台获取list数据
- function () {
- var result1 = [];
- <c:forEach items="${employeeList}" var="s"> //employeeList后台返回数据
- result1.push({value: "${s.Id}", text: "${s.employeeNo}"});
- </c:forEach>
- return result1;
- },
- });
JS组件系列――BootstrapTable 行内编辑解决方案:x-editable
总结
来源:博客园
作者:那些年的代码
链接:https://www.cnblogs.com/zhuyeshen/p/11430679.html
