1.双11抢购搬瓦工VPS.配置如下:
- CPU:2 核
- 内存:2048 MB
- 硬盘:40 GB SSD
- 流量:1 TB
- 带宽:1 Gbps
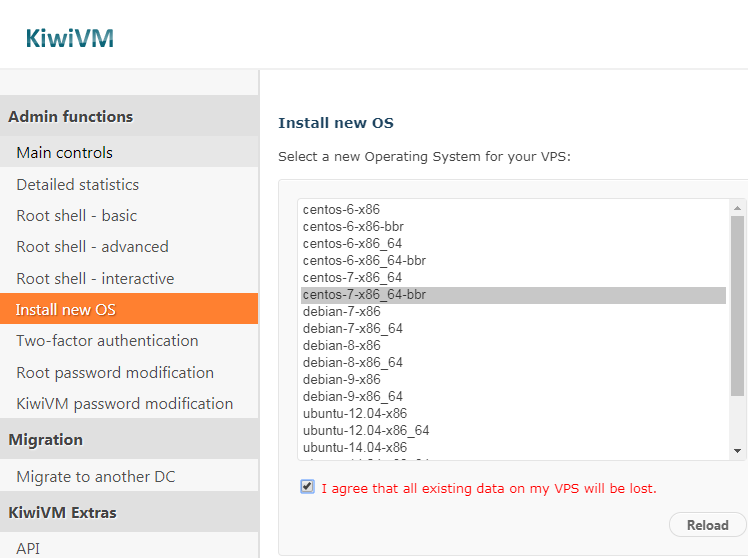
2.VPS安装Centos7-x86_64-bbr系统(bbr 是为了加速科学上网)
3.开启80端口
CentOS7打开80端口:
firewall-cmd --zone=public --add-port=80/tcp --permanent

systemctl restart firewalld.service
如果上述命令无法找到的话,使用以下命令
/sbin/iptables -I INPUT -p tcp --dport 80 -j ACCEPT

service iptables save

service iptables restart
4.安装Apache
安装之前都要记得,先执行update
yum update安装Apache
yum install httpd httpd-devel安装完成之后启动Apache
systemctl start httpd.service访问IP,成功如下图。

附上Apache几条命令(我已经偷偷设置开机启动)
systemctl start httpd.service #启动Apache

systemctl stop httpd.service #停止Apache

systemctl restart httpd.service #重启Apache

systemctl enable httpd.service #设置Apache开机启动
5.安装.Net Core 2.2(参照官方地址:https://dotnet.microsoft.com/learn/dotnet/hello-world-tutorial#linuxcentos)
sudo rpm -Uvh https://packages.microsoft.com/config/rhel/7/packages-microsoft-prod.rpmsudo yum updatesudo yum install dotnet-sdk-2.2安装完成之后,查看信息
dotnet --info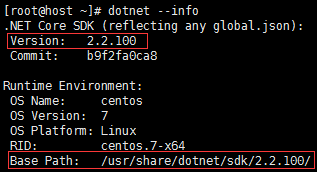
.Net Core 2.2.1的版本,以及安装的路径。
6.VS2017 创建一个MVC程序(参照官方地址:https://docs.microsoft.com/zh-cn/aspnet/core/host-and-deploy/linux-apache?view=aspnetcore-2.2)
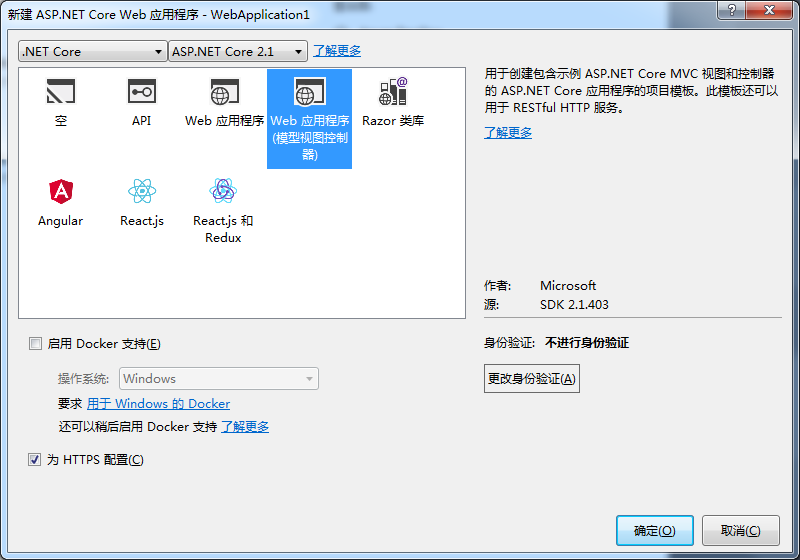
直接确定就好。
在Startup.cs类中添加引用:Microsoft.AspNetCore.HttpOverrides;
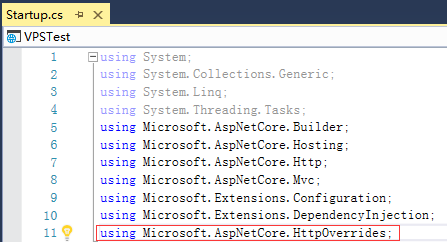
在Startup.cs类Configure方法中添加代码

app.UseForwardedHeaders(new ForwardedHeadersOptions
{
    ForwardedHeaders = ForwardedHeaders.XForwardedFor | ForwardedHeaders.XForwardedProto
});

app.UseAuthentication();
发布代码
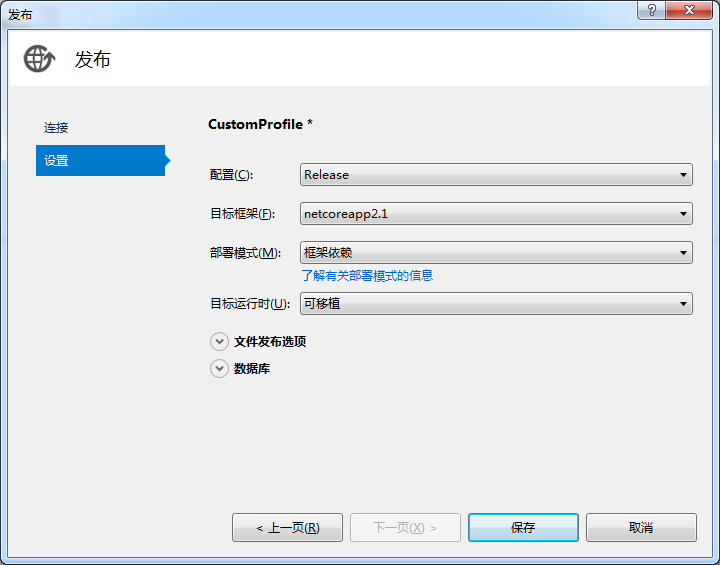
发布完成之后可以使用命令运行测试 (VPSTest是的项目名称 所以生成了VPSTest.dll) 默认端口为5000
dotnet G:\WebSite\VPSTest.dll上传代码 我使用FTP上传。上传路径为/var/www/html/MVC 我在Html文件夹里面新建了MVC文件夹 。
在Xshell中执行运行命令
dotnet /var/www/html/MVC/VPSTest.dll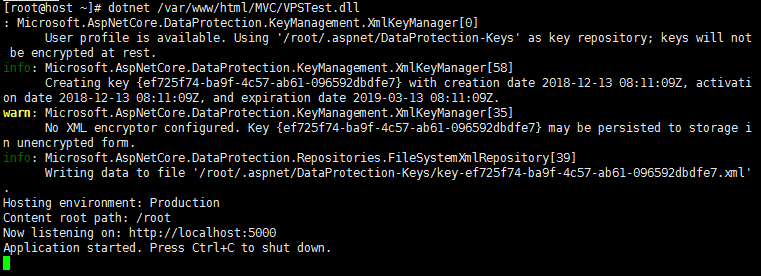
端口5000没有开放 只开放80端口。所以暂时还不能看到效果,出现如图一样的信息就是正常的。
7.配置Apache
在/etc/httpd/conf.d/路径中创建一个名为MVCTest.conf 的配置文件,代码如下
<VirtualHost *:80>
    ProxyPreserveHost On
    ProxyPass / http://127.0.0.1:5000/
    ProxyPassReverse / http://127.0.0.1:5000/
    ServerName www.xxx.com
    ServerAlias *.www.xxx.com
    ErrorLog ${APACHE_LOG_DIR}helloapp-error.log
    CustomLog ${APACHE_LOG_DIR}helloapp-access.log common
</VirtualHost>
其中域名为自己的。没有试过可不可以不填。
测试配置,如果正确会提示 Syntax [OK]
sudo service httpd configtest重启Apache,就可以访问IP看到效果了,但是断开Xshell之后就挂了。
8.Kestrel 进程守护配置
在/etc/systemd/system/创建服务文件名字为kestrel-MVCTest.service 代码如下:
[Unit]
Description=Example .NET Web API App running on CentOS 7

[Service]
WorkingDirectory=/var/www/html/MVC/
ExecStart=/usr/bin/dotnet /var/www/html/MVC/VPSTest.dll
Restart=always
# Restart service after 10 seconds if the dotnet service crashes:
RestartSec=10
KillSignal=SIGINT
SyslogIdentifier=dotnet-example
User=apache
Environment=ASPNETCORE_ENVIRONMENT=Production

[Install]
WantedBy=multi-user.target
需要注意WorkingDirectory的路径,ExecStart的命令格式(ExecStart dotnet的路径 dll的路径),不对的话会在状态中显示的。
保存该文件并启用该服务,并确认它正在运行
systemctl enable kestrel-MVCTest.service

systemctl start kestrel-MVCTest.service

systemctl status kestrel-MVCTest.service
启用成功,正常运行。我要去科学上网了。
来源:oschina
链接:https://my.oschina.net/u/4413400/blog/3642105