-
下载nexus安装包,当前使用2.3.1版本。解压后有两个文件夹
nexus-2.3.1-01、sonatype-work -
添加环境变量,路径为:
D:\nexus-2.3.1-01-bundle\nexus-2.3.1-01\bin,前面的路径根据自己的情况进行修改 -
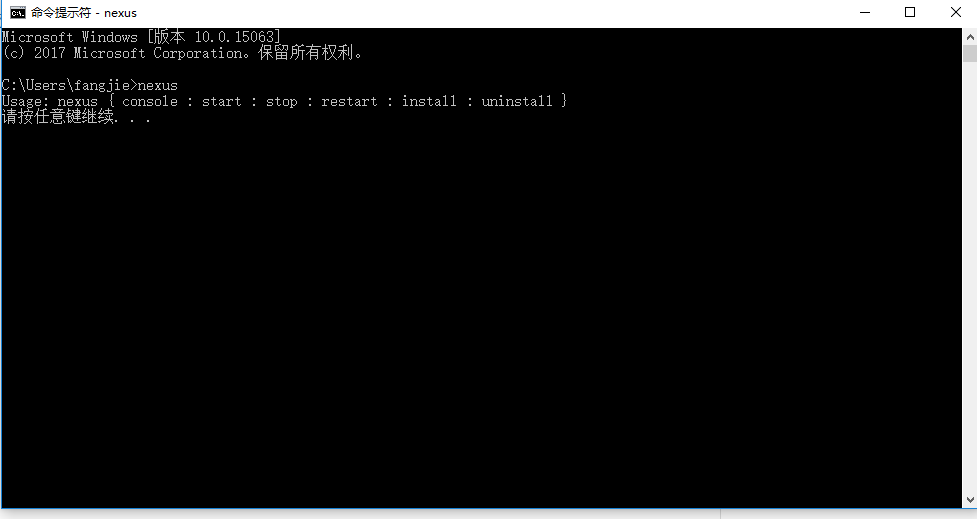
检查环境变量是否生效,进入cmd运行
nexus命令,出现如下情况标识成功:
-
安装服务。
 方式1:在nexus目录下运行bat文件:D:\nexus-2.3.1-01-bundle\nexus-2.3.1-01\bin\jsw\windows-x86-64\install-nexus.bat。
       前面的'windows-x86-64'为当前机器环境,推荐方式2.
 方式2:在cmd中直接运行命令:nexus install。
此过程中可能遇到提示错误
wrapper | OpenSCManager failed - 拒绝访问。 (0x5),需要使用管理员身份运行cmd命令。安装完成后在系统服务中可以看到新增了nexus的服务项 -
启动服务。
 方式1:在nexus目录下运行bat文件:D:\nexus-2.3.1-01-bundle\nexus-2.3.1-01\bin\jsw\windows-x86-64\start-nexus.bat。
       前面的'windows-x86-64'为当前机器环境,推荐方式2.
 方式2:在cmd中直接运行命令:nexus start。
此过程中可能遇到提示错误
The nexus service was launched, but failed to start.网上有帖子说在conf\nexus.properties文件中添加wrapper.startup.delay=30,本博主添加后问题没有得到解决。正确的解决方式为:在
bin\jsw\conf\wrapper.conf文件中找到# Set the JVM executable,将下面的wrapper.java.command设置好jdk路径wrapper.java.command=C:\Program Files\Java\jdk1.7.0_72\bin -
启动成功后浏览器访问:
http://localhost:8081/nexus即可看到nexus的web页面,登录账号密码默认为admin\admin123
来源:oschina
链接:https://my.oschina.net/u/1161660/blog/3015562
