-
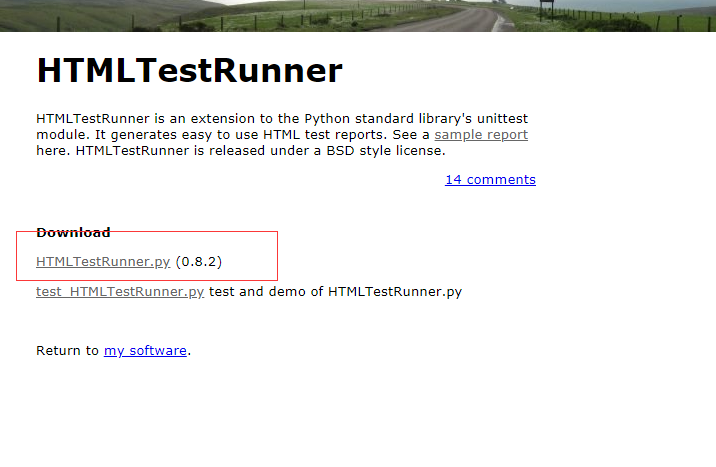
HTMLTestRunner下载地址:http://tungwaiyip.info/software/HTMLTestRunner.html,选择HTMLTestRunner.py下载

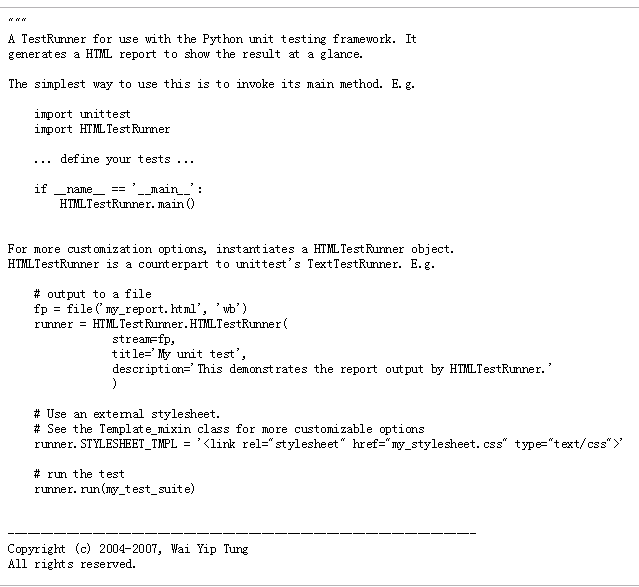
2.打开显示这个样子滴,这里需要注意右击另存为pycharm的Lib\site-packages目录下(不然是没有用滴)


3.我使用的是python 3.7(看别人说需要改文件)那这里就借鉴下,借鉴地址:https://www.cnblogs.com/dreamingmoon/p/5888527.html
第94行,将import StringIO修改成import io
第539行,将self.outputBuffer = StringIO.StringIO()修改成self.outputBuffer = io.StringIO()
第642行,将if not rmap.has_key(cls):修改成if not cls in rmap:
第766行,将uo = o.decode('latin-1')修改成uo = e
第775行,将ue = e.decode('latin-1')修改成ue = e
第631行,将print >> sys.stderr, '\nTime Elapsed: %s' % (self.stopTime-self.startTime)修改成print(sys.stderr, '\nTime Elapsed: %s' % (self.stopTime-self.startTime))
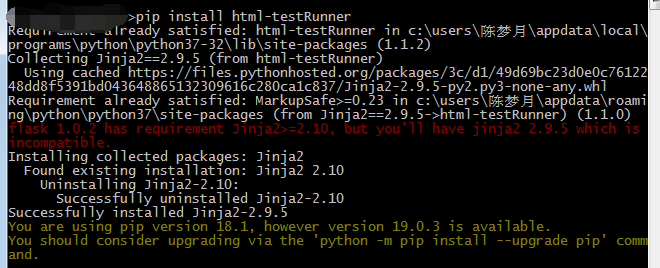
4.使用pip命令(前提是已经安装过pip)安装下pip install html-testRunner(因为我已经安装过啦所以提示下面内容)

5.安装成功后在交互界面验证下没提示就OK啦

找到保存目录最后结果:
不要像我粗心哦,配置文件一定要配对,配错也不要慌,大不了删除从新下载配置
来源:oschina
链接:https://my.oschina.net/u/4324321/blog/3621334