问题
So, we finished a few wpf conversions to .net core, and now we have a need to ship one to an external client as an installer. Previously we used ClickOnce, but that has been deprecated in .net core and will not be ported according to MS, with them recommending MSIX. However, as we understood from docs, even though we'll sideload a WPF application it will still run in a sandbox with a virtualized file system. And that is a no go for us, it has obviously been designed with UWP+Marketplace delivery in mind. We need the application on the file system with full access to file system, the "good old way".
We could just ship them as a zip file and have the client unpack, but management deemed that as not-so-professional, so we need a delivery package similar to what msi/clickonce had. Has anyone delivered apps on core outside MSIX?
回答1:
Well, apparently, we are again faced with "our way or the highway" from MS, so we just used Inno Setup. Until such time we get a proper installation process or MSIX allows unsandboxed setup without unnecessary file system abstraction, this will have to do.
回答2:
There are other tools such as Advanced Installer or InstallShield that can create a MSI/EXE installer now and later in case you decide to go with the MSIX, you will just add a new build to your current project.
The tool will automatically sync the content of the MSI with the MSIX, or at least this is what Advanced Installer does for you.
They also have a VS Extension, so you can build the installer inside your Visual Studio IDE.
回答3:
You can deploy .NET Core and .NET 5 applications internally in an organization by sideloading msix packages.
I have been successfully using Clickonce for deploying .NET line of business applications for years.
Now that I’m updating my apps to .NET Core I wanted something similar to Clickonce. In other words: publishing your installer in a network share and deploying your autoupdating app to your clients by simply coping a shortcut to your installer.
You can achieve this with msix packages. The problem is that you are limited to Windows 10 version 1709, and later
The solution came on December 19th with MSIX Core 1.1. Packaging your app with msix core support you can target Windows 7 SP1 and later, and this is something I needed because at work we are slowly transitioning to Windows 10 from Windows 7 and I still have to support old versions of windows.
The steps for packaging your .net core app using msix core are:
Create a Windows application packaging project in your solution.
Right click on the Applications subfolder of your Windows application packaging project and select Add Reference. Then select your target project.
Change your Package.manifest (reference: msix-packaging/MsixCore at master · microsoft/msix-packaging · GitHub) Right click your Package.manifest file and select View code Change your to:
  <Dependencies>
    <TargetDeviceFamily Name="MSIXCore.Desktop" MinVersion="6.1.7601.0" MaxVersionTested="10.0.10240.0" />
    <TargetDeviceFamily Name="Windows.Desktop" MinVersion="10.0.16299.0" MaxVersionTested="10.0.18362.0" />
  </Dependencies>
With this you stablish your min version to MSIXCore.Desktop in other words Windows 7 sp1.
Right click your Windows application packaging project and select Publish then Create App Packages.
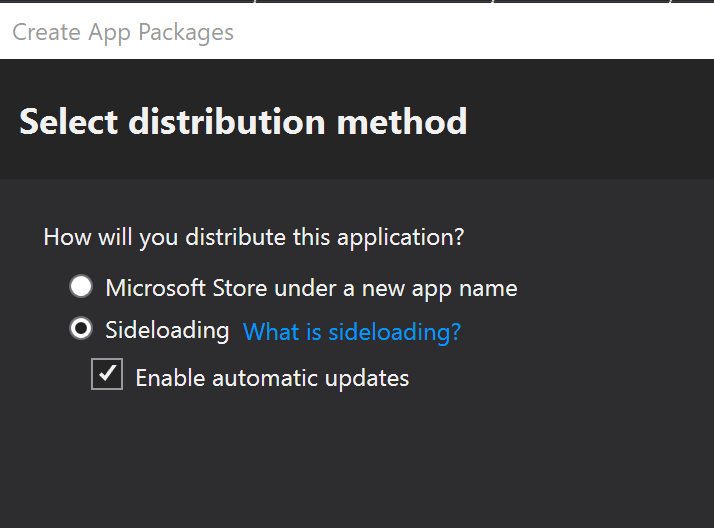
Choose Sideloading then check Enable automatic updates.

In order to install the package in the client machine you must sign it. I recommend you to create a self-signed certificate. You must install the certificate in the client machine so that the package is trusted and you can install it. If you are in a domain you can deploy your self-signed certificate with a group policy. The optimal situation is to sign the package with a trusted certificate provided by a trusted root certification authority. My personal choice is to create a certificate in my own windows certification authority (which is trusted in my local domain). If you decide to sign your package with a trusted cert this is the command line:
.\SignTool.exe sign /fd SHA256 /a /f yourcert.pfx /p yourpassword *.appx
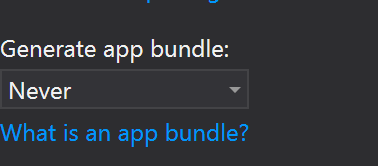
Select Generate app bundle to Never.

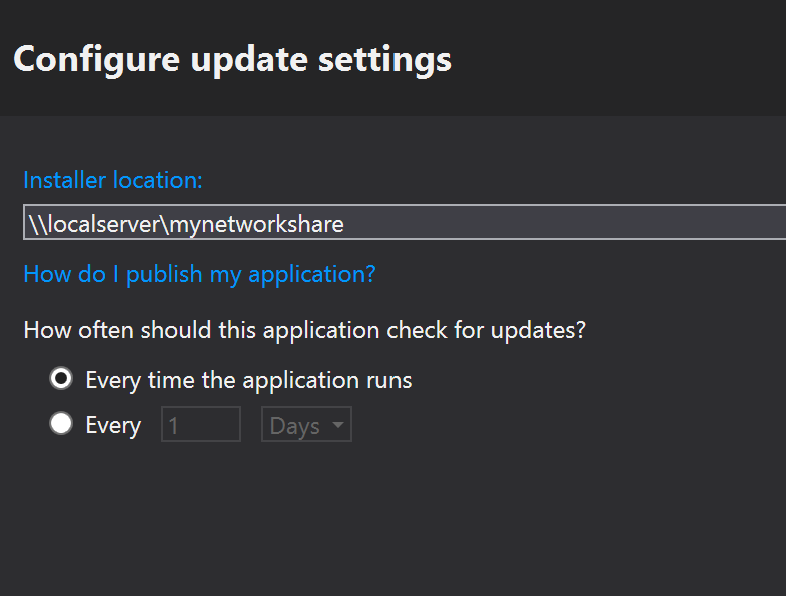
Select your network share for publishing the package

In order to execute your package installer in Windows 7 sp1 machines you must previously install msixmgrSetup-1.1.0.0-x64.msi or msixmgrSetup-1.1.0.0-x86.msi accordingly. You can find the installer here
Windows 10 machines will recognize the installer right away.
If you want to know more about msix packages you have a good explanation here
I hope this guide helps you to get your deployment system working.
来源:https://stackoverflow.com/questions/57955302/installer-for-net-core-3-wpf-winforms-non-msix

