1. 参考blog
http://www.mamicode.com/info-detail-1758066.html
https://www.cnblogs.com/sexiaoshuai/p/8399599.html
https://blog.csdn.net/zdj0925/article/details/55803547
https://blog.csdn.net/qq_27281257/article/details/82049634
2. 选择使用RPM包的方式进行升级, 一个方式是在线,另外一个方式是离线升级.
第一步查看centos7.6 的 kernel version

参照CentOS的官网:
http://elrepo.org/tiki/tiki-index.php安装 key
rpm --import https://www.elrepo.org/RPM-GPG-KEY-elrepo.org安装 elrepo
rpm -Uvh https://www.elrepo.org/elrepo-release-7.0-3.el7.elrepo.noarch.rpm查看可用的 kernel包
Study cnblog 感觉 disablerepo 和 enablerepo 的指令很好用.
yum --disablerepo="*" --enablerepo="elrepo-kernel" list available
可以安装ml 的版本
命令
yum -y install --enablerepo=elrepo-kernel kernel-ml* --skip-broken就可以进行安装了

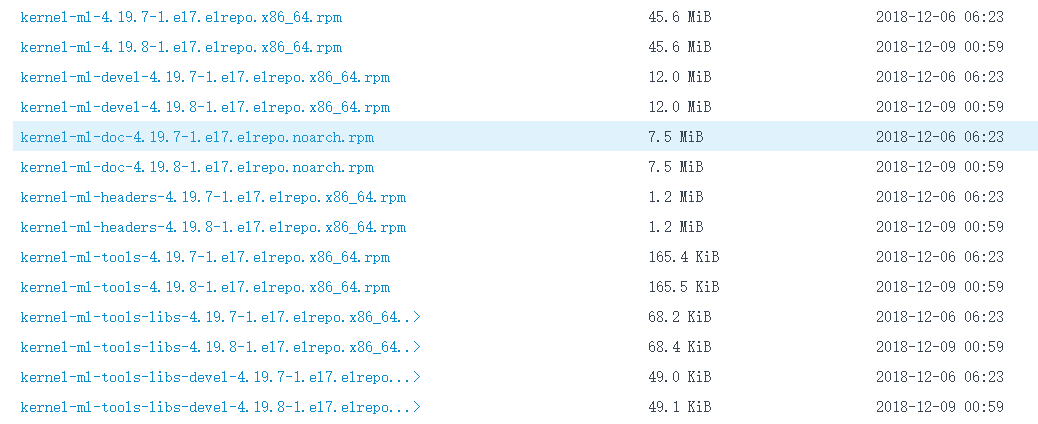
第二种使用离线方式进行安装
https://mirrors.tuna.tsinghua.edu.cn/elrepo/kernel/el7/x86_64/RPMS/
或者是官网
http://elrepo.org/linux/kernel/el7/x86_64/RPMS/
然后下载:

然后离线进行rpm包
2. 安装完之后 需要修改 grub2的启动内容.
第一种方法:
(https://blog.csdn.net/qq_27281257/article/details/82049634):
内核升级完毕后,需要我们修改内核的启动顺序,默认启动的顺序应该为1,升级以后内核是往前面插入为0
方法为: 打开并编辑 /etc/default/grub
vim /etc/default/grub
并设置GRUB_DEFAULT=0。一般新安装的内核在第一个位置,所以设置default=0,意思是 GRUB 初始化页面的第一个内核将作为默认内核。
修改为:

接下来运行下面的命令来重新创建内核配置。
grub2-mkconfig -o /boot/grub2/grub.cfg然后重启即可
第二种方法:
http://www.cnblogs.com/cnsong/p/7058000.html
先查看内核数目
cat /boot/grub2/grub.cfg |grep menuentry
然后使用命令设置默认启动
grub2-set-default 'CentOS Linux (4.19.8-1.el7.elrepo.x86_64) 7 (Core)'
reboot 重启即可
3. 查看启动界面以及 查看uname -r 的结果
启动界面的选项

启动之后的 内核版本:
[root@centos76 ~]# uname -r
4.19.8-1.el7.elrepo.x86_64
[root@centos76 ~]#
来源:oschina
链接:https://my.oschina.net/u/4408094/blog/3717998