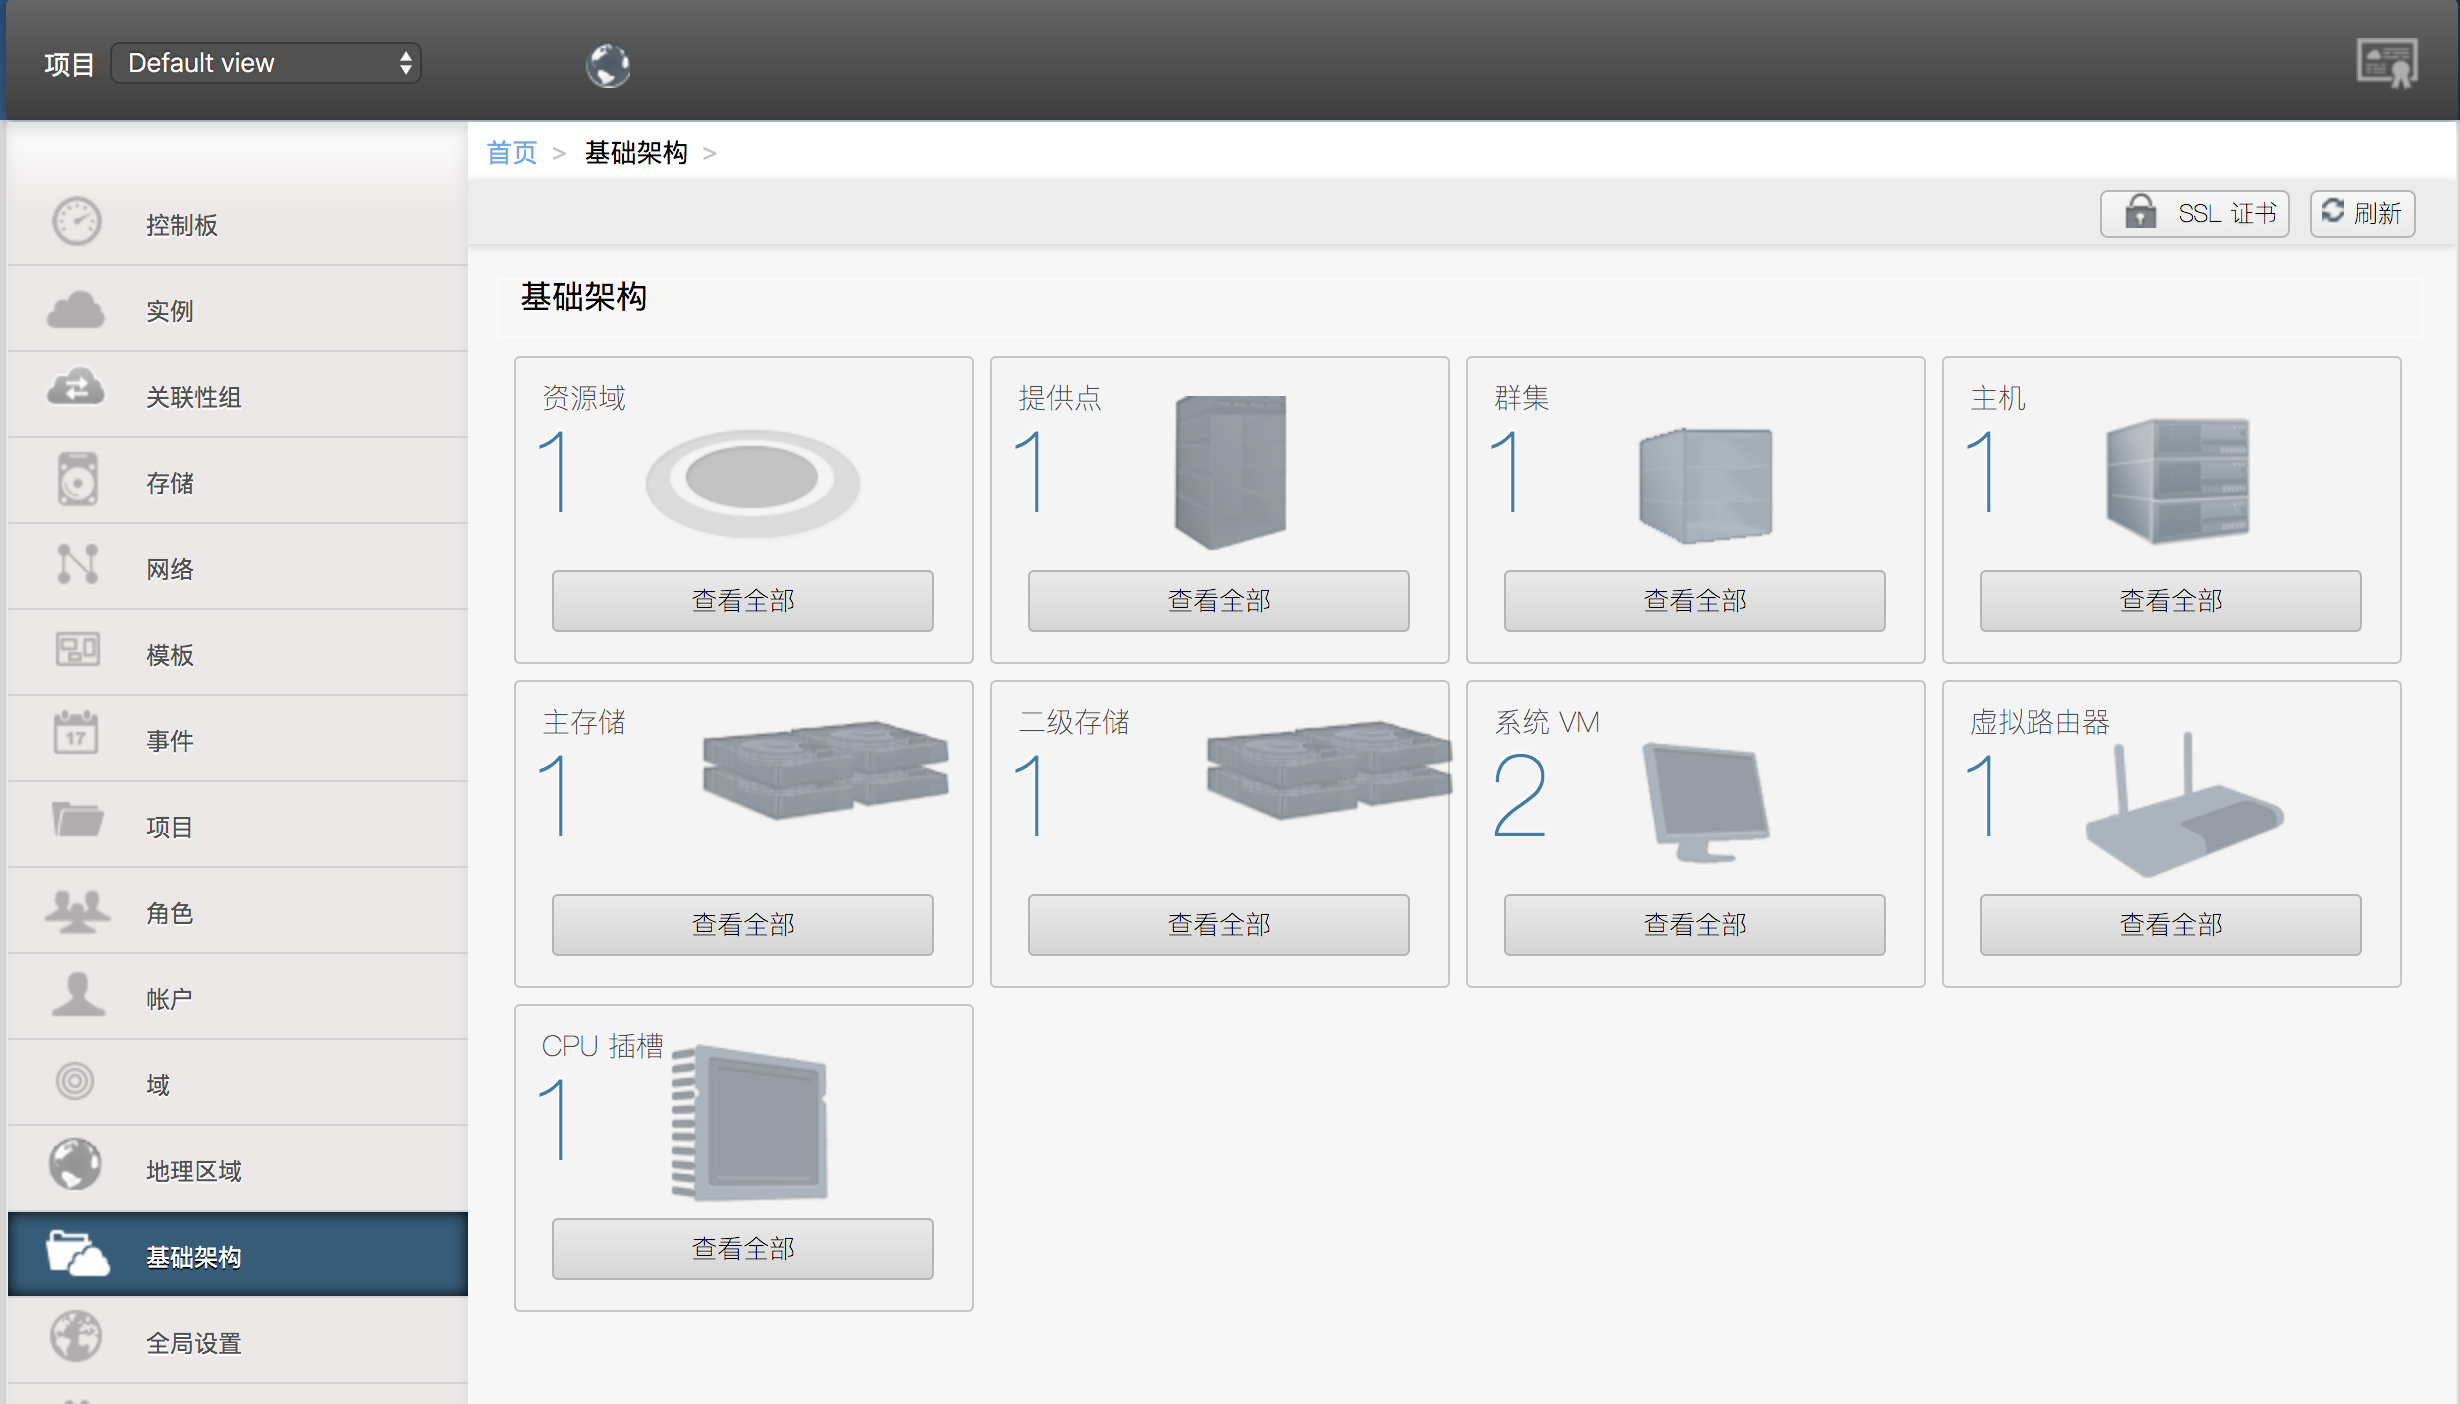
centos 7.x cloudstack 4.11
提示:生产环境 建议用ceph 块存储为主存储, 这里测试使用的是nfs主存储
|
|
|
组件
|
|---|---|---|
| 172.16.19.116 | cloudstack-management | nfs,mysql,cloudstack-management |
| 172.16.19.170 | cloudstack-agent | kvm, cloudstack-agent |
|
准备网段:
|
|
|
|---|---|---|
| 172.16.17.50-100 | 255.255.252.0 | 172.16.16.1 |
###cloudstack-management
1、系统基础配置
#hostnamectl set-hostname cloudstack-management
//安装ntp
#yum install ntp #systemctl enable ntpd && systemctl start ntpd
//关闭防火墙
#systemctl stop firewalld && systemctl disable firewalld && setenforce 0 #vim /etc/selinux/config SELINUX=permissive SELINUXTYPE=targeted
//配置yum源
#vim /etc/yum.repos.d/cloud.repo [cloudstack] name=cloudstack baseurl=http://cloudstack.apt-get.eu/centos/7/4.11/ enabled=1 gpgcheck=0
//master install
//安装nfs 服务 作为secondary存储
#yum -y install nfs-utils # vim /etc/sysconfig/nfs MOUNTD_PORT=892 STATD_PORT=662 STATD_OUTGOING_PORT=2020 # vim /etc/modprobe.d/lockd.conf options lockd nlm_tcpport=32803 options lockd nlm_udpport=32769 #vim /etc/nfsmount.conf Nfsvers=4 #mkdir /home/nfs/secondary -p #systemctl start rpcbind && systemctl enable rpcbind #systemctl start nfs && systemctl enable nfs
//install mysql-server
#wget http://repo.mysql.com/mysql-community-release-el7-5.noarch.rpm # rpm -ivh mysql-community-release-el7-5.noarch.rpm #yum install mysql-server mysql-connector-python
#vim /etc/my.cnf innodb_rollback_on_timeout=1
innodb_lock_wait_timeout=600
max_connections=350
log-bin=mysql-bin
binlog-format = 'ROW'
#systemctl start mysqld.service && systemctl enable mysqld.service
//cloudstack management install
#yum -y install cloudstack-management #cloudstack-setup-databases cloud:password@localhost --deploy-as=root #/usr/share/cloudstack-common/scripts/storage/secondary/cloud-install-sys-tmplt -m /home/nfs/secondary -u http://cloudstack.apt-get.eu/systemvm/4.11/systemvmtemplate-4.11.1-kvm.qcow2.bz2 -h kvm -F #cloudstack-setup-management #systemctl restart cloudstack-management && systemctl enable cloudstack-management
//cloudstack-agent
1、系统基础配置
2、ntp配置
3、yum配置
//安装cloudstack-agent
#yum -y install cloudstack-agent //libvirtd配置
#vim /etc/libvirt/qemu.conf
vnc_listen=0.0.0.0 #vim /etc/libvirt/libvirtd.conf listen_tls = 0
listen_tcp = 1
tcp_port = "16059"
auth_tcp = "none"
mdns_adv = 0
//网络配置
#cat /etc/sysconfig/network-scripts/ifcfg-enp0s25
DEVICE=enp0s25 ONBOOT=yes HOTPLUG=no BOOTPROTO=none TYPE=Ethernet BRIDGE=cloudbr0 #cat /etc/sysconfig/network-scripts/ifcfg-cloudbr0 DEVICE=cloudbr0 TYPE=Bridge ONBOOT=yes BOOTPROTO=static IPV6INIT=no IPV6_AUTOCONF=no DELAY=5 IPADDR=172.16.19.170 NETMASK=255.255.252.0 GATEWAY=172.16.16.1 DNS1=172.16.16.250 DNS2=172.16.16.250 STP=yes #cat /etc/sysconfig/network GATEWAY=172.16.16.1

#/etc/init.d/network restart
//配置agent 与启动服务
#cloudstack-setup-agent
#systemctl restart libvirtd.service && systemctl enable libvirtd #systemctl start cloudstack-agent && systemctl enable cloudstack-agent
##登陆 ui
http://172.16.19.116:8080/client/
初始化用户名密码是 admin/password
1、安全组配置
2、全局参数
secstorage.allowed.internal.sites ---> 172.16.0.0/16 network.throttling.rate ---> 0 vm.network.throttling.rate -→0 kvm.snapshot.enabled →true

参考文档:http://echoyun.com/2018/12/15/install-cloudstack-4-11-1-0-centos-7-5/ 与 官网配置
来源:oschina
链接:https://my.oschina.net/u/4290836/blog/3568565
