碰撞反弹算法是小游戏开发中非常常用的一种算法,像是打砖块、弹一弹等经典小游戏的核心算法都是碰撞的判断与响应,那就让我们通过一个简单的例子来看一看在canvas上是怎么实现碰撞判断与反弹的效果的
<iframe width="100%" height="300" src="//jsrun.net/pGgKp/embedded/all/light/" allowfullscreen="allowfullscreen" frameborder="0"></iframe>
首先我们得有一个球
- 让我们尝试着将小球单独封装成一个类
// 封装一个小球类
class Ball {
  constructor(x, y, radius) {
    this.x = x
    this.y = y
    this.radius = radius
    this.angle = Math.random() * 180
    this.speed = 5
  }

  draw(ctx) {
    ctx.arc(this.x, this.y, this.radius, 0, 2 * Math.PI)
    ctx.fillStyle = 'blue'
    ctx.fill()
  }
}
这里的封装很简单,小球类仅暴露出了一个方法,用于将其绘制于指定的canvas画布上,此外拥有自身的坐标、半径、运动角度和速度属性(现在的小球类肯定是存在问题的,至于什么问题,你猜( ̄︶ ̄)↗ 涨) 2. 然后我们需要将小球绘制到画布上
// 获取canvas画布和context
const canvas = document.getElementById('canvas')
const ctx = canvas.getContext('2d')

ctx.strokeRect(0, 0, canvas.width, canvas.height)
const ball = new Ball(canvas.width / 2, canvas.height / 2, 20)
ball.draw(ctx)
这里的代码也很简单,我们生成了一个半径为20的小球,并将其绘制在canvas画布的中央位置,效果如下图
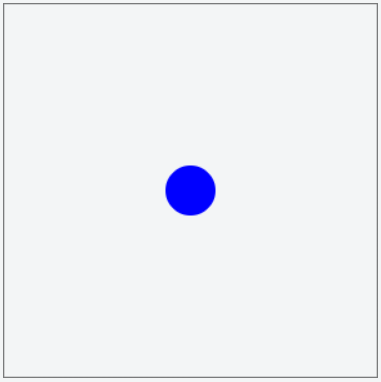
球有了,该让它动起来了
在canvas中实现的动画的方法有很多,但原理无非都是通过不停的擦除和重绘,只要我重绘的速度足够快,你的肉眼就跟不上我,从而也就实现了动画的效果。一般而言,只要每秒重绘的次数达到24次,也即24帧/秒,人眼便感觉不到延迟了。
要实现这样快速的擦除和重绘,我们很自然地能想到用setTimeout和setInterval方法,这确实可以实现动画的效果,不过在制作canvas动画时,我们更推荐的是使用window对象封装的requestAnimationFrame方法,专为动画而生。
function drawFrame () {
  window.requestAnimationFrame(drawFrame, canvas)
  canvas.height = canvas.height // 清空画布

  // 绘制墙壁
  ctx.strokeRect(0, 0, canvas.width, canvas.height)

  // 计算小球下一帧的坐标
  ball.x++

  // 绘制
  ball.draw(ctx)
}

drawFrame()
requestAnimationFrame的使用方法也很简单,只需要我们定义一个绘制函数,每一次调用都会刷新小球的坐标,然后作为回调函数传递给requestAnimationFrame即可,其实乍一看跟setTimeout的用法挺像的,只不过不再需要我们手动设置延迟时长
让我们来看看现在的效果

很好,小球已经如我们预期的那样动起来了,可现在的小球触碰到边界后就消失不见了,这显然不是我们想看到的
接下来,让我们的小球和墙壁亲密碰撞一下吧
很简单,只需要改一下drawFrame函数
function drawFrame () {
  window.requestAnimationFrame(drawFrame, canvas)
  canvas.height = canvas.height // 清空画布

  // 绘制墙壁
  ctx.strokeRect(0, 0, canvas.width, canvas.height)

  // 计算小球下一帧的坐标
  if (ball.x > canvas.width || ball.x < 0) ball.speed = -ball.speed
  ball.x += ball.speed

  // 绘制
  ball.draw(ctx)
}
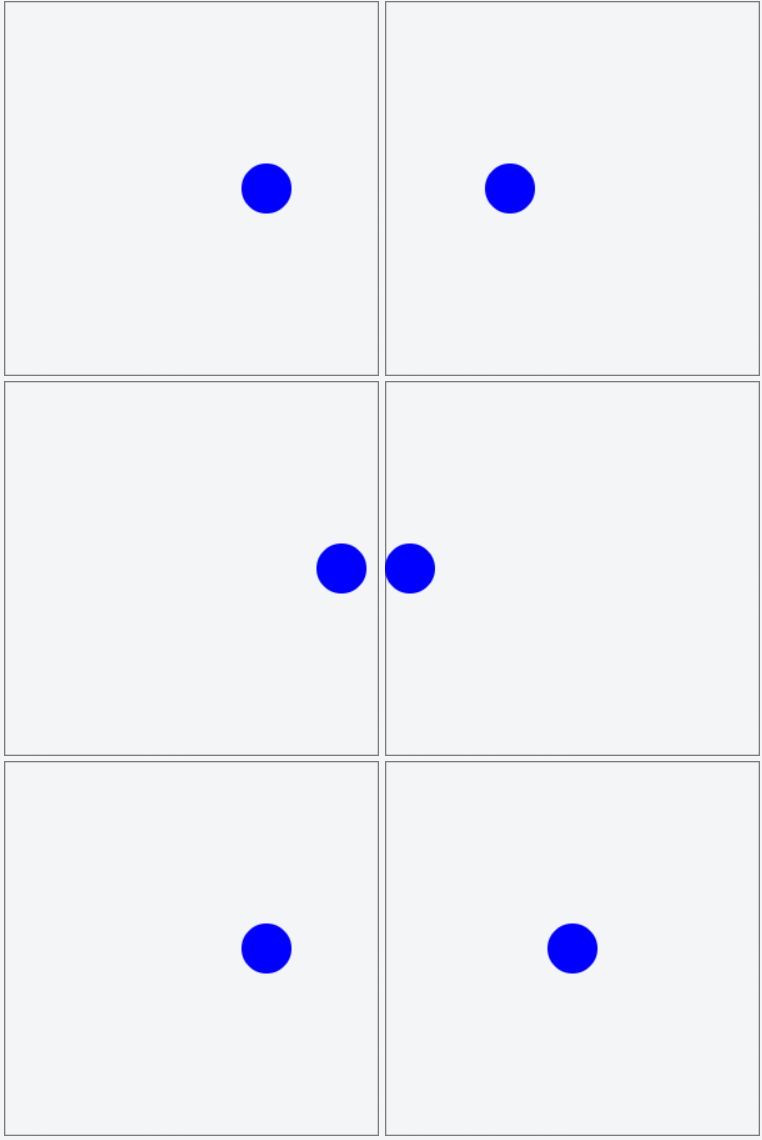
好玩吧,只需要将速度取一下负数,便实现了x方向的碰撞反弹效果。不过实际开发中的碰撞反弹当然不会是这么简单,游戏中的碰撞不仅仅有x方向上的,还有y方向上的,甚至小球的运动方向还会带有角度,这又该怎么实现呢?
带有角度的自由碰撞与反弹
这里的原理我不再赘诉,直接给出代码
function drawFrame () {
  window.requestAnimationFrame(drawFrame, canvas)
  canvas.height = canvas.height // 清空画布

  // 绘制墙壁
  ctx.strokeRect(0, 0, canvas.width, canvas.height)

  // 判断与墙壁的碰撞反弹
  if (ball.x + ball.radius > canvas.width) {
    ball.angle = 180 - ball.angle
  }
  if (ball.x - ball.radius < 0) {
    ball.angle = -(180 + ball.angle)
  }
  if (ball.y - ball.radius < 0 || ball.y + ball.radius > canvas.height) {
    ball.angle = -ball.angle
  }

  // 计算小球下一帧的坐标
  ball.x += ball.speed * Math.cos(ball.angle * Math.PI / 180)
  ball.y -= ball.speed * Math.sin(ball.angle * Math.PI / 180)

  // 绘制
  ball.draw(ctx)
}
这里涉及到一些角度的计算,不过都是很基础的数学几何知识,用纸笔仔细画一下便能想通,让我们看看效果
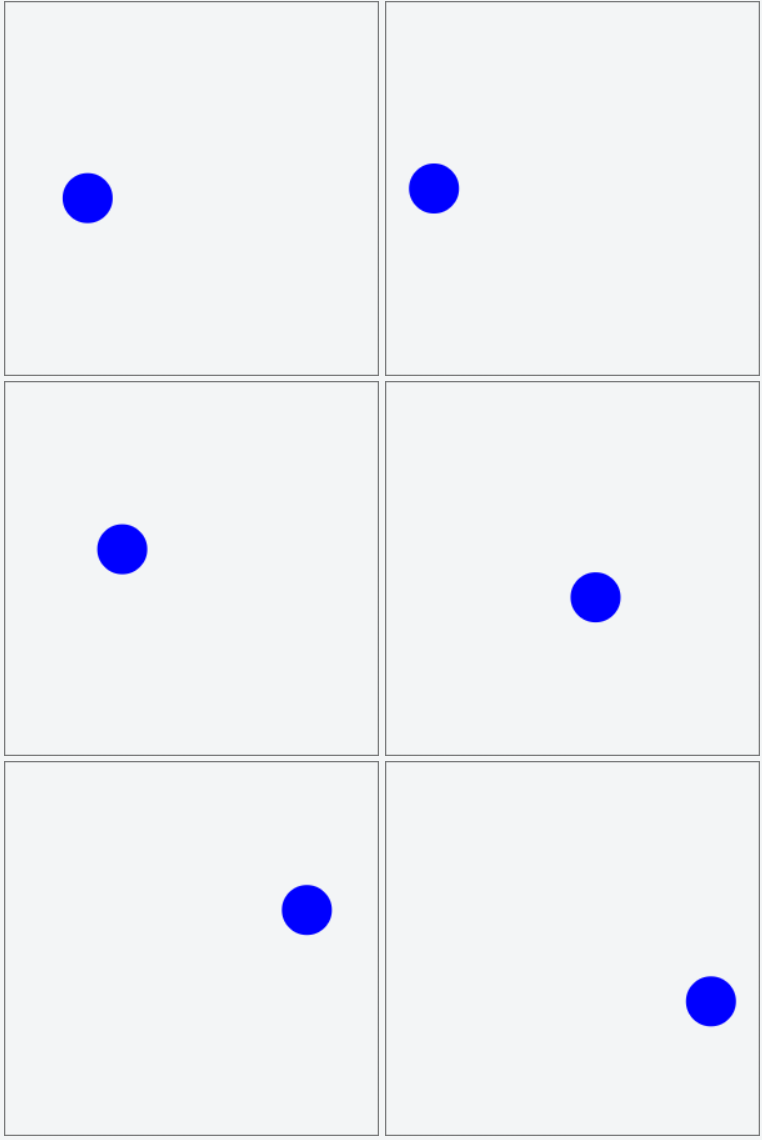
很好,现在我们已经实现了最简单的碰撞效果,此时的我内心不免有些膨胀,一个小球撞来撞去的多没意思,不如多来几个?
这里便体现出了之前用类来封装小球的好处了,想要几个new几个就是啦~
先来两个
const balls = []
for (let i = 0; i < 2; i++) {
  // 我们让小球的半径和坐标都随机一下
  const radius = Math.random() * 20 + 10 // 10 ~ 30
  const x = Math.random() * (canvas.width - radius - radius) + radius
  const y = Math.random() * (canvas.height - radius - radius) + radius

  balls.push(new Ball(x, y, radius))
}

function drawFrame () {
  window.requestAnimationFrame(drawFrame, canvas)
  canvas.height = canvas.height // 清空画布

  // 绘制墙壁
  ctx.strokeRect(0, 0, canvas.width, canvas.height)

  for (let i in balls) {
    const ball = balls[i]

    // 判断与墙壁的碰撞反弹
    if (ball.x + ball.radius > canvas.width) {
      ball.angle = 180 - ball.angle
    }
    if (ball.x - ball.radius < 0) {
      ball.angle = -(180 + ball.angle)
    }
    if (ball.y - ball.radius < 0 || ball.y + ball.radius > canvas.height) {
      ball.angle = -ball.angle
    }

    // 计算小球下一帧的坐标
    ball.x += ball.speed * Math.cos(ball.angle * Math.PI / 180)
    ball.y -= ball.speed * Math.sin(ball.angle * Math.PI / 180)

    // 绘制
    ball.draw(ctx)
  }
}
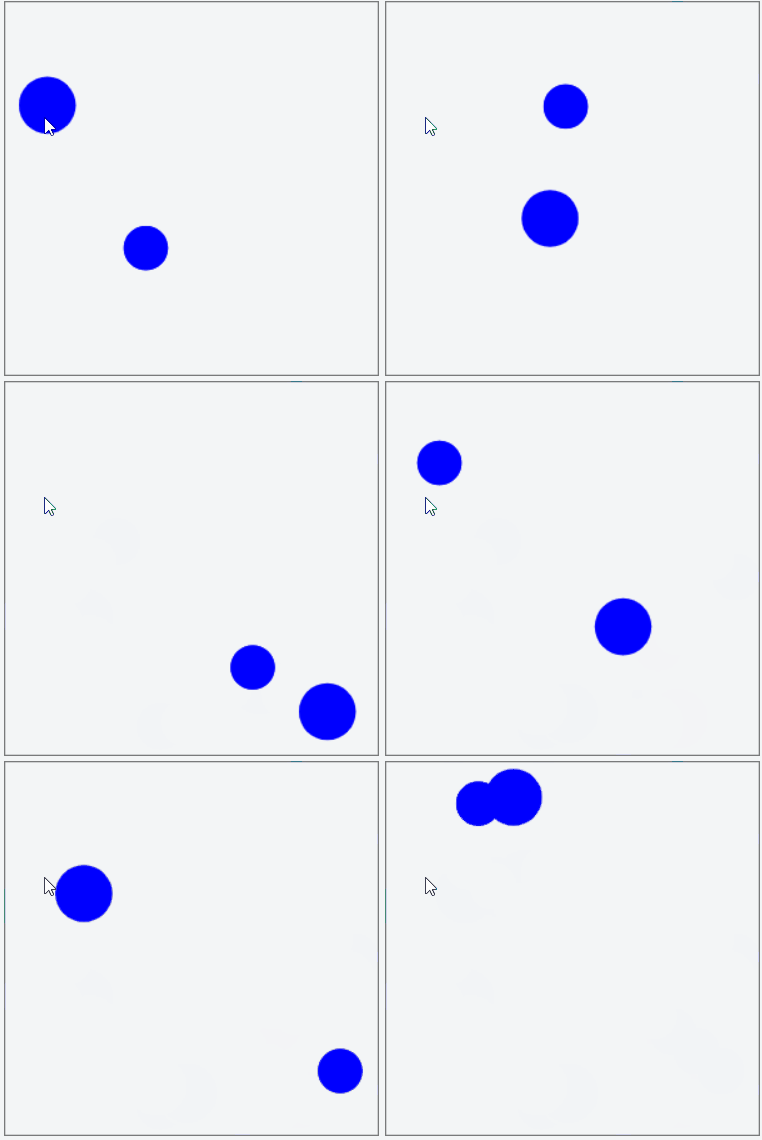
效果不错嘛~
再加一个
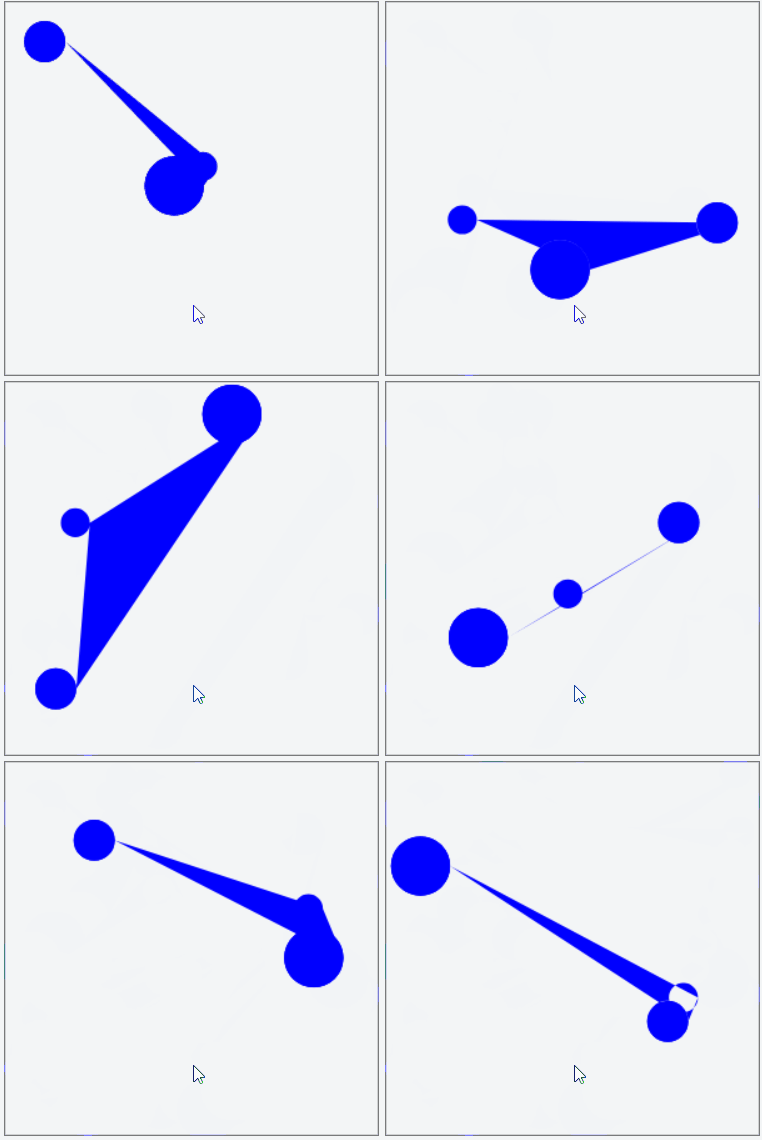
嗯???这是什么鬼,这跟说好的完全不一样啊,虽然看着还挺酷的,不过我要的不是这效果呀,为什么会变成这样呢?
琢磨了半天,终于发现了这里有个小坑,在使用canvas绘图时路径没有闭合路径导致的,我们只需要对小球类Ball的draw方法稍作修改
draw(ctx) {
  ctx.beginPath()
  ctx.arc(this.x, this.y, this.radius, 0, 2 * Math.PI)
  ctx.closePath()
  ctx.fillStyle = 'blue'
  ctx.fill()
}
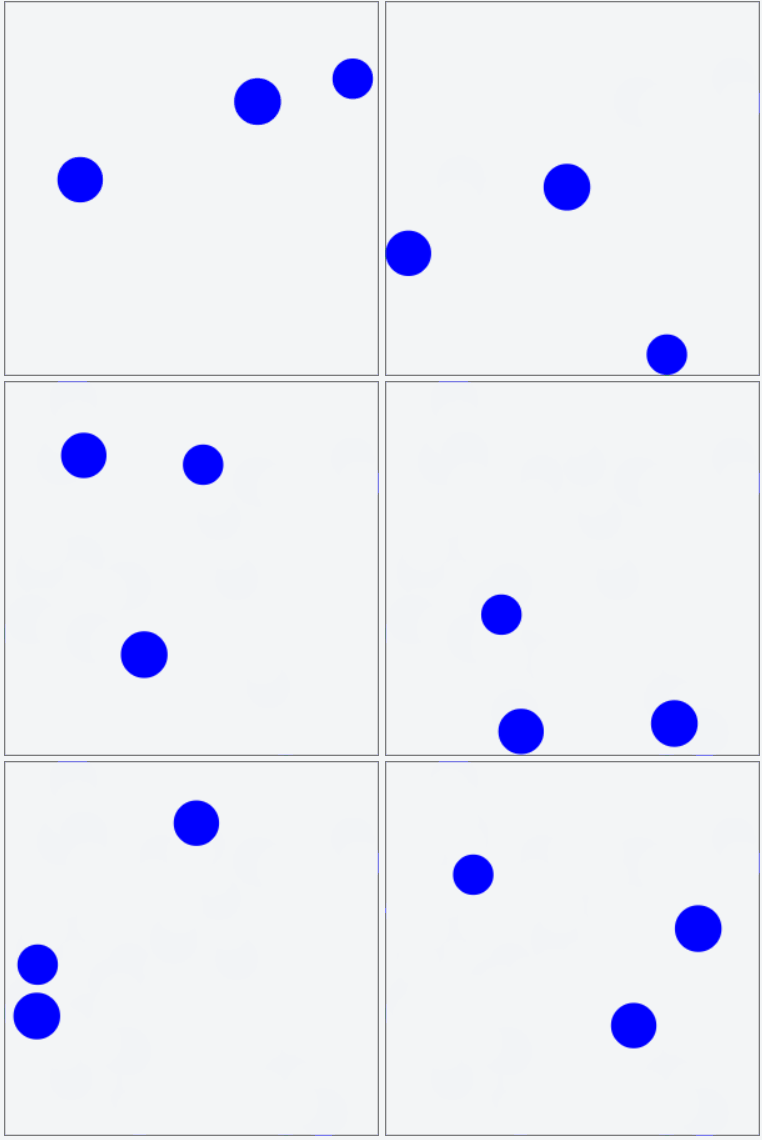
现在好啦,再来几个都没问题
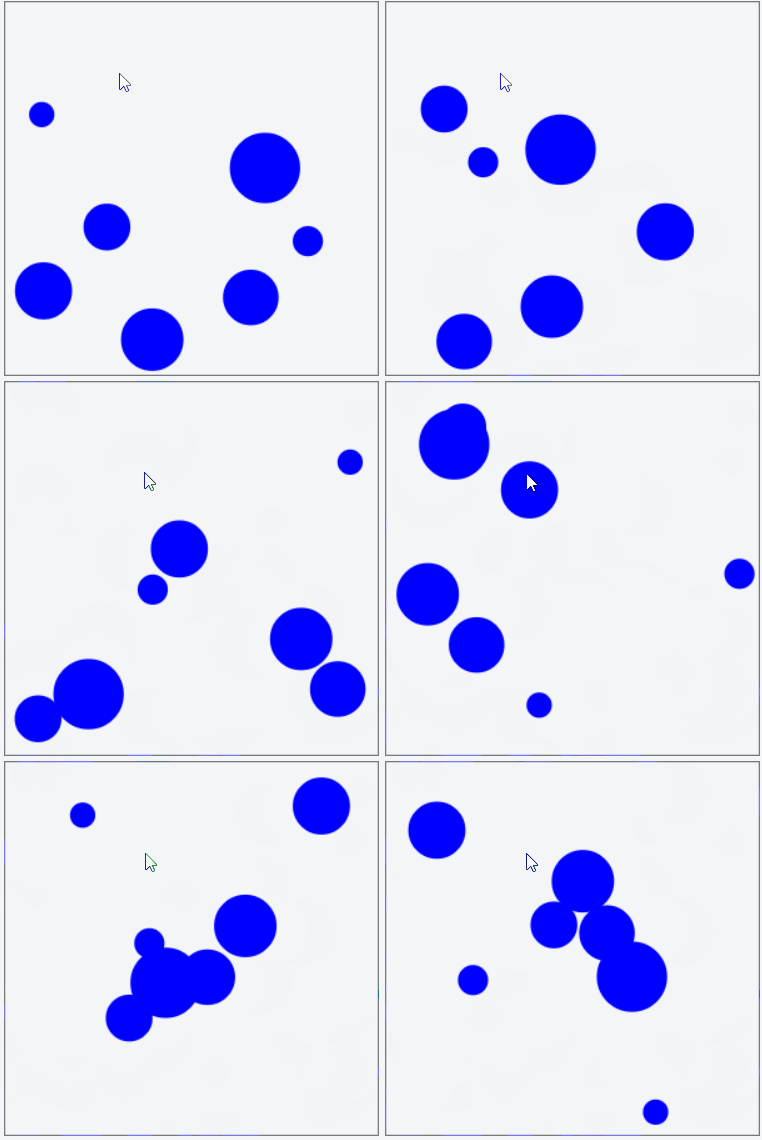
球球之间也来个亲密碰撞吧
小球与墙壁的碰撞与反弹我们已经实现了,不过这么多的小球,就这么擦肩而过也不行啊,我们要怎么实现球与球之间的碰撞呢?
在实现这个效果之前,我们得首先分析一下,要实现球与球之间的碰撞判断,肯定得两两进行比对,不过这里有个性能上的问题,我们要明白A与B的碰撞和B与A的碰撞是一样的,因此我们只需判断一次即可,所以此处我们可参考选择排序的过程,利用双重循环来实现梯形比较。
而如何判断两个小球是否碰撞,就再简单不过了,只需要对两个小球的圆心坐标做一下勾股定理,再和两个小球的半径和进行比较,即可
碰撞之后的反弹,在这个案例中,我们只用最简单的方法来实现,直接让小球的运动方向旋转180度(实际场景当然不会这么简单,这里是偷了个懒,大家别学我= =)
function drawFrame () {
  window.requestAnimationFrame(drawFrame, canvas)
  canvas.height = canvas.height // 清空画布

  // 绘制墙壁
  ctx.strokeRect(0, 0, canvas.width, canvas.height)

  for (let i = 0; i < balls.length; i++) {
    const ball = balls[i]

    // 判断小球间的碰撞
    for (let j = i + 1; j < balls.length; j++) {
      const dx = ball.x - balls[j].x
      const dy = ball.y - balls[j].y
      const dl = Math.sqrt(dx * dx + dy * dy)
      if (dl <= ball.radius + balls[j].radius) {
        ball.angle = ball.angle - 180
        balls[j].angle = balls[j].angle - 180
      }
    }

    // 判断与墙壁的碰撞反弹
    if (ball.x + ball.radius > canvas.width) {
      ball.angle = 180 - ball.angle
    }
    if (ball.x - ball.radius < 0) {
      ball.angle = -(180 + ball.angle)
    }
    if (ball.y - ball.radius < 0 || ball.y + ball.radius > canvas.height) {
      ball.angle = -ball.angle
    }

    // 计算小球下一帧的坐标
    ball.x += ball.speed * Math.cos(ball.angle * Math.PI / 180)
    ball.y -= ball.speed * Math.sin(ball.angle * Math.PI / 180)

    // 绘制
    ball.draw(ctx)
  }
}
像这样,我们便实现了小球间的碰撞与反弹,效果如下:
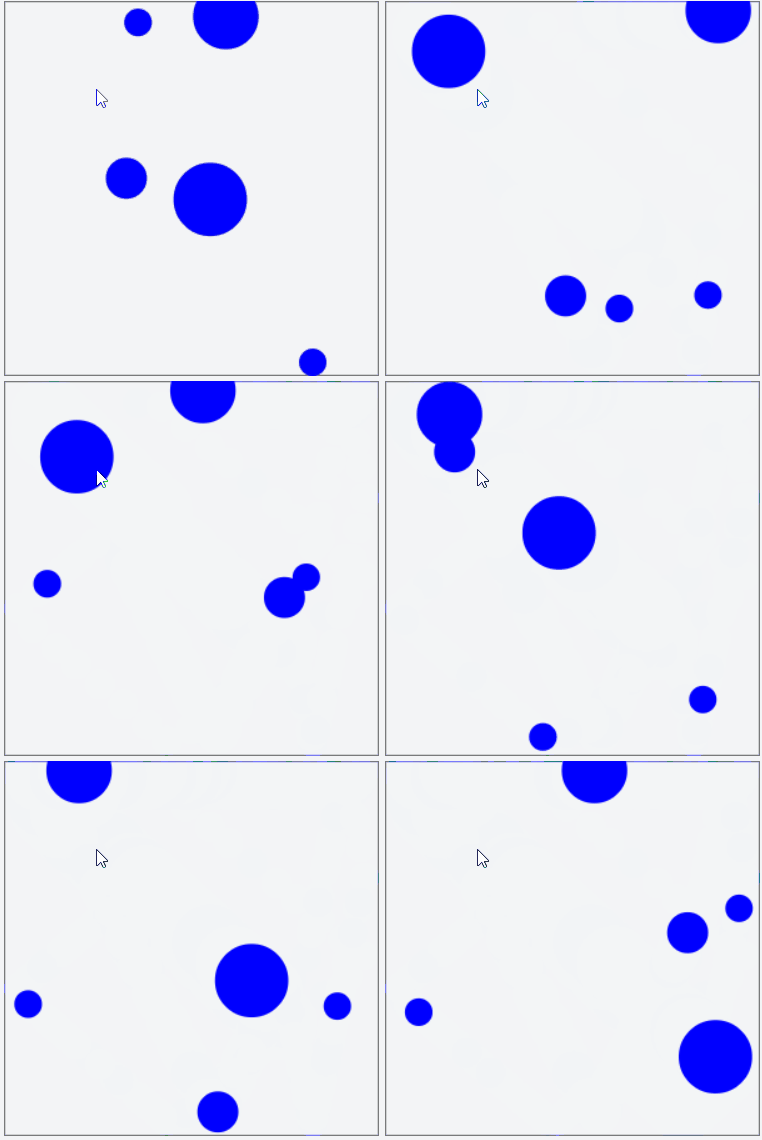
有没有发现什么不对劲的地方?咦,上面那个小球为什么一直黏附着上墙壁不下来,这里主要是因为小球间的碰撞和小球与墙壁的碰撞同时发生导致的,因为运动角度改变了两次而发生了一些奇怪的变化,因此我们需要进行一下优化,只要避免运动角度在同一帧内发生多次改变即可,在这里我们通过给每个小球定义一个flag属性,用以标记在当前帧小球的运动方向是否已经发生变化,优化后的完整代码如下:
// 获取canvas画布和context
const canvas = document.getElementById('canvas')
const ctx = canvas.getContext('2d')

// 封装一个小球类
class Ball {
  constructor(x, y, radius) {
    this.x = x
    this.y = y
    this.radius = radius
    this.angle = Math.random() * 180
    this.speed = 5
    this.flag = false
  }

  draw(ctx) {
    ctx.beginPath()
    ctx.arc(this.x, this.y, this.radius, 0, 2 * Math.PI)
    ctx.closePath()
    ctx.fillStyle = 'blue'
    ctx.fill()
  }
}

// 随机生成若干个小球
const balls = []
while (balls.length < 10) {
  const radius = Math.random() * 20 + 10 // 10 ~ 30
  const x = Math.random() * (canvas.width - radius - radius) + radius
  const y = Math.random() * (canvas.height - radius - radius) + radius

  let flag = true
  for (let i = 0; i < balls.length; i++) {
    const dx = x - balls[i].x
    const dy = y - balls[i].y
    const dl = Math.sqrt(dx * dx + dy * dy)
    if (dl <= radius + balls[i].radius) {
      flag = false
    }
  }
  if (flag) {
    balls.push(new Ball(x, y, radius))
  }
}

function drawFrame () {
  window.requestAnimationFrame(drawFrame, canvas)
  canvas.height = canvas.height // 清空画布

  // 绘制墙壁
  ctx.strokeRect(0, 0, canvas.width, canvas.height)

  for (let i = 0; i < balls.length; i++) {
    const ball = balls[i]

    // 判断小球间的碰撞
    for (let j = i + 1; j < balls.length; j++) {
      const dx = ball.x - balls[j].x
      const dy = ball.y - balls[j].y
      const dl = Math.sqrt(dx * dx + dy * dy)
      if (dl <= ball.radius + balls[j].radius) {
        ball.flag === false ? ball.angle = ball.angle - 180 : ''
        balls[j].flag === false ? balls[j].angle = balls[j].angle - 180 : ''
        ball.flag = balls[j].flag = true
      }
    }

    // 判断与墙壁的碰撞反弹
    if (ball.flag === false) {
      if (ball.x + ball.radius > canvas.width) {
        ball.angle = 180 - ball.angle
      }
      if (ball.x - ball.radius < 0) {
        ball.angle = -(180 + ball.angle)
      }
      if (ball.y - ball.radius < 0 || ball.y + ball.radius > canvas.height) {
        ball.angle = -ball.angle
      }
    }

    // 计算小球下一帧的坐标
    ball.x += ball.speed * Math.cos(ball.angle * Math.PI / 180)
    ball.y -= ball.speed * Math.sin(ball.angle * Math.PI / 180)

    // 绘制
    ball.draw(ctx)
    ball.flag = false
  }
}

drawFrame()
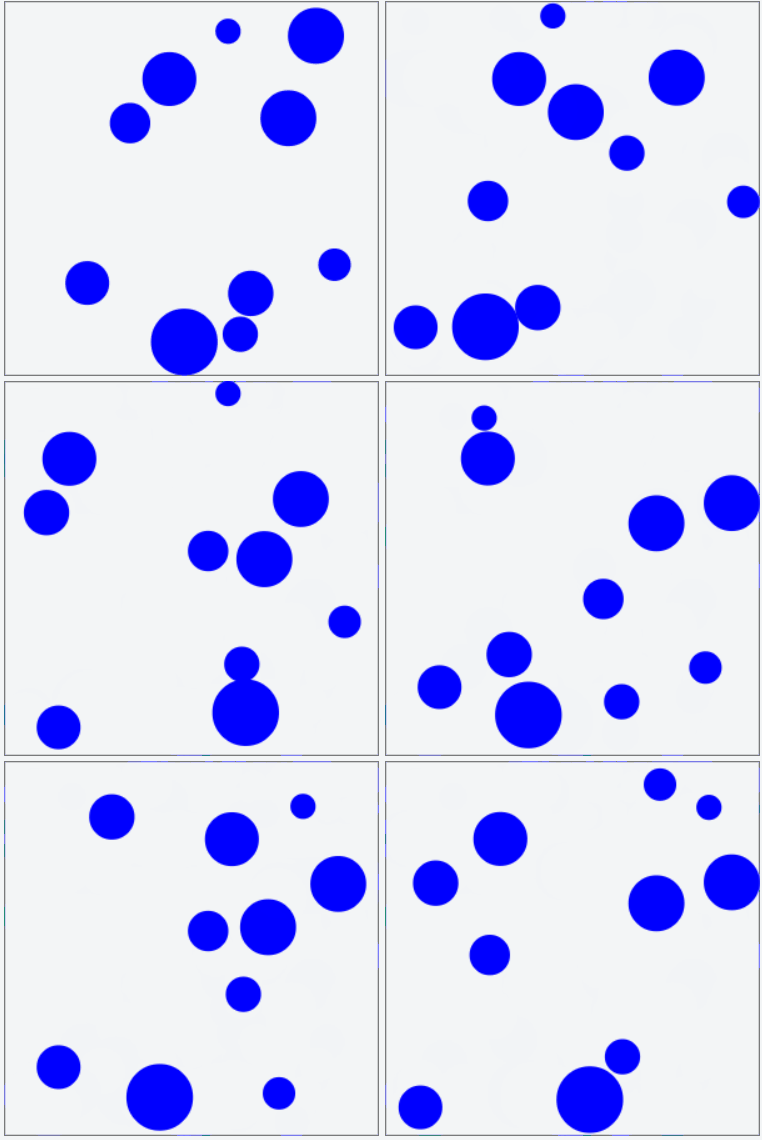
现在,我们的效果已经很棒了,不是嘛~
当然,实际游戏开发中的碰撞场景会更为复杂,会涉及到很多不规则场景的碰撞,反弹角度也不会那么单一,但实现的原理大同小异,所以,只要掌握最基本的原理,即便再复杂的场景也能迎刃而解了。
——by Suevily
来源:oschina
链接:https://my.oschina.net/u/4293989/blog/3867390