操作系统: 使用的是官方网站上的ubuntu sd card 1.1
1. 安装python的库和cubie的gpio库
sudo apt-get install python-dev
wget http://dl.linux-sunxi.org/users/tom/pySUNXI-0.1.12.tar.gz
tar zxf pySUNXI-0.1.12.tar.gz
sudo python setup.py install
复制代码
2. 用Python GPIO里面的GPIO C库文件直接编写 C应用程序
在/home/cubie/pySUNXI-0.1.12/source目录下编写:
pyinclude.c文件(见附件)
pyinclude.h文件(见附件)
LCD12864Serial.c文件(见附件)
LCD12864Serial.h文件 (见附件)
test12864.c文件如下:
#include "pyinclude.h"
#include "LCD12864Serial.h"
int main(void)
{
if(SETUP_OK!=sunxi_gpio_init())
{
printf("Failed to initialize GPIO\n");
return -1;
}
LCD12864Init();
while(1)
{
Test12864();
}
sunxi_gpio_cleanup();
return 0;
}
复制代码
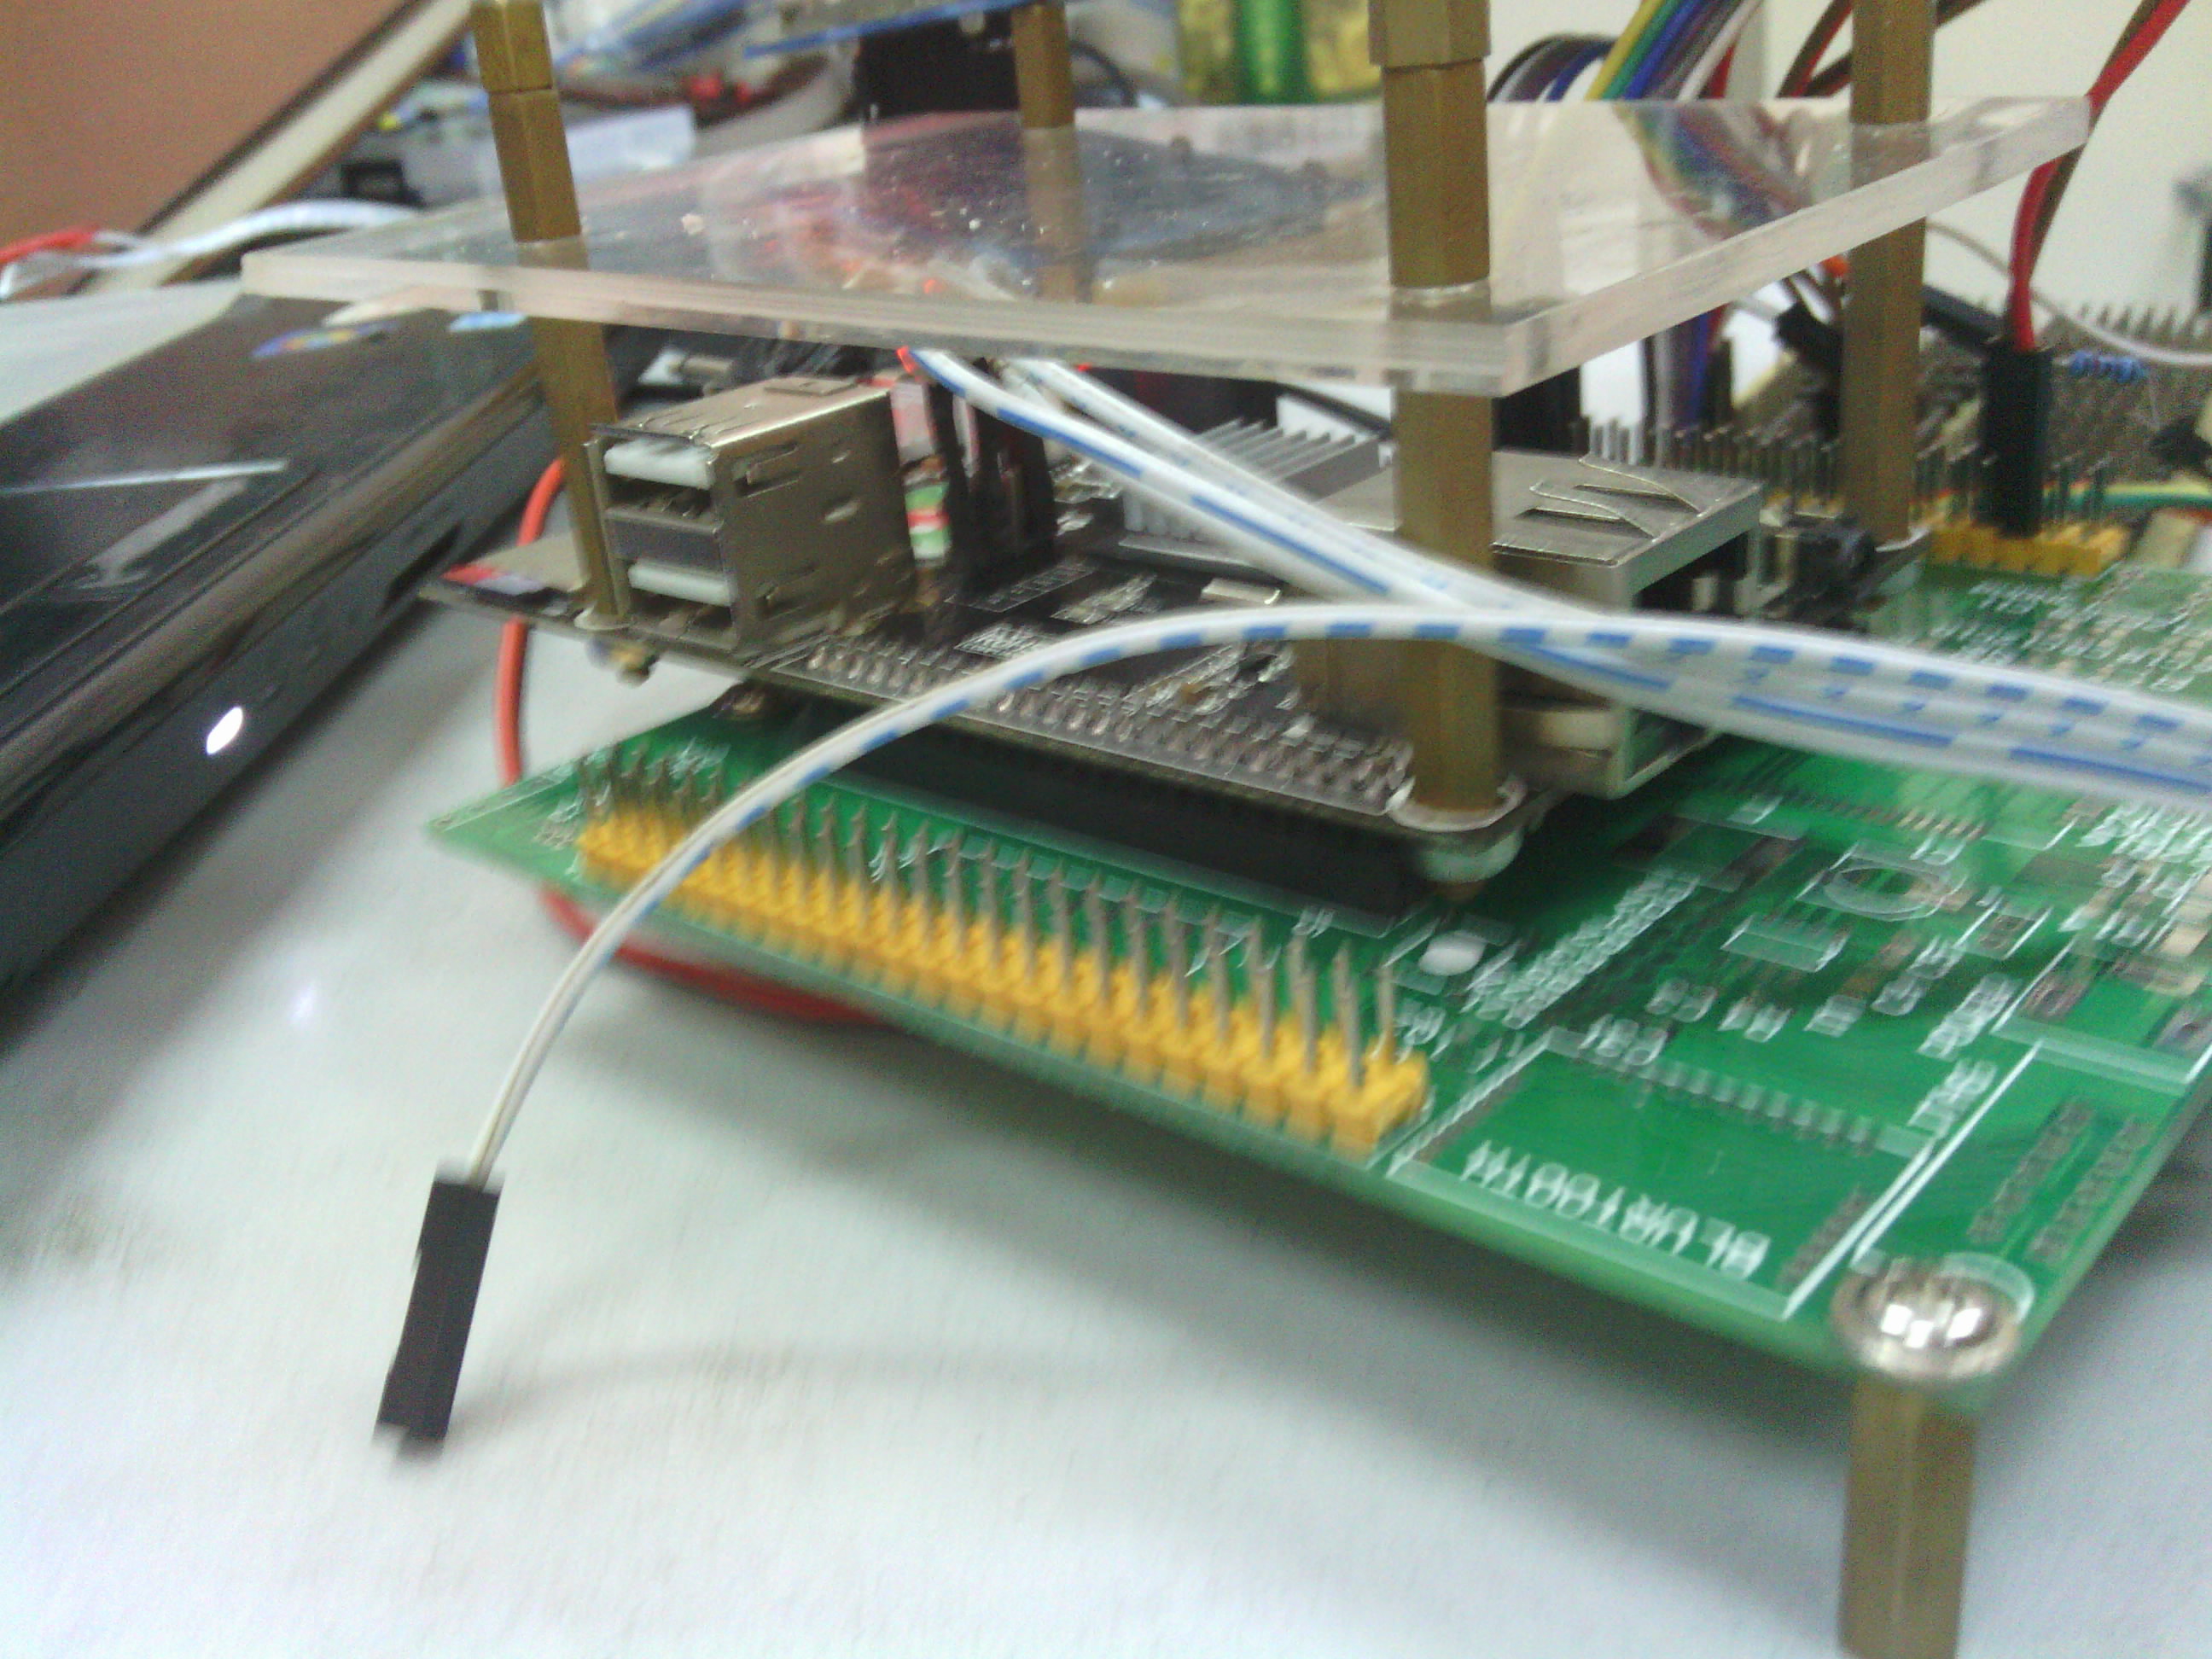
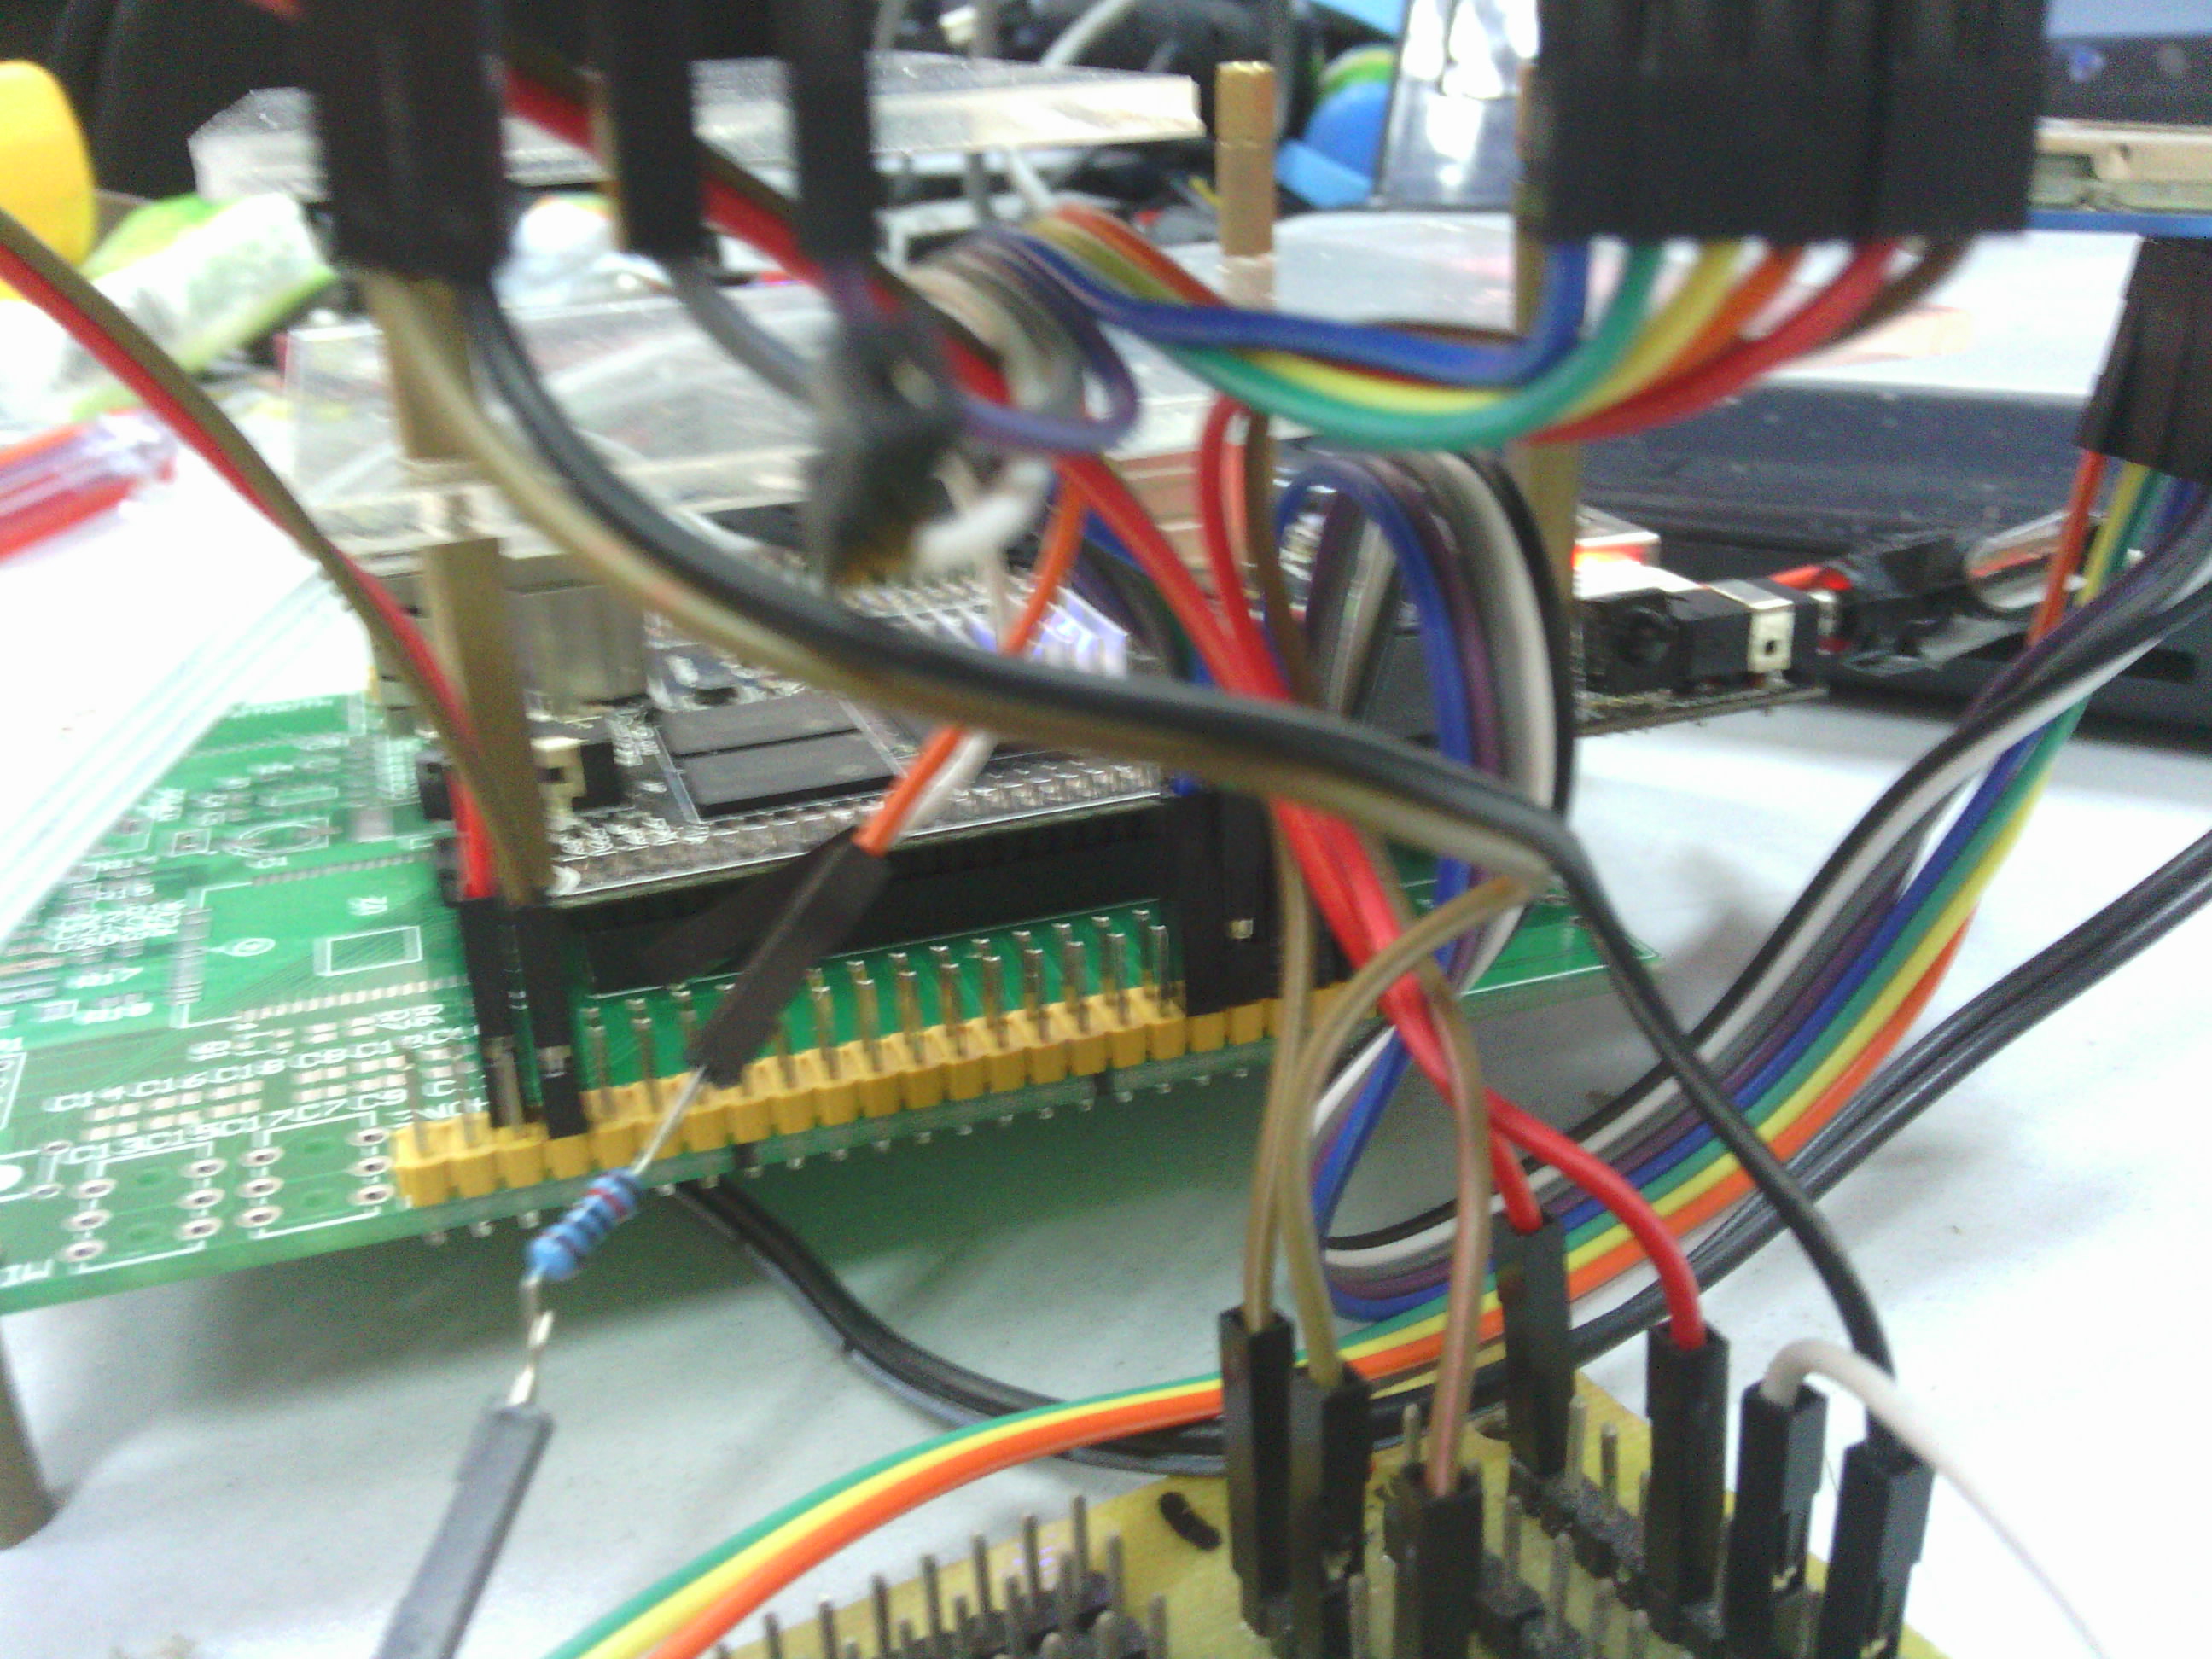
3.硬件连接:
cubie LCD12864
PD6 CS (RS)
PD7 SID (RW)
PD8 SCLK (EN)
PD9 RST
4. 编译运行:
gcc LCD12864Serial.c -c
gcc gpio_lib.c -c
gcc pyinclude.c -c
gcc test12864.c -c
gcc test12864.o gpio_lib.o pyinclude.o LCD12864Serial.o -o test12864
./test12864
复制代码
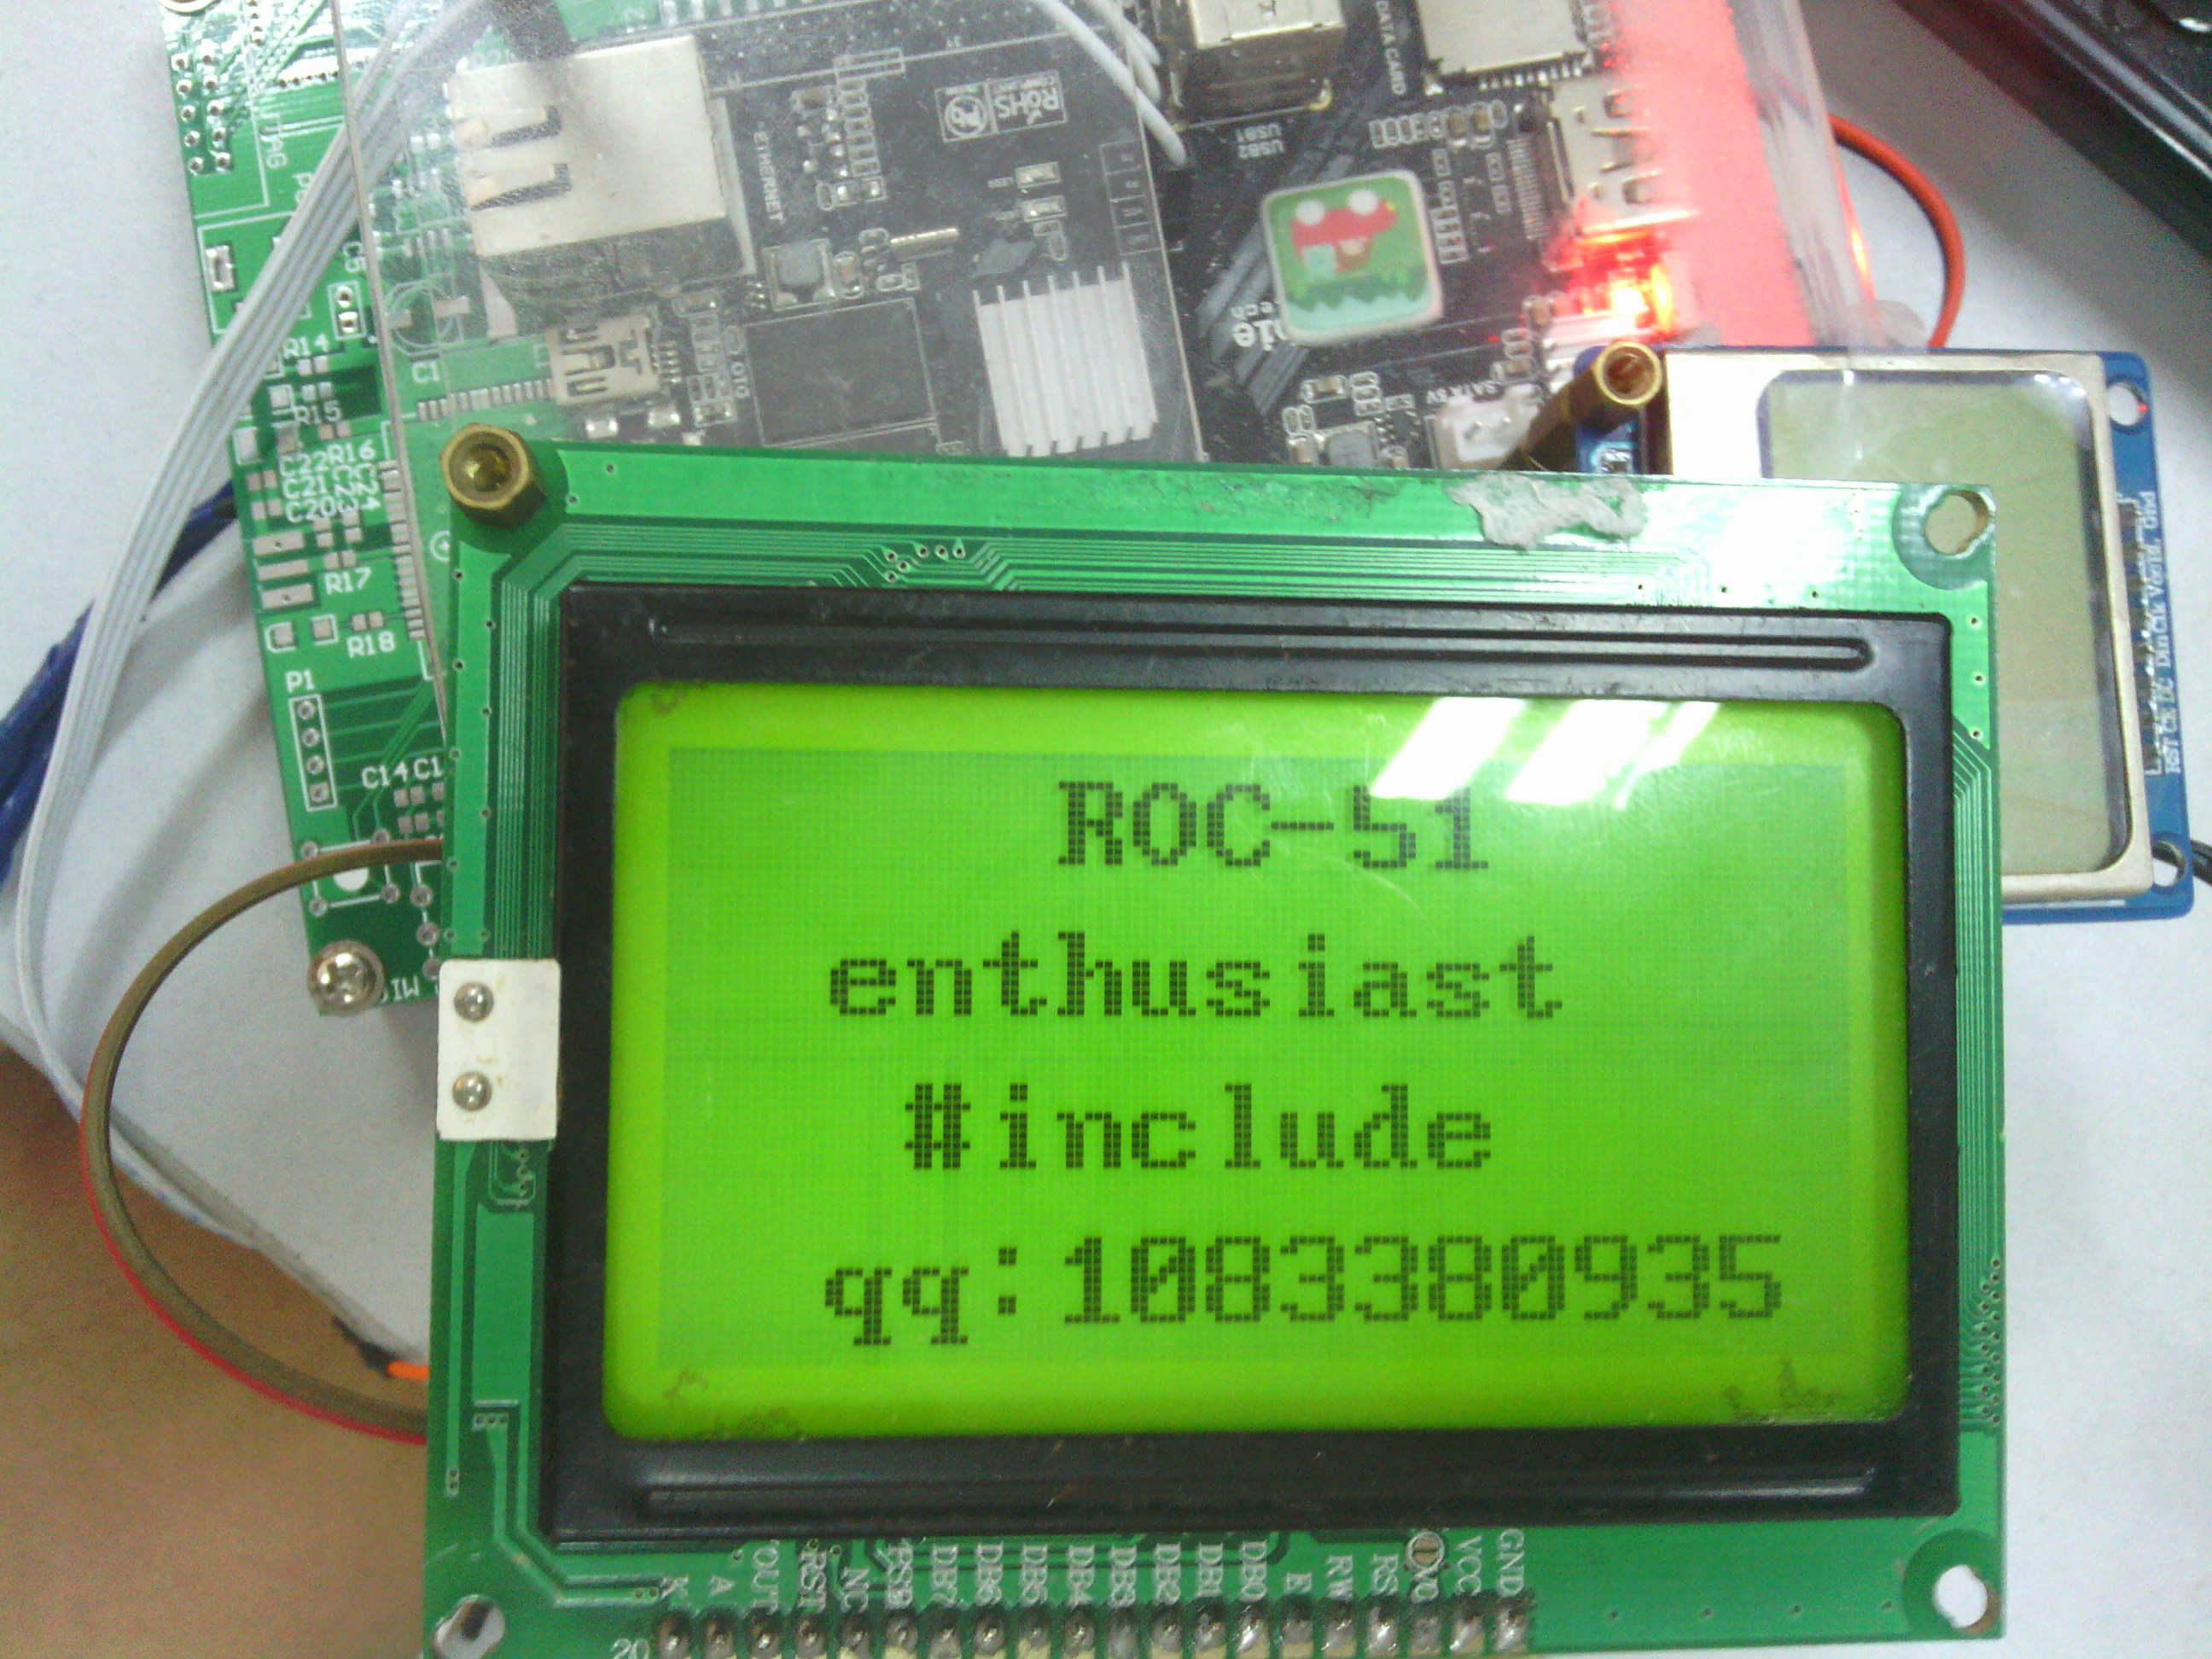
5.有图有真相:


附上代码:  串行12864-1-1.zip (1.61 KB, 下载次数: 17)
  串行12864-1-0.zip (1.08 KB, 下载次数: 16)
  Makefile.zip (297 Bytes, 下载次数: 13)
原文作者:SUNROC1
原文链接:http://forum.cubietech.com/forum.php?mod=viewthread&tid=918
来源:oschina
链接:https://my.oschina.net/u/1982421/blog/301605