数据缓存
官方描述
https://developers.weixin.qq.com/miniprogram/dev/api/storage/wx.setStorageSync.html
每个微信小程序都可以有自己的本地缓存,可以通过wx.setStorage/wx.setStorageSync、wx.getStorage/wx.getStorageSync、wx.clearStorage/wx.clearStorageSync,wx.removeStorage/wx.removeStorageSync对本地缓存进行读写和清理。
对于这些缓存数据的存在一些策略进行管理
-
隔离策略:同一个微信用户,同一个小程序 storage 上限为 10MB。storage 以用户维度隔离,同一台设备上,A 用户无法读取到 B 用户的数据;不同小程序之间也无法互相读写数据。
-
清理策略:本地缓存的清理时机跟代码包一样,只有在代码包被清理的时候本地缓存才会被清理。
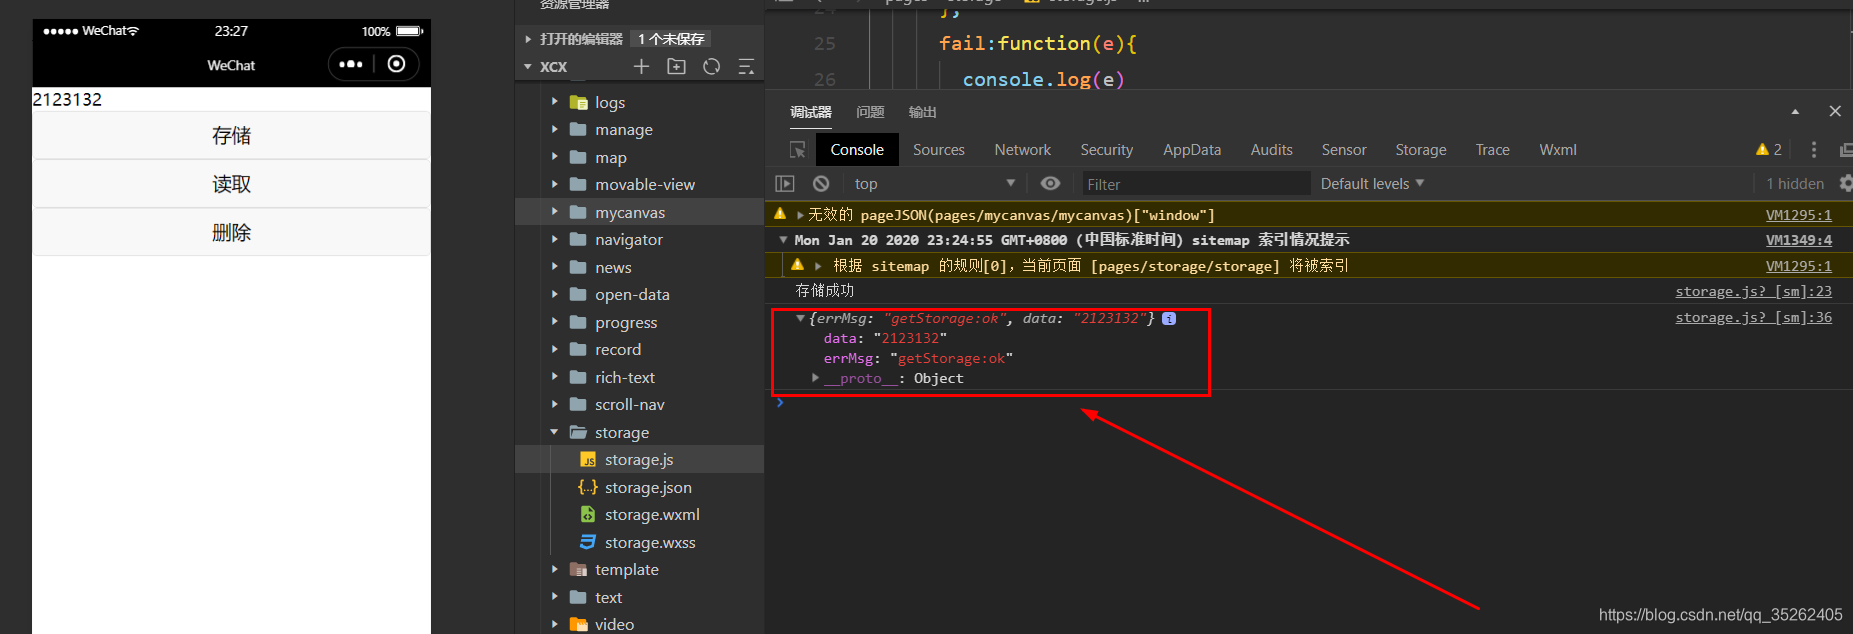
首先演示的是最简单的存储操作
<input placeholder="存储值" bindinput="inputVal"></input>
<button bindtap="storage">存储</button>
这里存储需要一个key,注意这个key是不能重复的,所以相同的key的数据是会覆盖的
// 获得文本框输入值
inputVal:function(e){
  inputVal = e.detail.value
},

// 存储输入的文本
storage:function(){
  wx.setStorage({
    data: inputVal,
    key: 'inputVal',
    success:function(e){
      console.log("存储成功")
    },
    fail:function(e){
      console.log(e)
    }
  })
},

接下来是读取我们刚刚存储的文本,通过key获取
<button bindtap="getStorage">读取</button>
// 读取存储的文本
getStorage:function(){
  wx.getStorage({
    key: 'inputVal',
    success:function(res){
      console.log(res)
    },
    fail:function(res){
      console.log("读取失败")
      console.log(res)
    }
  })
},

接着我们把存储的文本删除,同样是通过key删除对应的数据
<button bindtap="deleteStorage">删除</button>
// 删除存储的文本
deleteStorage:function(){
  wx.removeStorage({
    key: 'inputVal'
  })
},
删除后就读取不到存储的数据了
数据传输
数据传输的方式有如下三种方式:
- 本地缓存传输
- 导航标记传输
- 路由的形式传输数据
本地缓存传输
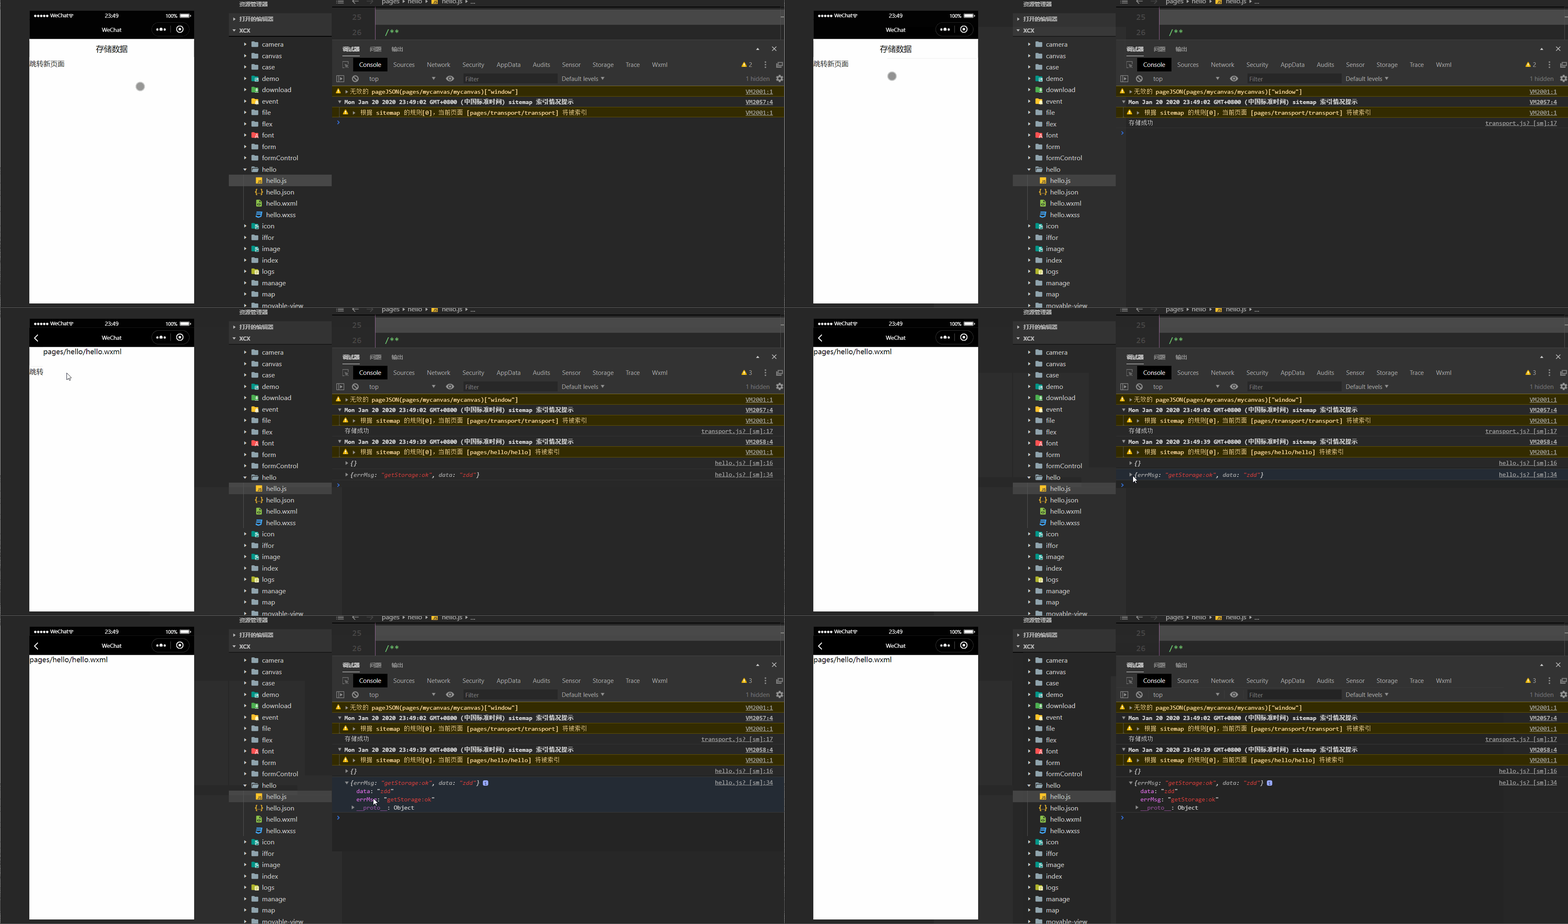
这种方式通过本地缓存实现数据共享,每个页面都可以拿到本地缓存中的数据,不过大小为10M,假设有下面两个页面。
transport页面
<view>
  <button bindtap="saveData">存储数据</button>
  <navigator url="/pages/hello/hello">跳转新页面</navigator>
</view>
saveData:function(){
  // 本地缓存数据,这种数据可以在其他页面中获取
  wx.setStorage({
    data: 'zdd',
    key: 'name',
    success:function(){
      console.log("存储成功")
    }
  })
},
hello页面
/**
 * 生命周期函数--监听页面显示
 */
onShow: function () {
  // 获取本地缓存数据
  wx.getStorage({
    key: 'name',
    success:function(res){
      console.log(res)
    }
  })
},

导航标记传输
简单来说就是通过get方式传输
<navigator url="/pages/hello/hello?age=23">get方式跳转新页面</navigator>
在跳转页面中只需要在onLoad中就可以通过参数options拿到数据
/**
 * 生命周期函数--监听页面加载
 */
onLoad: function (options) {
  // 这种方式可以拿到get方式传输的数据
  console.log(options)
},

通过路由的形式传输数据
路由的官方描述
https://developers.weixin.qq.com/miniprogram/dev/api/route/wx.switchTab.html
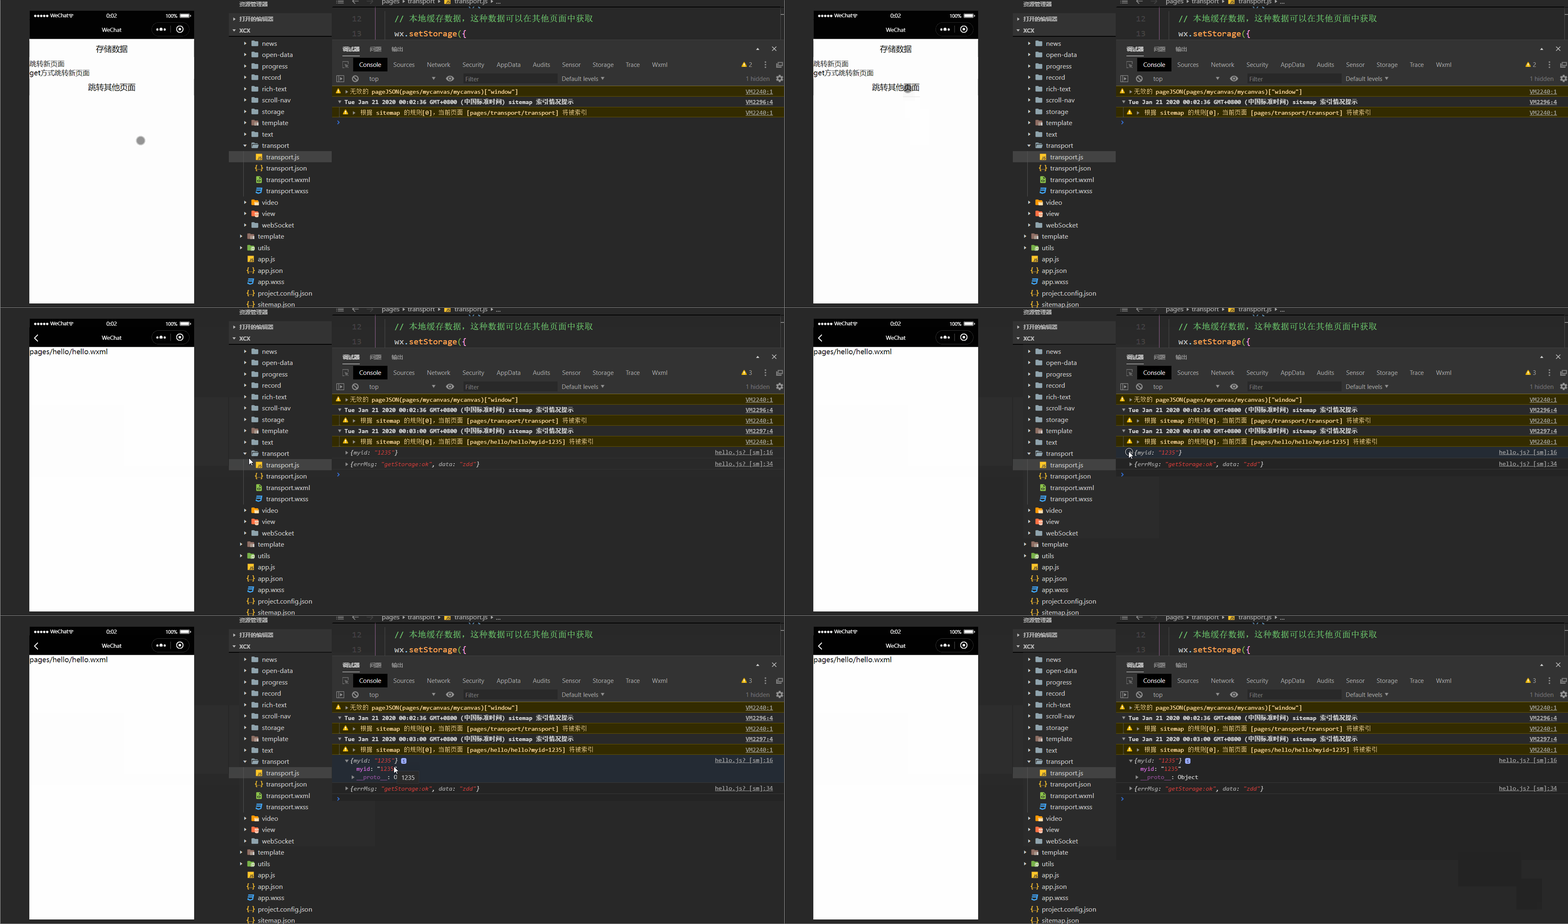
我们可以借助路由的api实现跳转,再借助get方式传值,实现页面间数据的传递
<view>
  <button bindtap="gotoOtherPage" data-id="1235">跳转其他页面</button>
</view>
gotoOtherPage:function(e){
  wx.navigateTo({
    url: '/pages/hello/hello?myid='+e.target.dataset.id
  })
},

罗盘
官方描述
https://developers.weixin.qq.com/minigame/dev/api/device/compass/wx.stopCompass.html
<view class="container">
  <button bindtap="startCompass">罗盘监控开始</button>
  <button bindtap="endCompass">罗盘监控结束</button>
</view>
/**
 * 罗盘监控开始
 */
startCompass:function(){
  wx.startCompass({
    complete: (res) => {
      wx.onCompassChange((result) => {
        console.log(result)
      })
    },
  })
},
/**
 * 罗盘监控结束
 */
endCompass:function(){
  wx.stopCompass({
    complete: (res) => {
      console.log("结束罗盘监控")
    },
  })
},

真机调试结果
wifi功能
官方描述
https://developers.weixin.qq.com/miniprogram/dev/api/device/wifi/wx.stopWifi.html
<button bindtap="getConnectedWifi">获取连接中wifi信息</button>
/**
 * 获取连接的wifi信息
 */
getConnectedWifi:function(){
  // 某些手机需要先调用下面的api才能正常获取wifi信息
  wx.startWifi({
    complete: (res) => {},
  })
  // 获取wifi信息
  wx.getConnectedWifi({
    success(res){
      console.log(res)
    }
  })
},

真机调试结果
性能监控
官方描述
https://developers.weixin.qq.com/miniprogram/dev/api/device/performance/wx.onMemoryWarning.html
<button bindtap="memoryWarning">性能监控</button>
/**
 * 内存警告监控
 */
memoryWarning:function(){
  wx.onMemoryWarning((result) => {
    console.log("内存警告")
  })
},
条件有限无法演示
加速计
官方描述
https://developers.weixin.qq.com/miniprogram/dev/api/device/accelerometer/wx.stopAccelerometer.html
<button bindtap="accelerometer">开启加速计</button>
/**
 * 开启加速计
 */
accelerometer:function(){
  wx.startAccelerometer({
    interval:'game',
    success(){
      console.log("开启加速计")
      // 监控手机的位置
      wx.onAccelerometerChange((result) => {
        console.log('X:'+result.x)
        console.log('Y:'+result.y)
        console.log('Z:'+result.z)
      })
    }
  })
},
真机调试结果
剪切板
官方描述
https://developers.weixin.qq.com/miniprogram/dev/api/device/clipboard/wx.setClipboardData.html
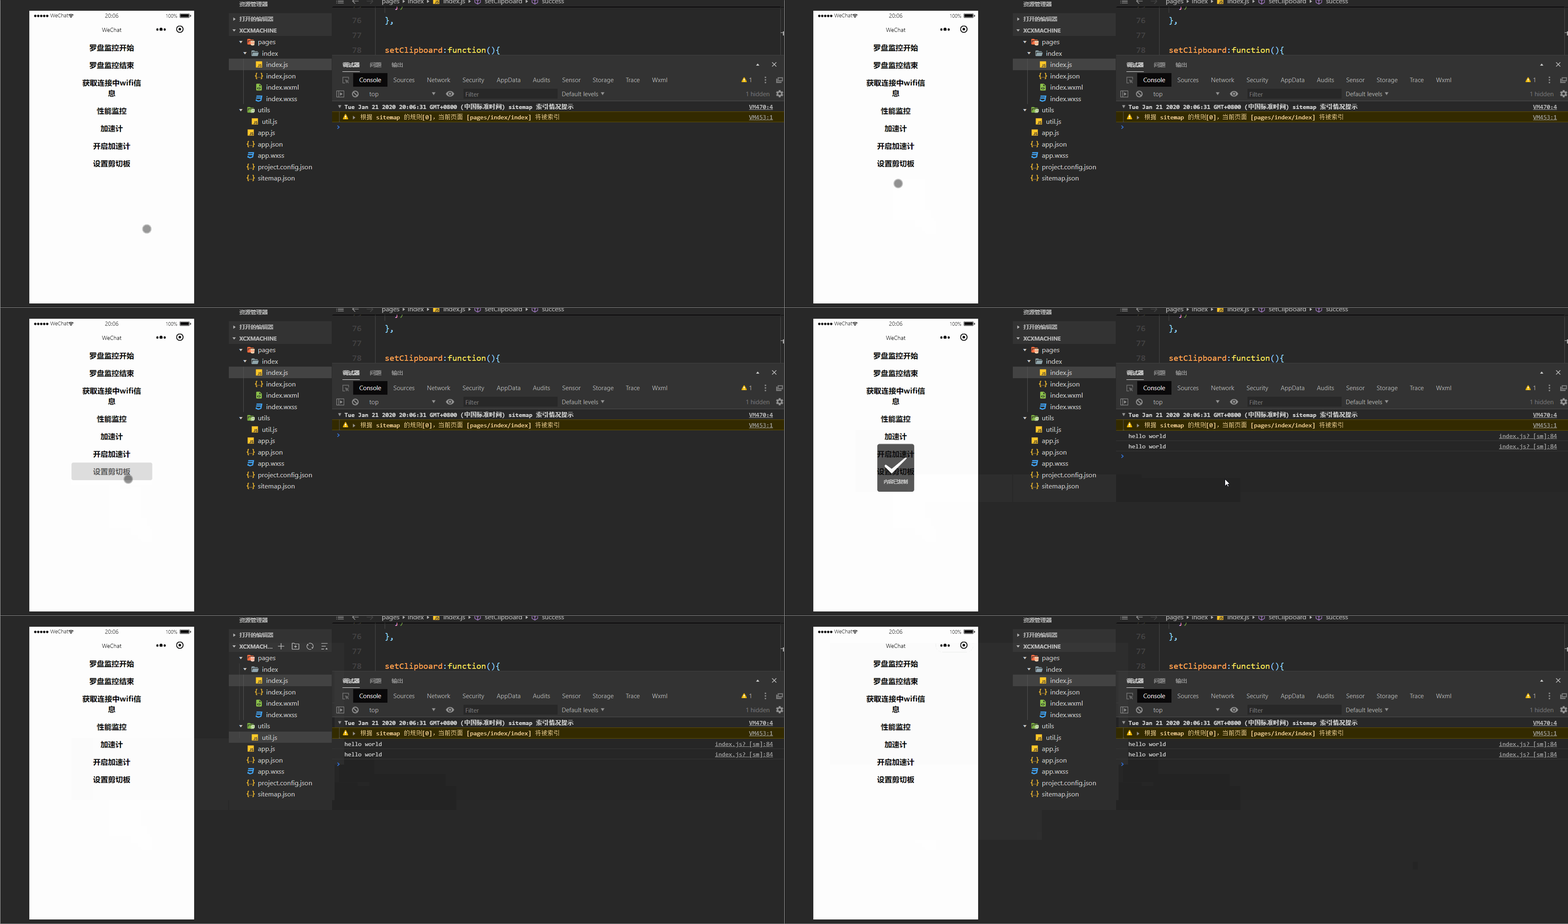
剪切板可以将小程序中的数据剪切复制到小程序外使用
<button bindtap="setClipboard">设置剪切板</button>
setClipboard:function(){
  wx.setClipboardData({
    data: 'hello world',
    success:function(res){
      wx.getClipboardData({
        complete: (res) => {
          console.log(res.data)
        },
      })
    }
  })
},

来源:CSDN
作者:ww0peo
链接:https://blog.csdn.net/qq_35262405/article/details/104057291