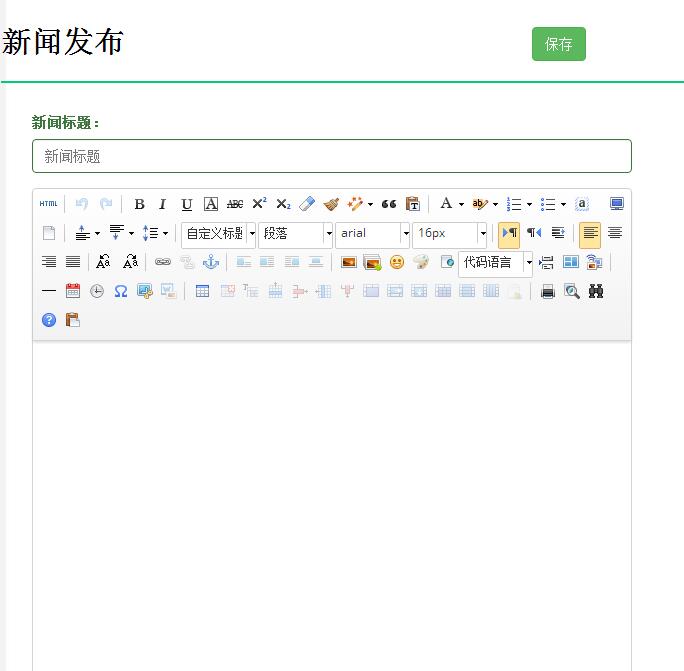
1、下载地址:http://ueditor.baidu.com/website/download.html(我下载的是.net版本)
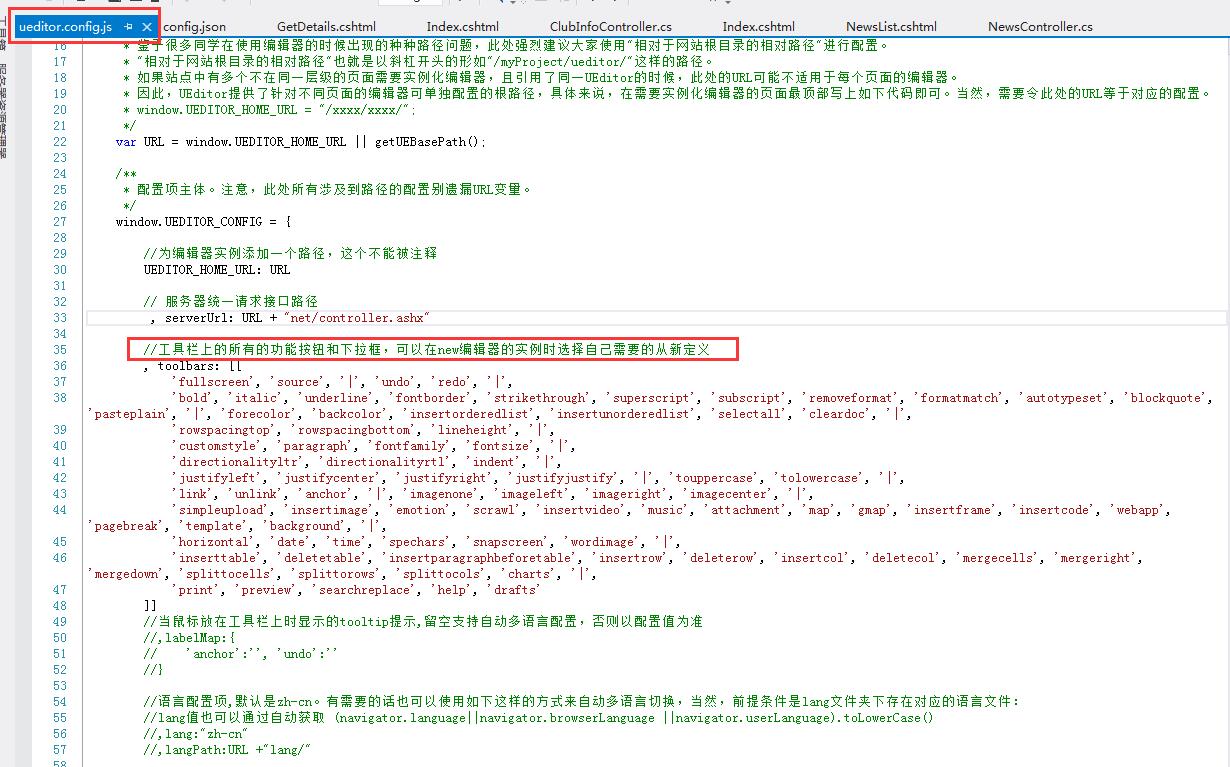
下载后要先看一下ueditor.config.js和 net/config.json的文件,里面是关于图片上传和其他方法的一些路径配置
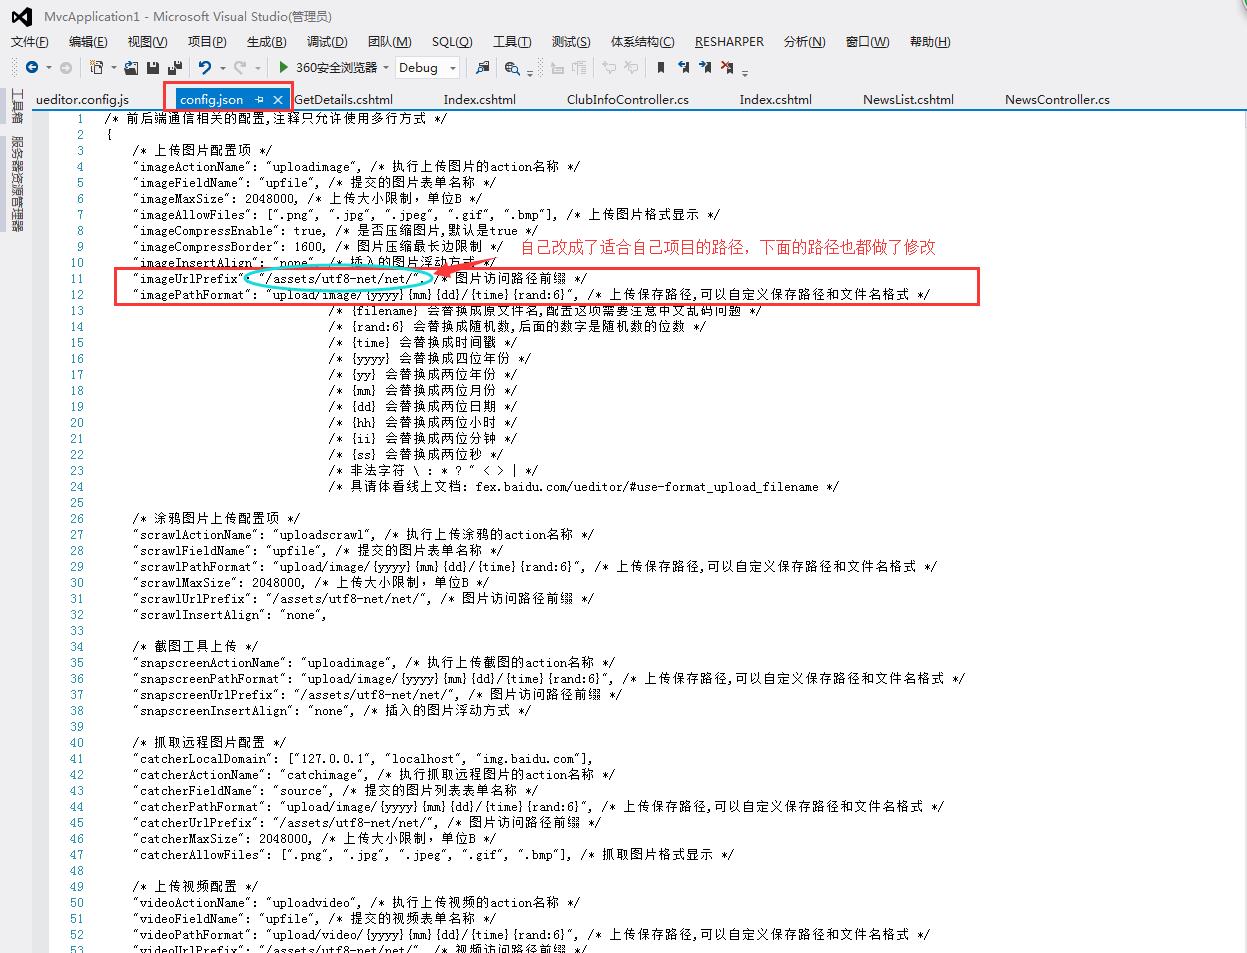
2、显示编辑页面(一定要看使用文档:http://fex.baidu.com/ueditor/#server-deploy)
- 引入所需的js文件

- 初始化编辑器 html代码:
1 <div class="form-group has-warning">
2                 <textarea class="A4page" id="myEditor" name="NewsContent"></textarea>
3             </div>
jquery代码:
 1  var ue = UE.getEditor('myEditor', {
 2             toolbars: [
 3                 ['fullscreen', 'source', '|', 'undo', 'redo', '|',
 4             'bold', 'italic', 'underline', 'fontborder', 'strikethrough', 'superscript', 'subscript', 'removeformat', 'formatmatch', 'autotypeset', 'blockquote', 'pasteplain', '|', 'forecolor', 'backcolor', 'insertorderedlist', 'insertunorderedlist', 'selectall', 'cleardoc', '|',
 5             'rowspacingtop', 'rowspacingbottom', 'lineheight', '|',
 6             'customstyle', 'paragraph', 'fontfamily', 'fontsize', '|',
 7             'directionalityltr', 'directionalityrtl', 'indent', '|',
 8             'justifyleft', 'justifycenter', 'justifyright', 'justifyjustify', '|', 'touppercase', 'tolowercase', '|',
 9             'link', 'unlink', 'anchor', '|', 'imagenone', 'imageleft', 'imageright', 'imagecenter', '|',
10             'simpleupload', 'insertimage', 'emotion', 'scrawl', 'insertframe', 'insertcode', 'pagebreak', 'template', 'background', '|',
11             'horizontal', 'date', 'time', 'spechars', 'snapscreen', 'wordimage', '|',
12             'inserttable', 'deletetable', 'insertparagraphbeforetable', 'insertrow', 'deleterow', 'insertcol', 'deletecol', 'mergecells', 'mergeright', 'mergedown', 'splittocells', 'splittorows', 'splittocols', 'charts', '|',
13             'print', 'preview', 'searchreplace', 'help', 'drafts']
14             ],
15             allHtmlEnabled: false,//提交到后台的数据是否包含整个html字符串
16             autoHeightEnabled: false,
17             autoFloatEnabled: true,
18             allowDivTransToP: false//阻止div标签自动转换为p标签
19         });
说明:修改配置项的方法: 1. 方法一:修改 ueditor.config.js 里面的 toolbars 2. 方法二:实例化编辑器的时候传入 toolbars 参数(详情参考:http://fex.baidu.com/ueditor/#start-toolbar)
- 前端配置基本上配置好了,下面是后端配置(如果后端配置不好,上传图片功能将无法使用。网址:http://fex.baidu.com/ueditor/#server-net)我配置了好久才配置好的,按照文档上说的做就行了
- 当你的编辑器可以使用的时候,获取编辑器里的内容(网址:http://fex.baidu.com/ueditor/#api-common)
-
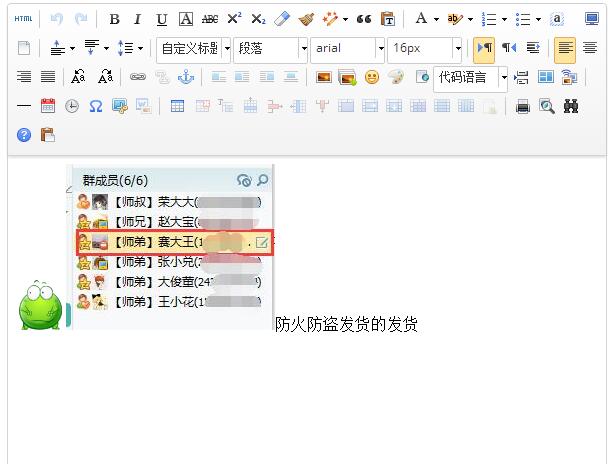
1 //实例化编辑器到id为 container 的 dom 容器上: 2 var ue = UE.getEditor('container'); 3 //设置编辑器内容: 4 ue.ready(function() { 5 ue.setContent('<p>hello!</p>'); 6 }); 7 //追加编辑器内容: 8 ue.ready(function() { 9 ue.setContent('<p>new text</p>', true); 10 }); 11 //获取编辑器html内容: 12 ue.ready(function() { 13 var html = ue.getContent(); 14 }); 15 //获取纯文本内容: 16 ue.getContentTxt(); 17 //获取保留格式的文本内容: 18 ue.getPlainTxt(); 19 //获取纯文本内容: 20 ue.getContentTxt(); 21 //判断编辑器是否有内容: 22 ue.hasContents(); 23 //让编辑器获得焦点: 24 ue.focus(); 25 //让编辑器获得焦点 26 ue.blur(); 27 //判断编辑器是否获得焦点: 28 ue.isFocus(); 29 //设置当前编辑区域不可编辑: 30 ue.setDisabled(); 31 //设置当前编辑区域可以编辑: 32 ue.setEnabled(); 33 //隐藏编辑器: 34 ue.setHide(); 35 //显示编辑器: 36 ue.setShow(); 37 //获得当前选中的文本: 38 ue.selection.getText(); 39 //常用命令: 40 //在当前光标位置插入html内容 41 ue.execCommand('inserthtml', '<span>hello!</span>'); 42 //设置当前选区文本格式: 43 ue.execCommand('bold'); //加粗 44 ue.execCommand('italic'); //加斜线 45 ue.execCommand('subscript'); //设置上标 46 ue.execCommand('supscript'); //设置下标 47 ue.execCommand('forecolor', '#FF0000'); //设置字体颜色 48 ue.execCommand('backcolor', '#0000FF'); //设置字体背景颜色 49 //回退编辑器内容: 50 ue.execCommand('undo'); 51 //撤销回退编辑器内容: 52 ue.execCommand('redo'); 53 //切换源码和可视化编辑模式: 54 ue.execCommand('source'); 55 //选中所有内容: 56 ue.execCommand('selectall'); 57 //清空内容: 58 ue.execCommand('cleardoc'); 59 //读取草稿箱 60 ue.execCommand('drafts'); 61 //清空草稿箱 62 ue.execCommand('clearlocaldata'); - 输入的数据是这样的:

-
获取到的数据是这样的:<p><img src="http://img.baidu.com/hi/jx2/j_0015.gif"/><img src="/assets/utf8-net/net/upload/image/20160427/6359737678078530983400002.jpg" title="QQ截图20160427144629.jpg" alt="QQ截图20160427144629.jpg"/>防火防盗发货的发货</p>
- 将数据存到数据库中了,那么怎么让数据原样显示到编辑器里呢?(这个问题我试了一天,开始我以为是这个函数uParse,但是我试了好多路径都不管用,如果谁用这个方法实现了,一定要告诉我一声哦,先qqq了)
- 后台获取数据:
1  public ActionResult GetDetails(string NewsId)
2         {
3             int id = Int32.Parse(NewsId);
4             NewsInfo news = db.NewsInfoes.Find(id);
5             ViewData["news"] = news;
6             return View();
7         }
前台html代码:
 1 <div class="col-sm-6">
 2     <div class="panel">
 3         <div class="panel-body">
 4             <div class="form-group has-success">
 5                 <label class="control-label" for="NewsName">新闻标题:</label>
 6                 <input type="text" class="form-control" id="NewsName" name="NewsName" placeholder="新闻标题" style="width:600px" value="@(((NewsInfo)ViewData["news"]).NewsName)" />
 7             </div>
 8             <div class="form-group has-warning">
 9                 <textarea class="A4page" id="myEditor" name="NewsContent">@(((NewsInfo)ViewData["news"]).NewsContent)</textarea>
10             </div>
11         </div>
12     </div>
13 </div>
jquery代码:
 1    function load() {
 2             var ue = UE.getEditor('myEditor', {
 3                 toolbars: [
 4                     ['fullscreen', 'source', '|', 'undo', 'redo', '|',
 5                 'bold', 'italic', 'underline', 'fontborder', 'strikethrough', 'superscript', 'subscript', 'removeformat', 'formatmatch', 'autotypeset', 'blockquote', 'pasteplain', '|', 'forecolor', 'backcolor', 'insertorderedlist', 'insertunorderedlist', 'selectall', 'cleardoc', '|',
 6                 'rowspacingtop', 'rowspacingbottom', 'lineheight', '|',
 7                 'customstyle', 'paragraph', 'fontfamily', 'fontsize', '|',
 8                 'directionalityltr', 'directionalityrtl', 'indent', '|',
 9                 'justifyleft', 'justifycenter', 'justifyright', 'justifyjustify', '|', 'touppercase', 'tolowercase', '|',
10                 'link', 'unlink', 'anchor', '|', 'imagenone', 'imageleft', 'imageright', 'imagecenter', '|',
11                 'simpleupload', 'insertimage', 'emotion', 'scrawl', 'insertframe', 'insertcode', 'pagebreak', 'template', 'background', '|',
12                 'horizontal', 'date', 'time', 'spechars', 'snapscreen', 'wordimage', '|',
13                 'inserttable', 'deletetable', 'insertparagraphbeforetable', 'insertrow', 'deleterow', 'insertcol', 'deletecol', 'mergecells', 'mergeright', 'mergedown', 'splittocells', 'splittorows', 'splittocols', 'charts', '|',
14                 'print', 'preview', 'searchreplace', 'help', 'drafts']
15                 ],
16                 autoHeightEnabled: false,
17                 autoFloatEnabled: true,
18                 allowDivTransToP: false//阻止div标签自动转换为p标签
19             });
20         }
21
22  $(function () {
23             load();
24         });
然后就可以了,O(∩_∩)O哈哈~
- 我的流程:先添加数据

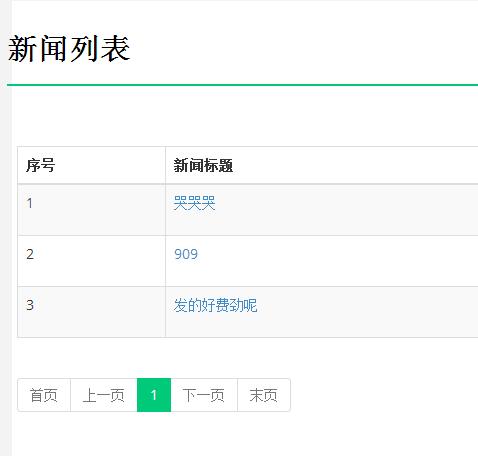
- 在新闻列表里点击新闻标题,传递新闻id获取新闻详细内容

- 最后将数据展示到新闻修改页面的编辑器上

来源:https://www.cnblogs.com/wsn1203/p/5443047.html

