一、准备工作
1、安装好Linux操作系统:
[root@monitor ~]# cat /etc/redhat-release
Red Hat Enterprise Linux Server release 6.10 (Santiago)
2、关闭防火墙 和 Selinux:
[root@monitor ~]# service iptables stop
[root@monitor ~]# chkconfig iptables off
3、创建DM用户:
[root@dm1 ~]# groupadd dinstall
[root@dm1 ~]# useradd -g dinstall dmdba
[root@dm1 ~]# passwd dmdba
4、创建目录:
[root@dm1 ~]# mkdir -p /dm/dmdbms
[root@dm1 ~]# mkdir -p /dm/dmarch
[root@dm1 ~]# mkdir -p /dm/dmbak
[root@dm1 ~]# chown -R dmdba:dinstall /dm/
[root@dm1 ~]# chmod -R 775 /dm/
5、配置系统限制,在/etc/security/limits.conf 文件中添加如下内容:
dmdba soft nofile 4096
dmdba hard nofile 65536
配置环境变量:在dmdba用户的~/.bash_profile 里添加如下内容:
[dm7@monitor ~]$ ~/.bash_profile
export DM_HOME="/dm7/dmdbms"
export LD_LIBRARY_PATH="/dm7/dmdbms/bin:$LD_LIBRARY_PATH"
export PATH="/dm7/dmdbms/bin:$PATH"
注意,在DM 软件安装时会自动添加DM_HOME 和 LD_LIBRARY_PATH 变量,这里只需要添加PATH即可。
二、开始达梦数据库安装
1、上传镜像,并挂载到读取目录下面。
mount dm7_setup_centos7_64_ent_7.6.0.145_20190325.iso /mnt
2、将安装文件复制到/dm 目录下并修改安装文件权限:
cp DMInstall.bin /dm/
cd /dm
chown dmdba:dinstall DMInstall.bin
chmod a+x DMInstall.bin
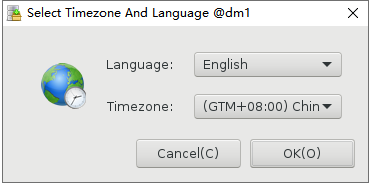
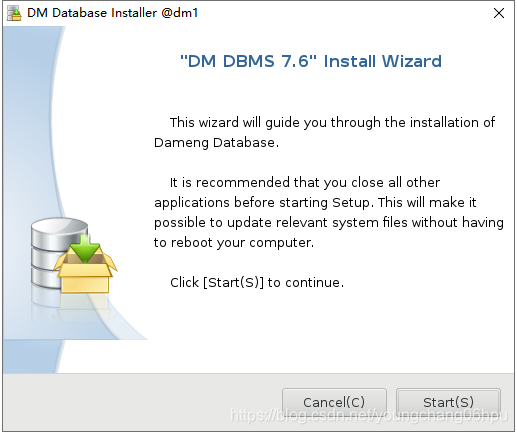
3、用dmdba用户执行./DMInstall.bin 程序,开始图形安装:


/dm/dmdbms/script/root/root_installer.sh
Move /dm/dmdbms/bin/dm_svc.conf to /etc
Modify the files' mode of DM Server
Create the DmAPService service
Created symlink from /etc/systemd/system/multi-user.target.wants/DmAPService.service to /usr/lib/systemd/system/DmAPService.service.
Finished to create the service (DmAPService)
Start the DmAPService service

安装成功了,大功告成!
来源:CSDN
作者:易阳
链接:https://blog.csdn.net/youngchang06hpu/article/details/103582310