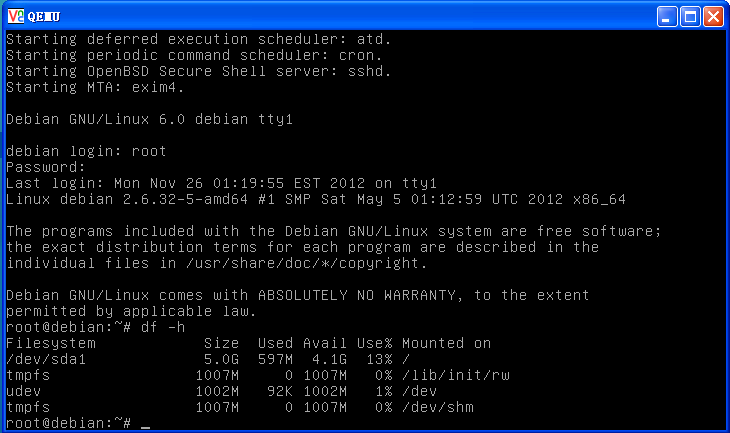
查看 CPU 是否支持硬件虚拟化(VT 技术)
root@debian:~# egrep '(vmx|svm)' --color=always /proc/cpuinfo
flags		: fpu vme de pse tsc msr pae mce cx8 apic sep mtrr pge mca cmov pat pse36 clflush dts acpi mmx fxsr sse sse2 ss ht tm pbe syscall nx rdtscp lm constant_tsc arch_perfmon pebs bts rep_good xtopology nonstop_tsc aperfmperf pni dtes64 monitor ds_cpl vmx est tm2 ssse3 cx16 xtpr pdcm dca sse4_1 sse4_2 popcnt lahf_lm tpr_shadow vnmi flexpriority ept vpid
flags		: fpu vme de pse tsc msr pae mce cx8 apic sep mtrr pge mca cmov pat pse36 clflush dts acpi mmx fxsr sse sse2 ss ht tm pbe syscall nx rdtscp lm constant_tsc arch_perfmon pebs bts rep_good xtopology nonstop_tsc aperfmperf pni dtes64 monitor ds_cpl vmx est tm2 ssse3 cx16 xtpr pdcm dca sse4_1 sse4_2 popcnt lahf_lm tpr_shadow vnmi flexpriority ept vpid
如果没有打印出任何东西,表示 CPU 不支持硬件虚拟化。但是仍需要确定在 BIOS 中是否启用了该虚拟化技术。如果返回 SVM 旗帜标志,则表示您的处理器支持 AMD-V。而返回 VMX 旗帜标志,则表示您的处理器支持 INTEL-VT。另外BISO也要打开虚拟化支持。
安装kvm软件包
root@debian:~# atp-get install qemu-kvm
root@debian:~# dpkg -l | grep kvm
ii  qemu-kvm                            0.12.5+dfsg-5+squeeze3       Full virtualization on x86 hardware
debian6 中包名为qemu-kvm,debian5中包名为kvm
配置桥接网络:
root@debian:~# vim /etc/network/interfaces
auto lo
iface lo inet loopback

auto eth0
iface eth0 inet manual

auto br0
iface br0 inet static
      address 10.1.6.175
      netmask 255.255.255.0
      gateway 10.1.6.254

bridge_ports eth0
bridge_hello 2
bridge_maxage 12
bridge_fd 0
bridge_stp off
bridge_fd is the bridge forward delay time, in seconds, default 15.
bridge_hello is the bridge hello time, in seconds, default 2.
bridge_maxage is the bridge’s maximum message time, in seconds, default is 20.
bridge_stp controls the spanning tree protocol, on or off. Default is off, and is recommended to stay that way.
重启网卡生效
创建虚拟机镜像
root@debian:/opt# kvm-img create -f qcow2 vm.img 5G
有2中方法创建虚拟机:
一种是使用kvm命令创建
root@debian:/opt# kvm -m 2048 -drive file=vm.img -cdrom /tmp/debian-6.0.2.1-amd64-CD-1.iso -vnc 10.1.6.175:1 -boot d使用vnc进行连接安装,安装完之后改变启动顺序以硬盘启动,再次使用vnc连接配置相关设置
root@debian:/opt# kvm -m 2048 -drive file=vm.img -cdrom /tmp/debian-6.0.2.1-amd64-CD-1.iso -vnc 10.1.6.175:1 -boot c 
第二种方法使用libvirt管理虚拟机
libvirt支持kvm,xen等主流虚拟机的管理。
安装libvirt
root@debian:~# apt-get install libvirt-bin virtinstvirtinst Programs to create and clone virtual machines
virtinst是virt-install的一种shell形式管理
设置/etc/libvirt/libvirtd.conf的listen_addr参数,设置监听地址,修改/etc/libvirt/qemu.conf的vnc_listen参数,设置vnc监听地址。
重启libvirt:/etc/init.d/libvirt-bin restart
virt-install 安装虚拟机:
root@debian:/opt#virt-install -d -n vm_kvm -r 2048 --disk path=/opt/debian6.img,device=disk,bus=virtio,size=30,format=qcow2 --network bridge=br0,model=virtio --vnc --cdrom=/tmp/debian-6.0.2.1-amd64-CD-1.iso 如果磁盘格式是qcow2 注意参数format=qcow2, 否则识别不到
命令执行完后,会在/etc/libvirt/qemu目录下生成一个vm_kvm.xml的配置文件,供启动虚拟机时使用,该配置文件可修改,然后可以通过VNC进行安装。
virt-install 相关参数:
-n --name= 客户端虚拟机名称
-r --ram= 客户端虚拟机分配的内存
-u --uuid= 客户端UUID
--vcpus=2 客户端的vcpu个数
-v --hvm 全虚拟化
-p --paravirt 半虚拟化
-l --location=localdir 安装源
--vnc 使用vnc
-c --cdrom= 光驱 安装途径
-s --file-size= 使用磁盘映像的大小单位为GB
-f --file= 作为磁盘映像使用的文件
--disk= 使用不同选项作为磁盘使用安装介质
来源:oschina
链接:https://my.oschina.net/u/812550/blog/92170