1.前期准备
sudo apt-get install npm
sudo npm install hexo -g
首先使用如下命令创建项目,name是你要创建的博客的名字:
hexo init {name}
例如我的是:
hexo init qujingtongxiao
接下来我们首先进入新生成的文件夹里面,然后调用 Hexo 的 generate 命令,将 Hexo 编译生成 HTML 代码,命令如下:
hexo generate
然后我们利用 Hexo 提供的 server 命令把博客在本地运行起来,命令如下:
hexo server
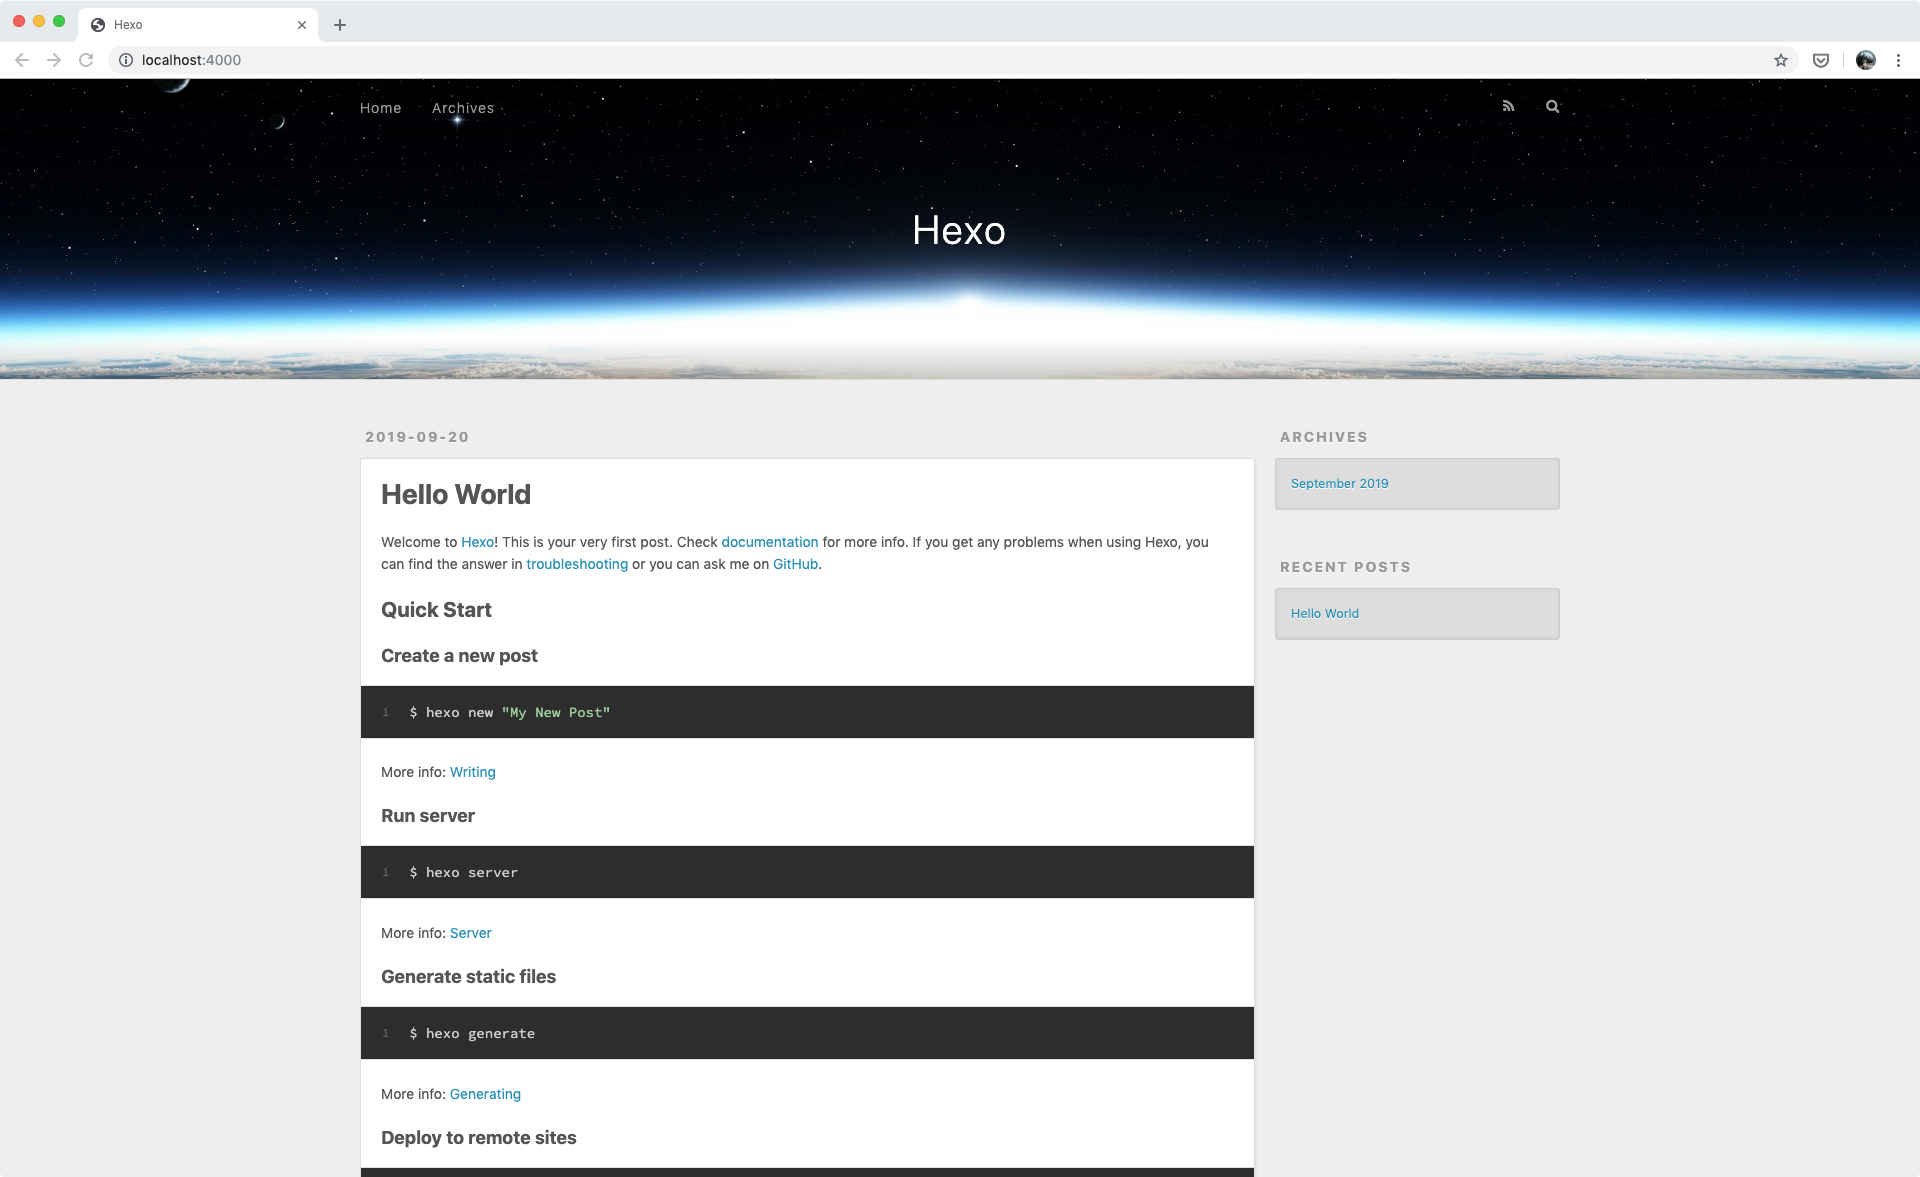
我们到浏览器输入IP+4000就可以看到博客了,即输入
***.***.**.**:4000
页面如下:
在你的 themes 文件夹下使用 Git clone 命令来下载:
git clone https://github.com/blinkfox/hexo-theme-matery.git
2.部署到github
首先在github上建立一个博客的仓库,参考这篇博文.
在自己的机器Hexo根目录下,打开根目录下的 _config.yml 文件,找到 Deployment 这个地方,把刚才新建的 Repository 的地址贴过来,然后指定分支为 master 分支,最终修改为如下内容:
# Deployment
## Docs: https://hexo.io/docs/deployment.html
deploy:
  type: git
  repo: {git repo ssh address}
  branch: master
我的就修改为如下内容:
# Deployment
## Docs: https://hexo.io/docs/deployment.html
deploy:
  type: git
  repo: git@github.com:zrjer/zrjer.github.io.git
  branch: master
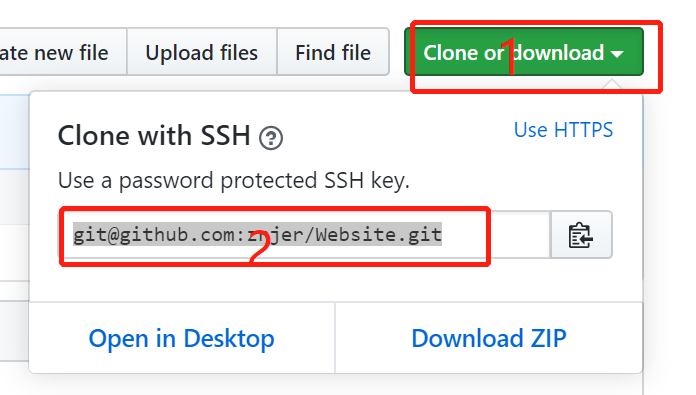
当然如果你不知道你博客的ssh地址,到这里去找:
如果它让你添加公钥,参考这篇博文
然后需要安装插件:
npm install hexo-deployer-git --save
安装成功之后,执行部署命令:
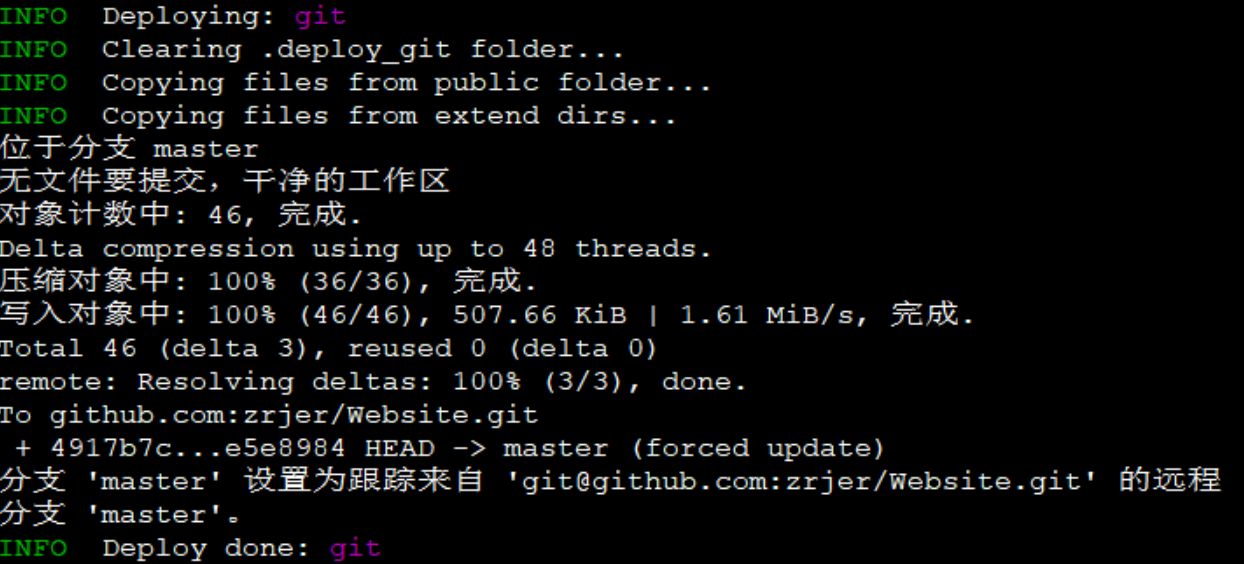
hexo deploy
运行结果如下:
3.更换主题
4.定制化域名
5.提交新文章
hexo new page test
hexo会创建source/test/index.md,在该文章中添加内容即可,最后完成提交:
hexo clean
hexo generate
hexo deploy
6.可能出现的问题
- 如果出现了404访问不了页面,就把仓库的名字改为username.github.io
- 如果hexo s后出现
Unhandled rejection ReferenceError: D:\ok\themes\hexo-theme-matery\layout\post.ejs:26
24|
25| <% if (isTocEnable) { %>

26| <%- partial('_partial/post-detail-toc.ejs') %>
27| <% } else { %>
28| <%- partial('_partial/post-detail.ejs') %>
29| <% } %>

D:\ok\themes\hexo-theme-matery\layout_partial\post-detail-toc.ejs:90
88|


89|
90| <%- partial('_partial/post-detail.ejs') %>
91|


92|

93|
D:\ok\themes\hexo-theme-matery\layout_partial\post-detail.ejs:53
51|


52| <%- __('wordCount') %>:  ...
这说明缺少插件,需要
npm i --save hexo-wordcount