依赖包:
![]()
![]()
头像上传:
上传表单:

springMVC配置文件中添加 【多部分解析器】
    <!--200*1024*1024即200M resolveLazily属性启用是为了推迟文件解析,以便捕获文件大小异常 -->
	<bean id="multipartResolver"
		class="org.springframework.web.multipart.commons.CommonsMultipartResolver">
		<property name="maxUploadSize" value="209715200" />
		<property name="defaultEncoding" value="UTF-8" />
		<property name="resolveLazily" value="true" />
	</bean>
页面源码:
<%@ page language="java" import="java.util.*" pageEncoding="utf-8"%>
<%@taglib prefix="sf" uri="http://www.springframework.org/tags/form"%>
<%
	String path = request.getContextPath();
	String basePath = request.getScheme() + "://"
			+ request.getServerName() + ":" + request.getServerPort()
			+ path + "/";
%>
<!DOCTYPE HTML PUBLIC "-//W3C//DTD HTML 4.01 Transitional//EN">
<html>
	<head>
		<base href="<%=basePath%>">

		<title>My JSP 'upload.jsp' starting page</title>

		<meta http-equiv="pragma" content="no-cache">
		<meta http-equiv="cache-control" content="no-cache">
		<meta http-equiv="expires" content="0">
		<meta http-equiv="keywords" content="keyword1,keyword2,keyword3">
		<meta http-equiv="description" content="This is my page">
		<!--
	<link rel="stylesheet" type="text/css" href="styles.css">
	-->
		<meta charset="utf-8">
		<title>图片上传</title>
	</head>

	<body>
		<%--文件上传的话需要enctype="multipart/form-data"--%>
		<form action="account/uploadPhoto.do" method="post"
			enctype="multipart/form-data">
			<%--这里设置文件上传--%>
			用户ID:
			<input type="text" name="userId">
			<br>
			文件:

			<input type="file" name="file">
			<input type="submit" value="提交">
		</form>
	</body>
</html>
controller:
/**
	 * 上传头像
	 * @Title:函数
	 * @Description:Comment for non-overriding methods
	 * @author 张颖辉
	 * @date 2016-11-23上午11:08:57
	 * @return
	 */
	@ResponseBody
	@RequestMapping(value = "/uploadPhoto", method = RequestMethod.POST)
	public Map<String, String> uploadPhoto(
			@RequestParam("file") MultipartFile mfile,
			@RequestParam String userId, HttpServletRequest request) {
		Map<String, String> result = new HashMap<String, String>();
		/** 【参数校验】 **/
		if (StringHelper.isNullOrEmpty(userId)) {
			userId = (String) request.getSession().getAttribute("userid");
			if (StringHelper.isNullOrEmpty(userId)) {
				result.put("success", "false");
				result.put("msg", "userId不能为空");
				return result;
			}
		}
		UserVO uvo = this.userService.getUserById(userId);
		if (uvo == null) {
			result.put("success", "false");
			result.put("msg", "用户不存在");
			return result;
		}
		try {
			if (!mfile.isEmpty()) {
				/** 【文件上传】 **/
				// 工程内
				// String
				// realPath=request.getSession().getServletContext().getRealPath("/");
				// 工程外,访问需要配置虚拟路径,配置文件获取
				String realPath = properties.getProperty("storePath");
				String cFileName = mfile.getOriginalFilename();
				String sFileName = userId
						+ cFileName.substring(cFileName.indexOf("."));
				String filePath = realPath + File.separator + sFileName;
				logger.info(" 【文件上传】filePath:" + filePath);
				// String url = realPath+sFileName;
				File dir = new File(realPath);
				if (!dir.exists()) { // 判断指定路径dir是否存在,不存在则创建路径
					dir.mkdirs();
				}
				File sfile = new File(filePath);
				// 使用StreamsAPI方式拷贝文件
				Streams.copy(mfile.getInputStream(),
						new FileOutputStream(sfile), true);
				/** 【关联用户】 **/
				String headpicPath = properties.getProperty("headPicUrl") + "/"
						+ sFileName;
				uvo.setHeadpic(headpicPath);
                //rmi 远程方法调用,执行数据更新操作。
				LoginMSRMI loginMSRMI = (LoginMSRMI) RMIClient.getRMIClient(
						LoginMSRMI.class, RMIType.LOGINMS_RMI);
				List<Object> list = loginMSRMI.billiardsMSUpdateUser(uvo);
				if (Boolean.valueOf(list.get(0).toString())) {
					result.put("success", "true");
					result.put("url", headpicPath);
					return result;
				} else {
					result.put("success", "false");
					result.put("msg", "系统错误:修改资料异常");
					return result;
				}
			} else {
				result.put("success", "false");
				result.put("msg", "文件为空,上传失败。");
				return result;
			}
		} catch (IOException e) {
			logger.error("文件上传失败", e);
			result.put("success", "false");
			result.put("msg", "IO错误,上传失败");
			return result;
		}finally{
			logger.info(" 文件上传结果:"+result);
		}
	}
其中propertis以注入的方式获取:
@Resource(name = "configProperties")
	private Properties properties;
并且propertis需要在spring配置文件中配置:
<util:properties id="configProperties" location="classpath*:application.properties" />tomcat 需要在server.xml中添加虚拟主机映射<Context>:
<Host name="localhost"  appBase="webapps"
            unpackWARs="true" autoDeploy="true"
            xmlValidation="false" xmlNamespaceAware="false">

        <!-- SingleSignOn valve, share authentication between web applications
             Documentation at: /docs/config/valve.html -->
        <!--
        <Valve className="org.apache.catalina.authenticator.SingleSignOn" />
        -->

        <!-- Access log processes all example.
             Documentation at: /docs/config/valve.html -->
        <!--
        <Valve className="org.apache.catalina.valves.AccessLogValve" directory="logs"
               prefix="localhost_access_log." suffix=".txt" pattern="common" resolveHosts="false"/>
        -->
		 <Context path="/HappyFootBall/upload/headpic" docBase="E:\temp\a"></Context>
      </Host>
点击提交:

访问路径:
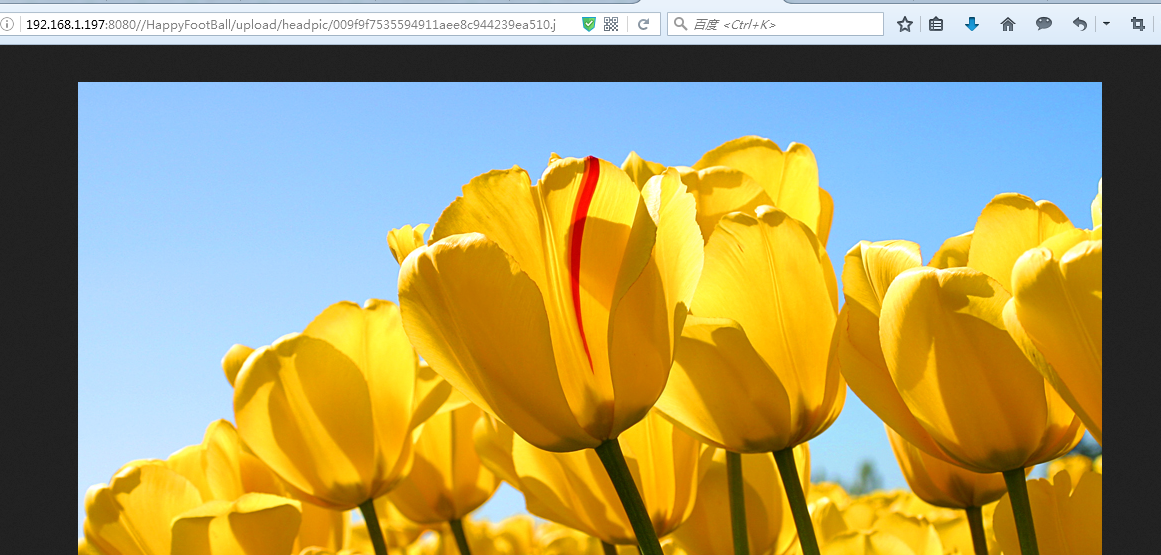
http://192.168.1.197:8080//HappyFootBall/upload/headpic/009f9f7535594911aee8c944239ea510.jpg
访问结果:

参考文章:
来源:oschina
链接:https://my.oschina.net/u/2507499/blog/792844