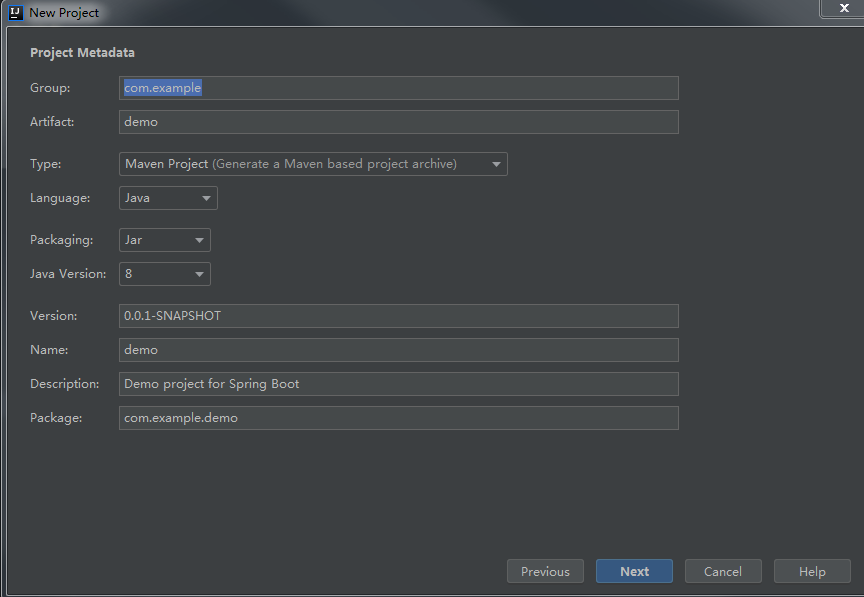
这里随便填
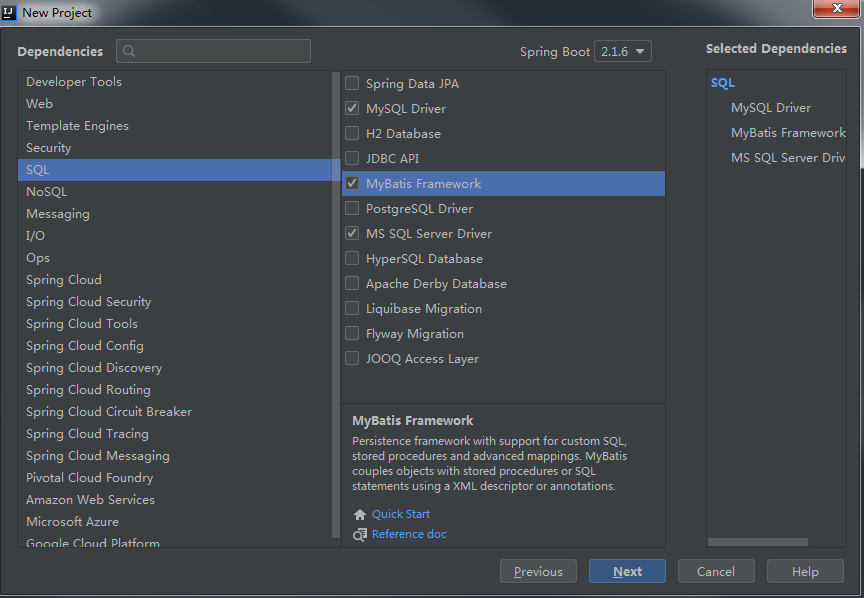
选择相应的Jar,如以下的勾选
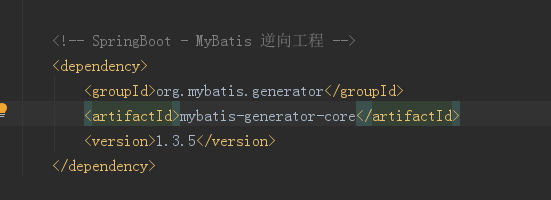
下面才是最重要的操作 ,在pom.xml里面导入mybaties逆向工程需要的jar,
在pom.xml里面配置相应的所需要的代码,在这里我们单独出一个<plugle></plugle>,它跟之前的(idea自动生成的)是属于同一个评级上面.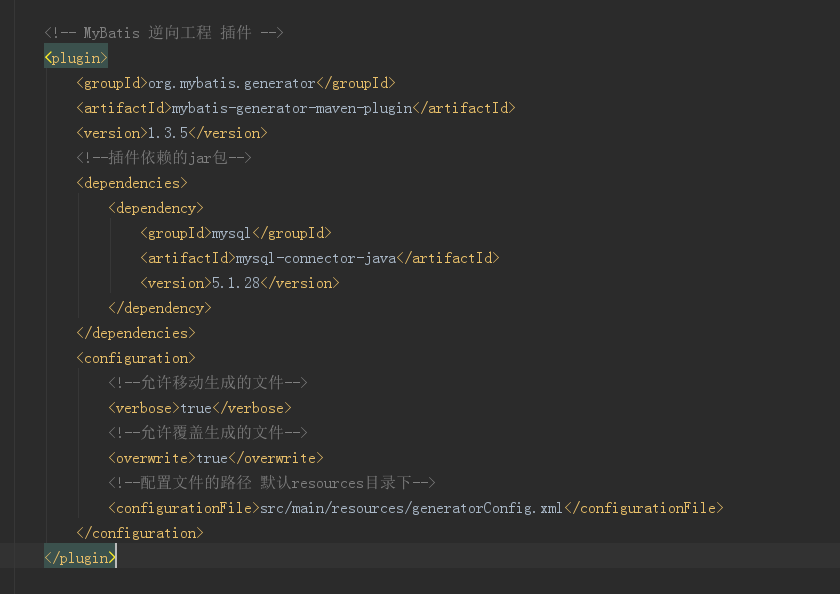
注意这里的数据库驱动是你电脑的硬盘上的或者说是你maven的仓库里面的
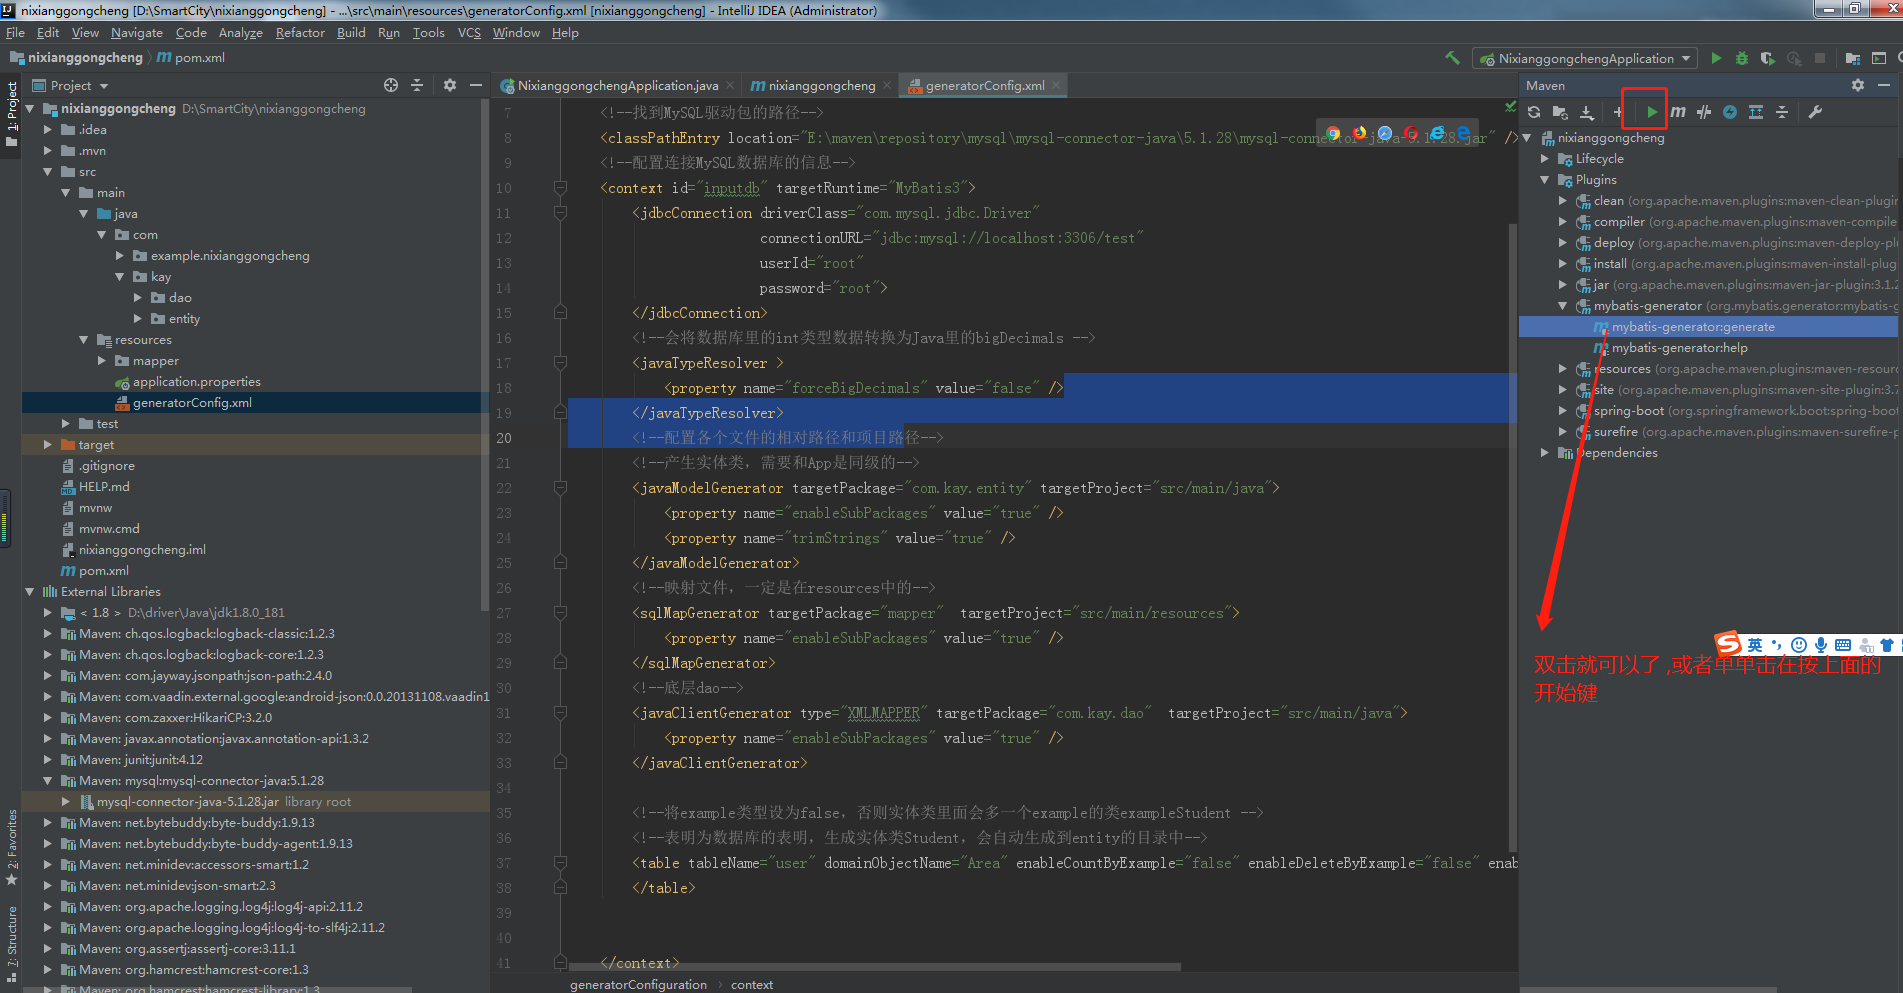
<?xml version="1.0" encoding="UTF-8"?> <!DOCTYPE generatorConfiguration PUBLIC "-//mybatis.org//DTD MyBatis Generator Configuration 1.0//EN" "http://mybatis.org/dtd/mybatis-generator-config_1_0.dtd"> <!--利用MyBatis Generator里面的Xml文件格式,复制成为resource的xml文件,并进行修改--> <generatorConfiguration> <!--找到MySQL驱动包的路径--> <classPathEntry location="E:\maven\repository\mysql\mysql-connector-java\5.1.28\mysql-connector-java-5.1.28.jar" /> <!--配置连接MySQL数据库的信息--> <context id="inputdb" targetRuntime="MyBatis3"> <jdbcConnection driverClass="com.mysql.jdbc.Driver" connectionURL="jdbc:mysql://localhost:3306/test" userId="root" password="root"> </jdbcConnection> <!--会将数据库里的int类型数据转换为Java里的bigDecimals --> <javaTypeResolver > <property name="forceBigDecimals" value="false" /> </javaTypeResolver> <!--配置各个文件的相对路径和项目路径--> <!--产生实体类,需要和App是同级的--> <javaModelGenerator targetPackage="com.kay.entity" targetProject="src/main/java"> <property name="enableSubPackages" value="true" /> <property name="trimStrings" value="true" /> </javaModelGenerator> <!--映射文件,一定是在resources中的--> <sqlMapGenerator targetPackage="mapper" targetProject="src/main/resources"> <property name="enableSubPackages" value="true" /> </sqlMapGenerator> <!--底层dao--> <javaClientGenerator type="XMLMAPPER" targetPackage="com.kay.dao" targetProject="src/main/java"> <property name="enableSubPackages" value="true" /> </javaClientGenerator> <!--将example类型设为false,否则实体类里面会多一个example的类exampleStudent --> <!--表明为数据库的表明,生成实体类Student,会自动生成到entity的目录中--> <table tableName="user" domainObjectName="Area" enableCountByExample="false" enableDeleteByExample="false" enableSelectByExample="false" enableUpdateByExample="false"> </table> </context> </generatorConfiguration>

最后是生成过程
